In photography, learning is forever.
Having the necessary knowledge is not always enough to compete against others. You need to have an edge – a forte that you can nurture.
There are two things to consider: your niche and skills.
So, first, focus on your niche, then next, slowly develop the skills.
One of the most admired skillsets in photography that you should concentrate on is the lighting aspect.
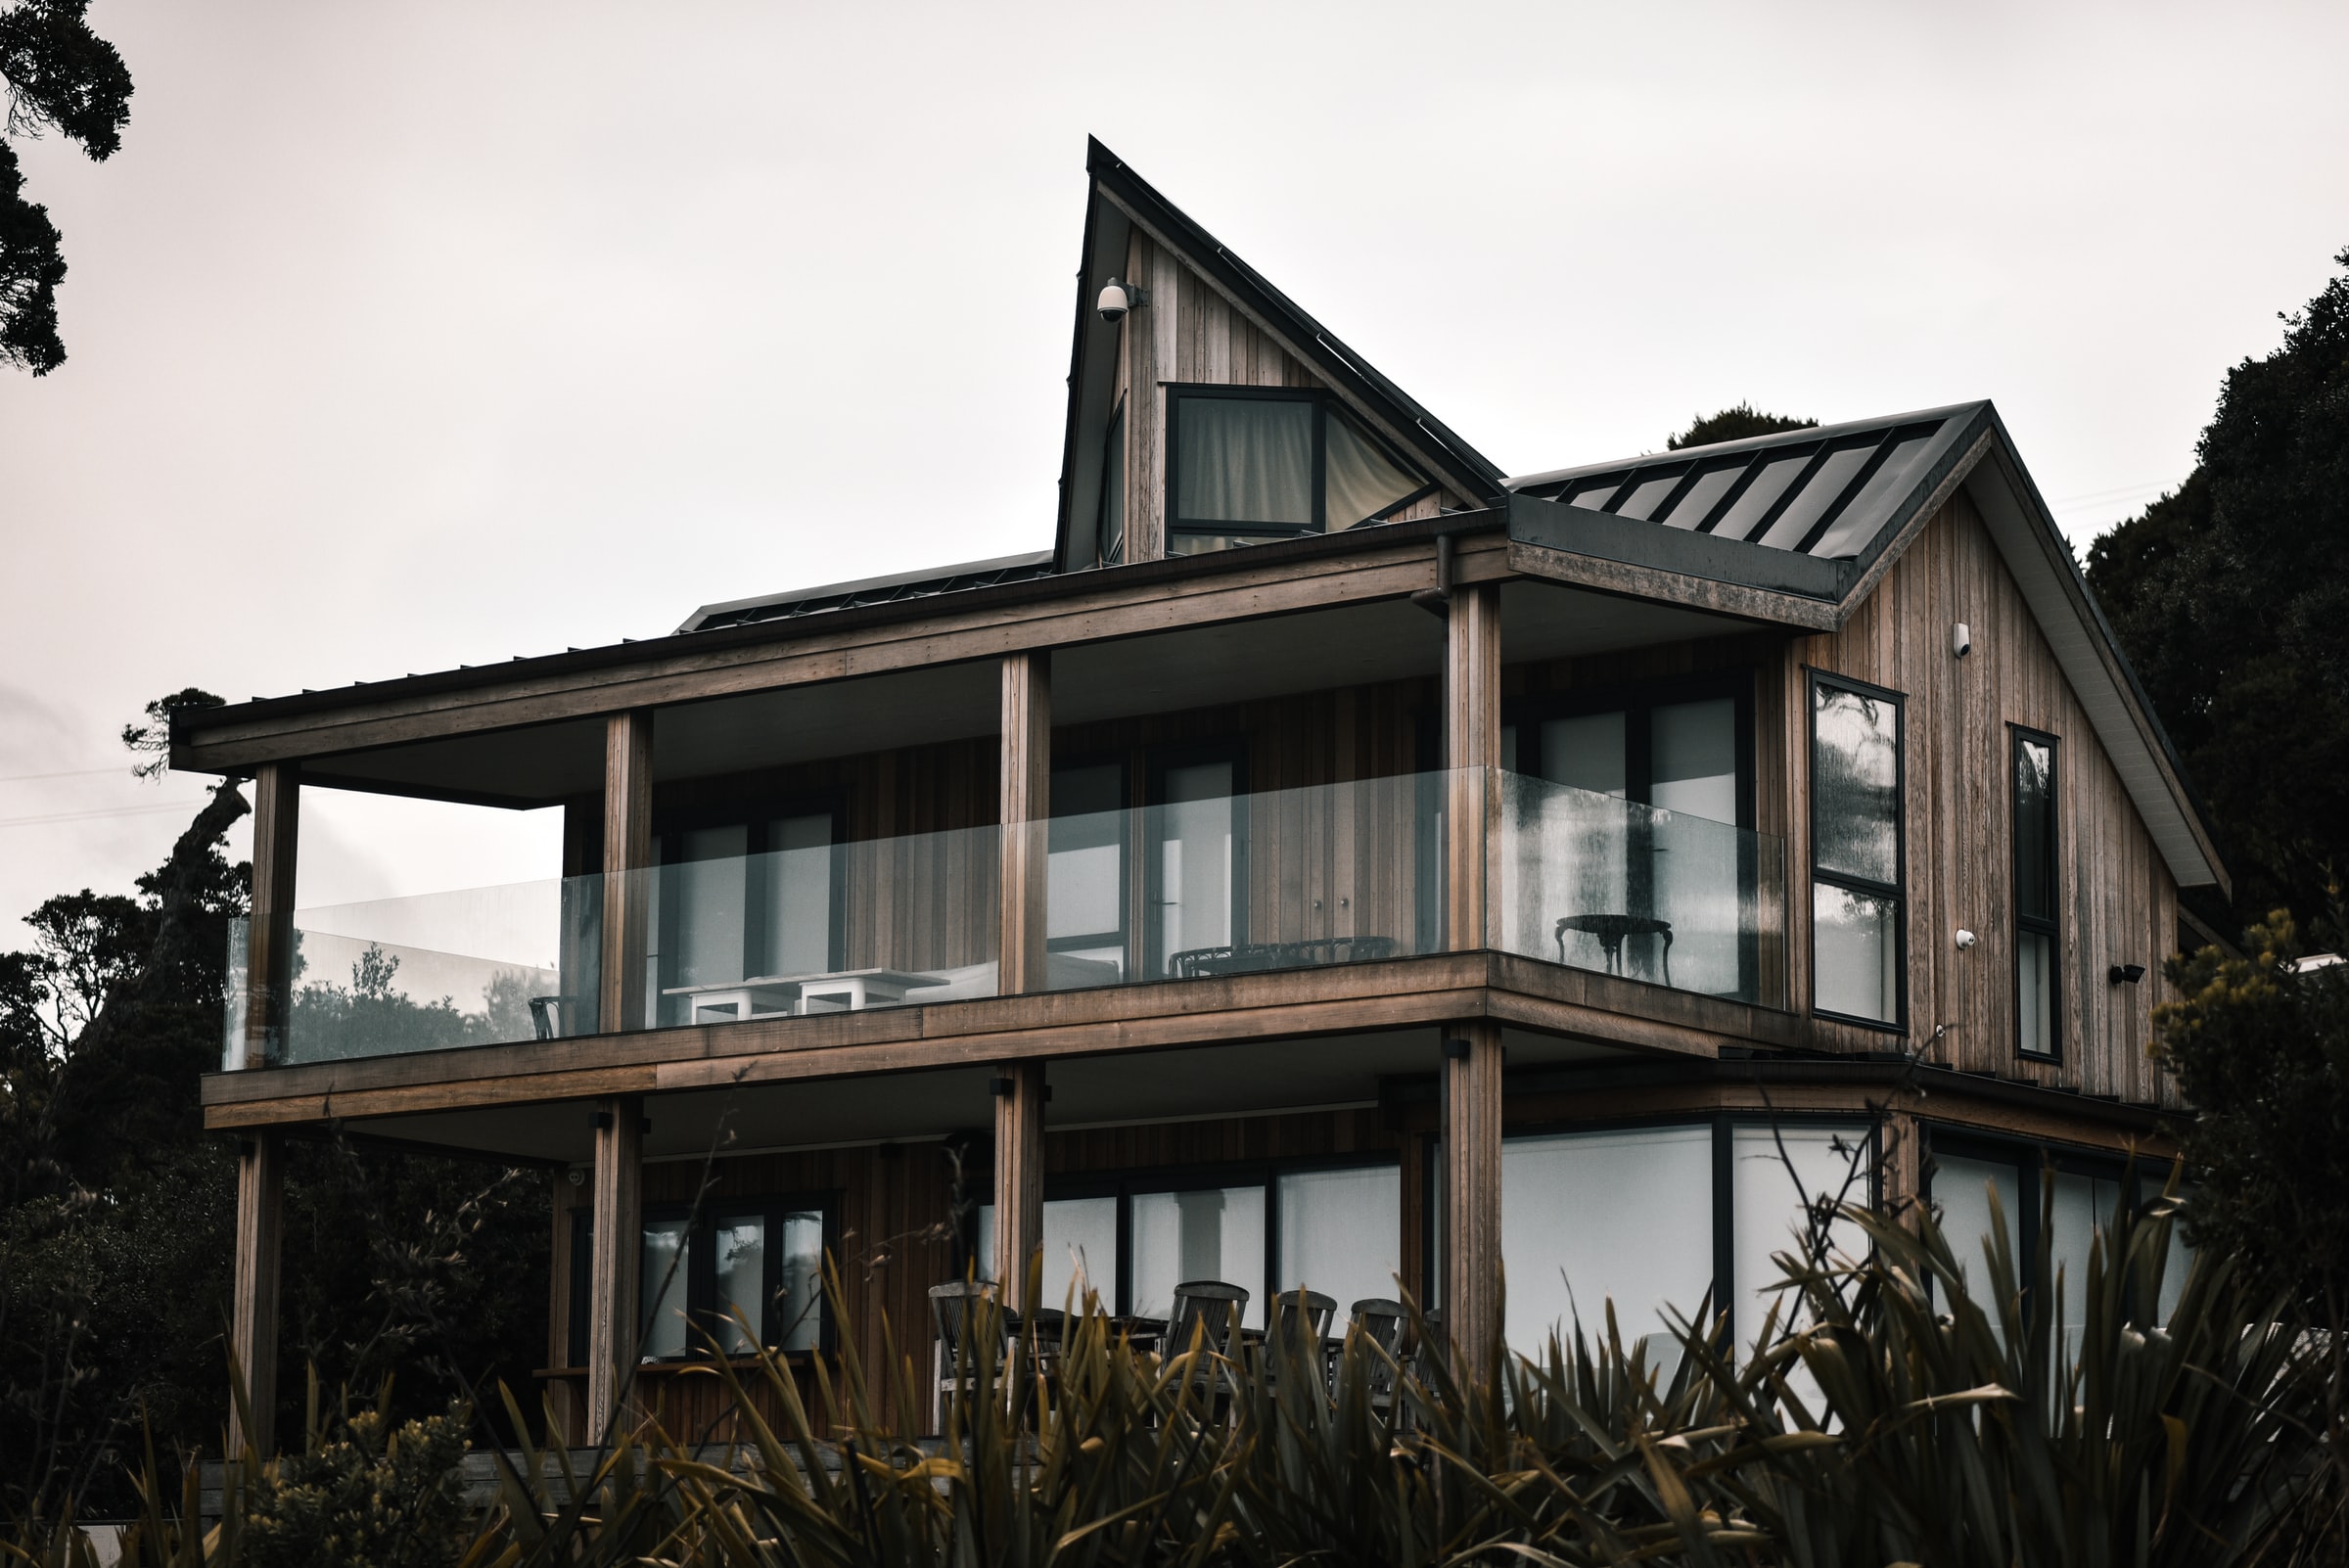
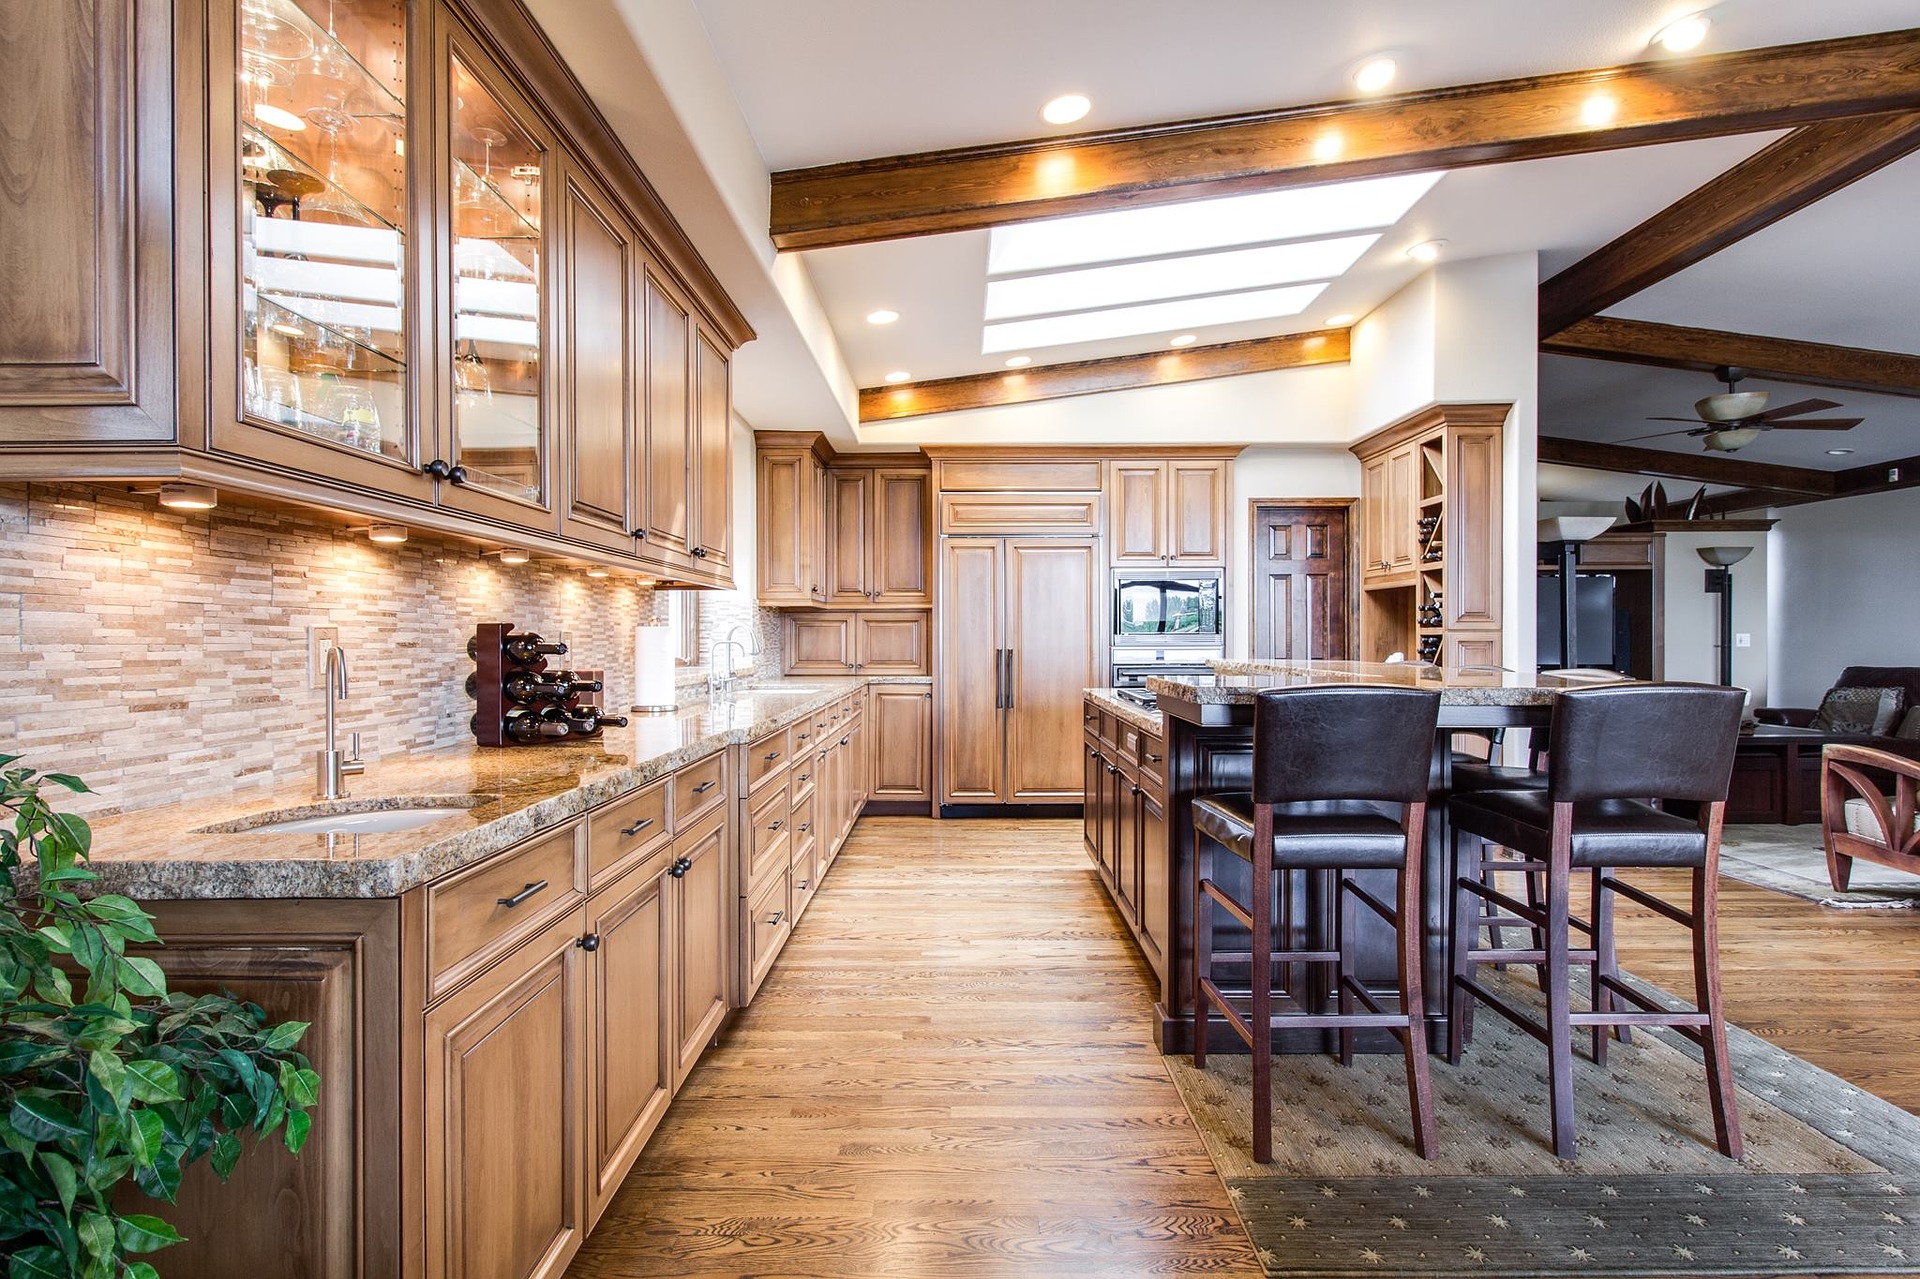
For one, clients do not want to see dull real estate images.
They hire real estate photographers to get the best images, not crappy ones.
Hence, try your best to learn the craft of shooting captivating real estate images with the aid of proper lighting.
But first, let us define lighting in the context of photography.
Lighting Defined
Lighting in photography is also known as photographic lighting, which practically means perfect scenes to be photographed.
With a working knowledge of how lighting works, you will take control of your photography techniques.
So, here’s a simplified explanation.
First, you need to remember that a photographic image is created only by capturing light reflected from the scene.
The rule of thumb: dark objects absorb more light and reflect less into the camera, while bright things reflect more light.
This process is known as the picture’s brightness, with colors defined by the reflected light’s wavelengths and frequencies.
Therefore, objects with different hues reflect different wavelengths and frequencies and affect the picture’s looks.
4 Real Estate Photography Lighting Techniques
Master Natural Light
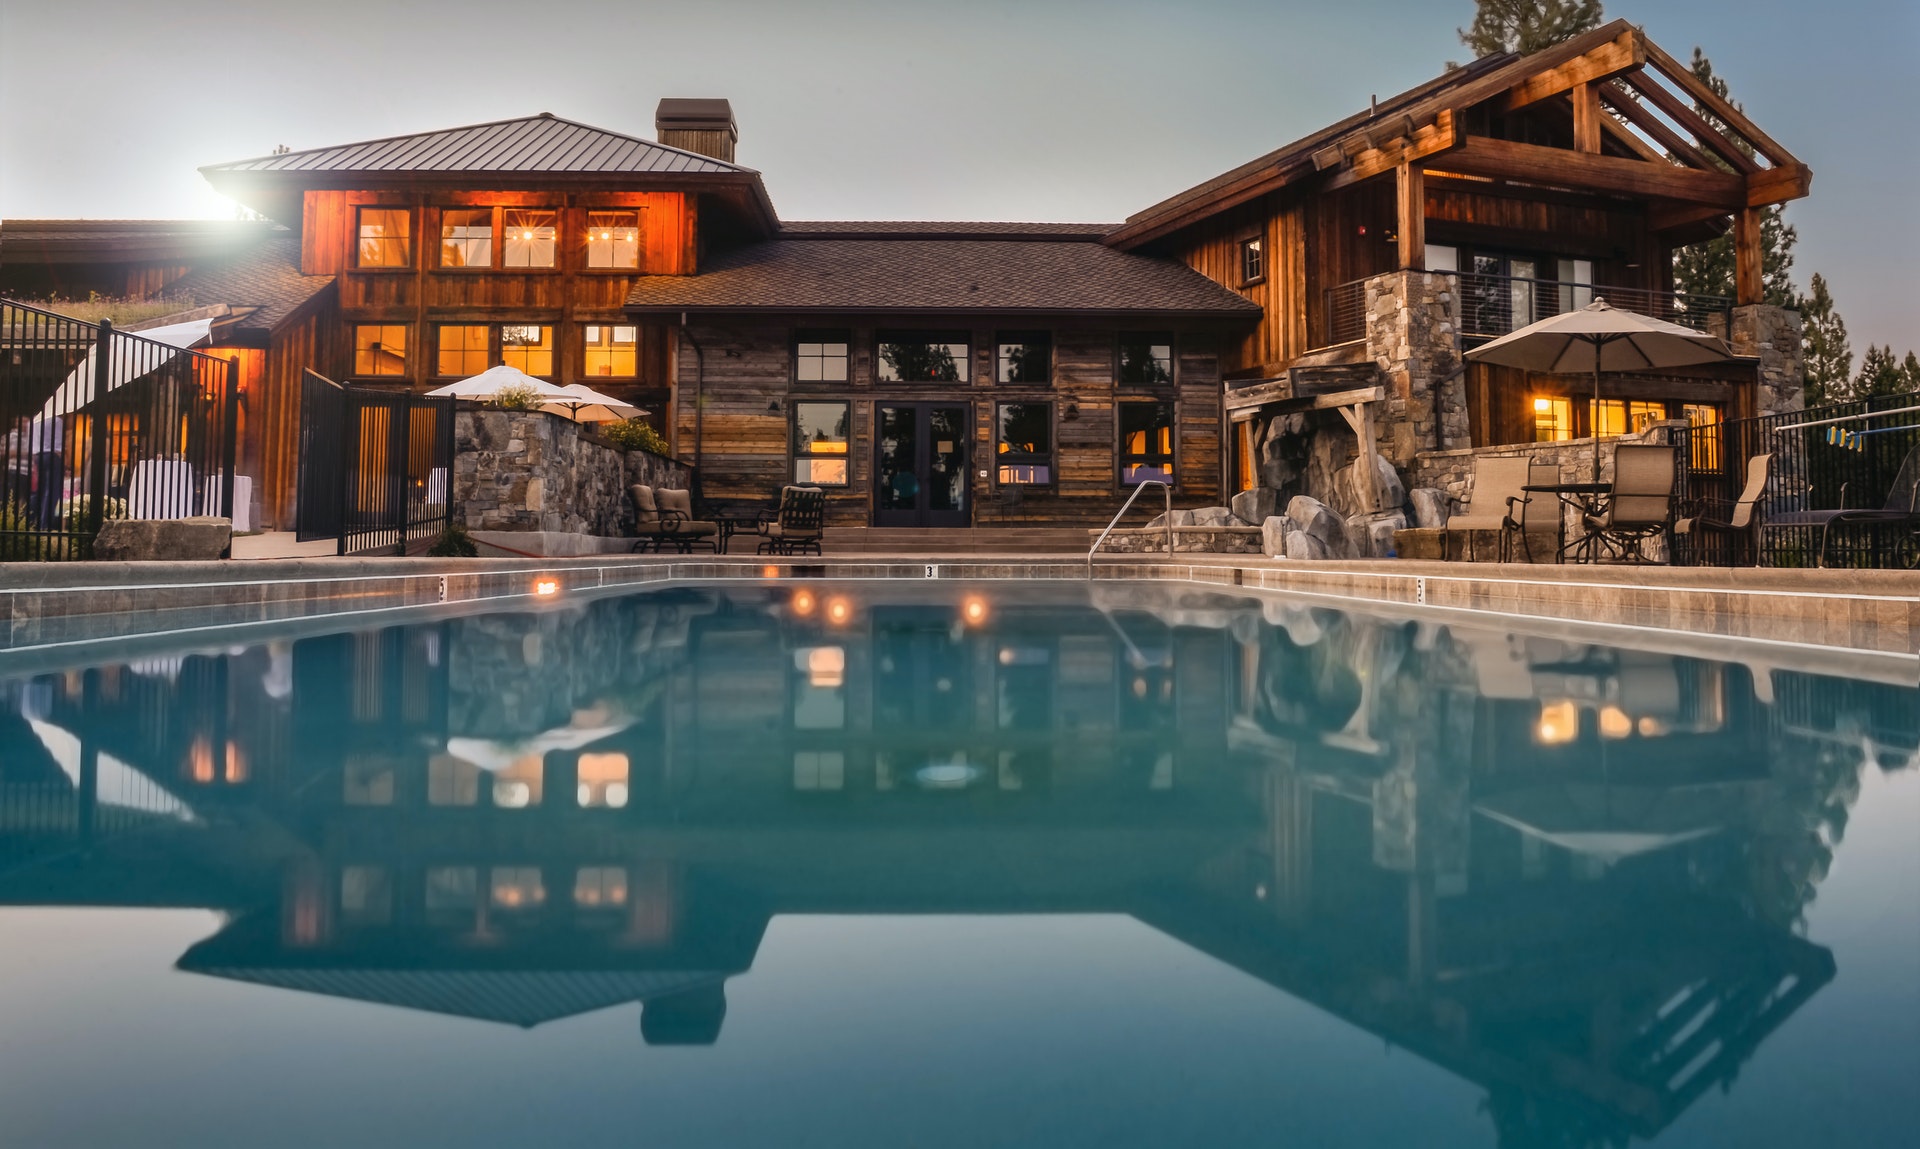
Natural light is the best source of lighting for interiors, especially if you have large windows.
Just slide your curtains and take good images of your property.
Here are some more tips for shooting with natural light:
- Choose the best hour of the day. It’s usually around midday, but it depends on the property’s location and the sunrays. So, take note of this before starting the session.
- Avoid shooting interiors at sunset, when the light quickly changes color. Doing so will just make the photos look dull.
- Open all the blinds. Make the sunlight fill the room as best as possible.
- Turn off every light in the room. One of the most significant advantages of turning the lights off is that you avoid color casts.
Use a Flash to Mimic Natural Light
Sometimes, the light in a room can be dull and flat.
However, you can improve this by mimicking natural light.
This is simple to do. All you need is to imitate natural light from a definite direction by pointing the flash on the wall to get a soft large diffused light coming from that direction.
Use HDR While Maintaining a Natural Look
In a room, our eyes continuously adapt to the environment to sense the highlights and shadows.
Using HDR is perfect when shooting images at different exposures. In the end, the photographer needs to capture other exposures and combine them in post-production without destroying the natural look of the property.
Avoid Mixed Lighting to Eliminate Color Casts
The perfect lighting should always be neutral.
It is best not to use different lighting sources to avoid color cast.
Color cast is not a useful element in photos because it makes them look dull with noticeable noise.
The first method to avoid a color cast is to turn off every light. This way, you can be sure to have a uniform light in your photos.
If your flash doesn’t match with the light fixtures or with the window light, try using gel filters to check the color temperature.
You can also try matching the flash with the interior lights to make editing easier in post-production.