Category: Real Estate Photography

  • Most Important Reasons to Include 3D Virtual Tours in your 2021 Marketing Plan

    Most Important Reasons to Include 3D Virtual Tours in your 2021 Marketing Plan

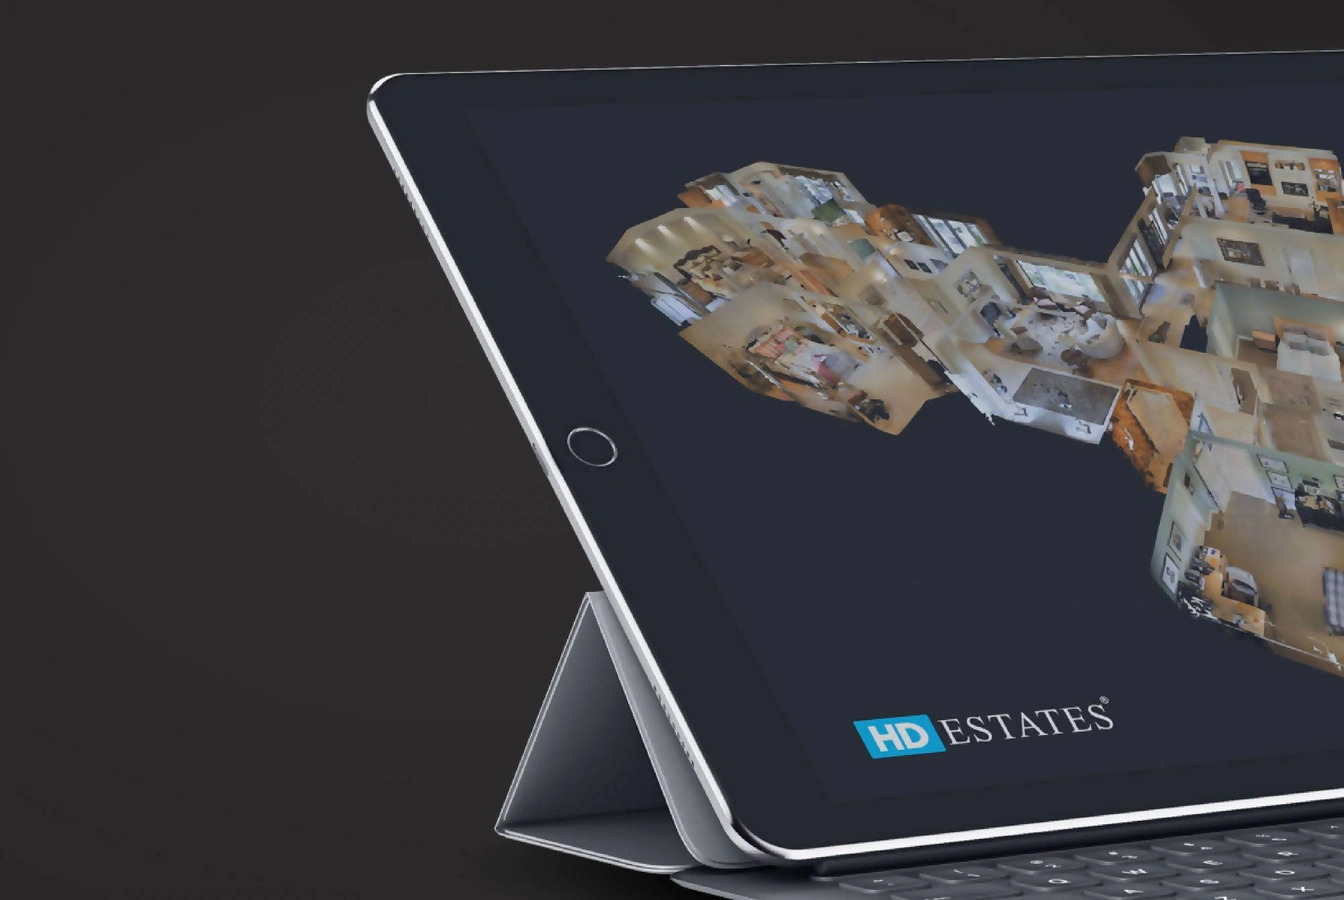
    2021 is the best year to add new technologies to your marketing campaign as more people depend on digital channels for their daily function. You can explore suitable techniques to make an exciting, engaging, and interactive product and service presentation.

    This year is the perfect time to try new strategies. As new technologies continue to emerge, creative visual imagery will maximize your appeal to new customers and buyers.

    Here are some of the most important reasons why you should include 3D virtual tours in your marketing plan in 2021:

    1. Accessibility

    Convenience is the primary purpose of a virtual tour; you can save the information on a cloud for quick online access. According to 2021 statistics on internet usage, there are 4.66 billion active internet users as of January 2021. This number means that more people will see your online ads, and your digital marketing campaigns are more likely to pay off and generate a high return on investment (ROI).

    Here are some ways to improve accessibility:

    • Ensure compatibility with all known mobile and desktop devices.
    • Make the tour easy to understand and operate.
    • Improve social media compatibility and sharing options.
    • Create vertical designs so that customers can share the experience through social media stories.

    Accessibility is one of the highlights of virtual tours, so you should make the experience as digitally available as possible.

    2. Entices Visual Appeal

    Window shopping is an experience because, in general, humans love looking at things to buy. Real estate companies design showrooms to cater to the consumer’s inherent window shopping needs. Virtual tours are the digital equivalent of showcase rooms.

    Here are some ways to entice visual appeal:

    • Post a teaser video or experience video with sounds.
    • Invite influencers or celebrities to take part in the tour.
    • Add background products closely linked to popular culture. For example, a Campbell Soup Can painting by Andy Warhol or the Mona Lisa.
    • Optimize your images, so they load faster.

    Virtual staging is one of the many options available for real estate developers because of its versatility. You can create virtual showrooms that cater to a wide range of markets.

    3. Good Long-Term Investment

    Your detailed marketing plan should include virtual tours, especially when you’re dealing with high-volume products for long-term gain. A well-made and optimized real estate 3D virtual tour will last for years. For example, you are selling condominium units or apartments with similar appearances, you can maximize your ROI by presenting an area in many different ways.

    Here are some ways to ensure long-term use:

    • Scheduled upgrades in systems whenever needed.
    • Optimize file sizes by reducing dpi.
    • Update elements.

    Take note of your target market and audiences. Update your virtual tour as your market changes or improves.

    4. Genuine Experience to Customers

    In recent years, almost everything from work to shopping has moved online. Having an online equivalent of window shopping will make your customers want to interact more with you. You can create a different experience for mobile and desktop users if you have the budget for it.

    Customers love familiarity. Branding sells because clients want to remember the companies they value. Having a virtual tour will allow your consumers to feel like they already walked into the house or store. They are already familiar with the feeling of entering your vicinity.

    Final Thoughts

    Whether you’re planning a simple 3D tour or a complete virtually-staged real estate makeover, you can acquire a successful digital marketing campaign with the help of a professional 3D virtual tour company. The goal is to develop familiarity with your brand and products to imitate the purchase experience.

  • 5 Most Important Tips for Exterior Real Estate Photography

    5 Most Important Tips for Exterior Real Estate Photography

    According to a report called Emerging Trends in Real Estate®2021 for the US and Canada published by PricewaterhouseCoopers (PwC), over 90% of the respondents believed that companies would continue to allow remote work-from-home setups for employees in the future. The work-from-home trend boosted the demand for homes outside of urban and industrialized areas.

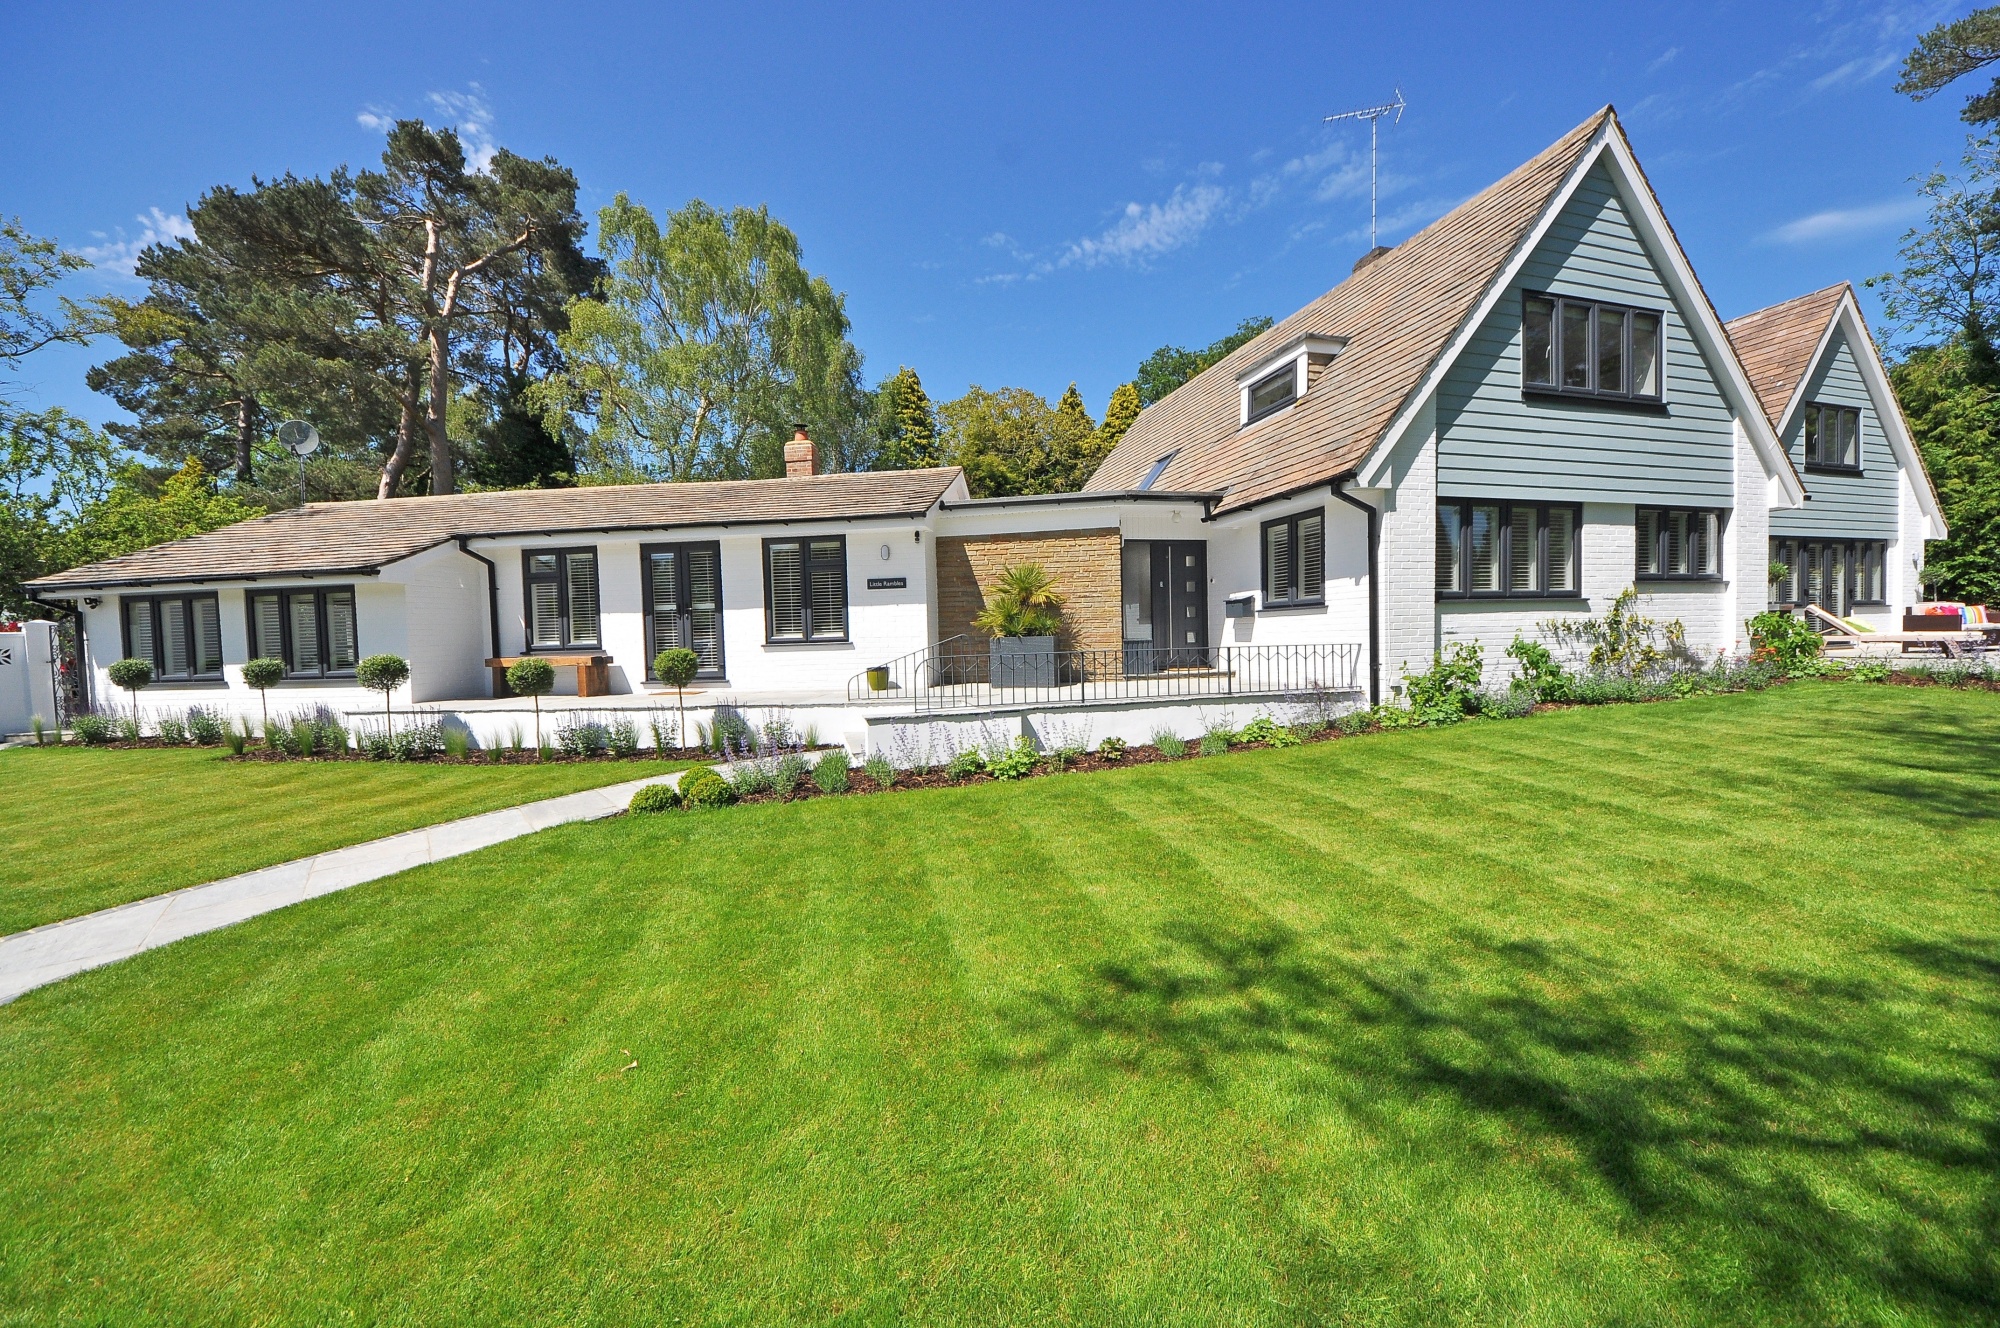
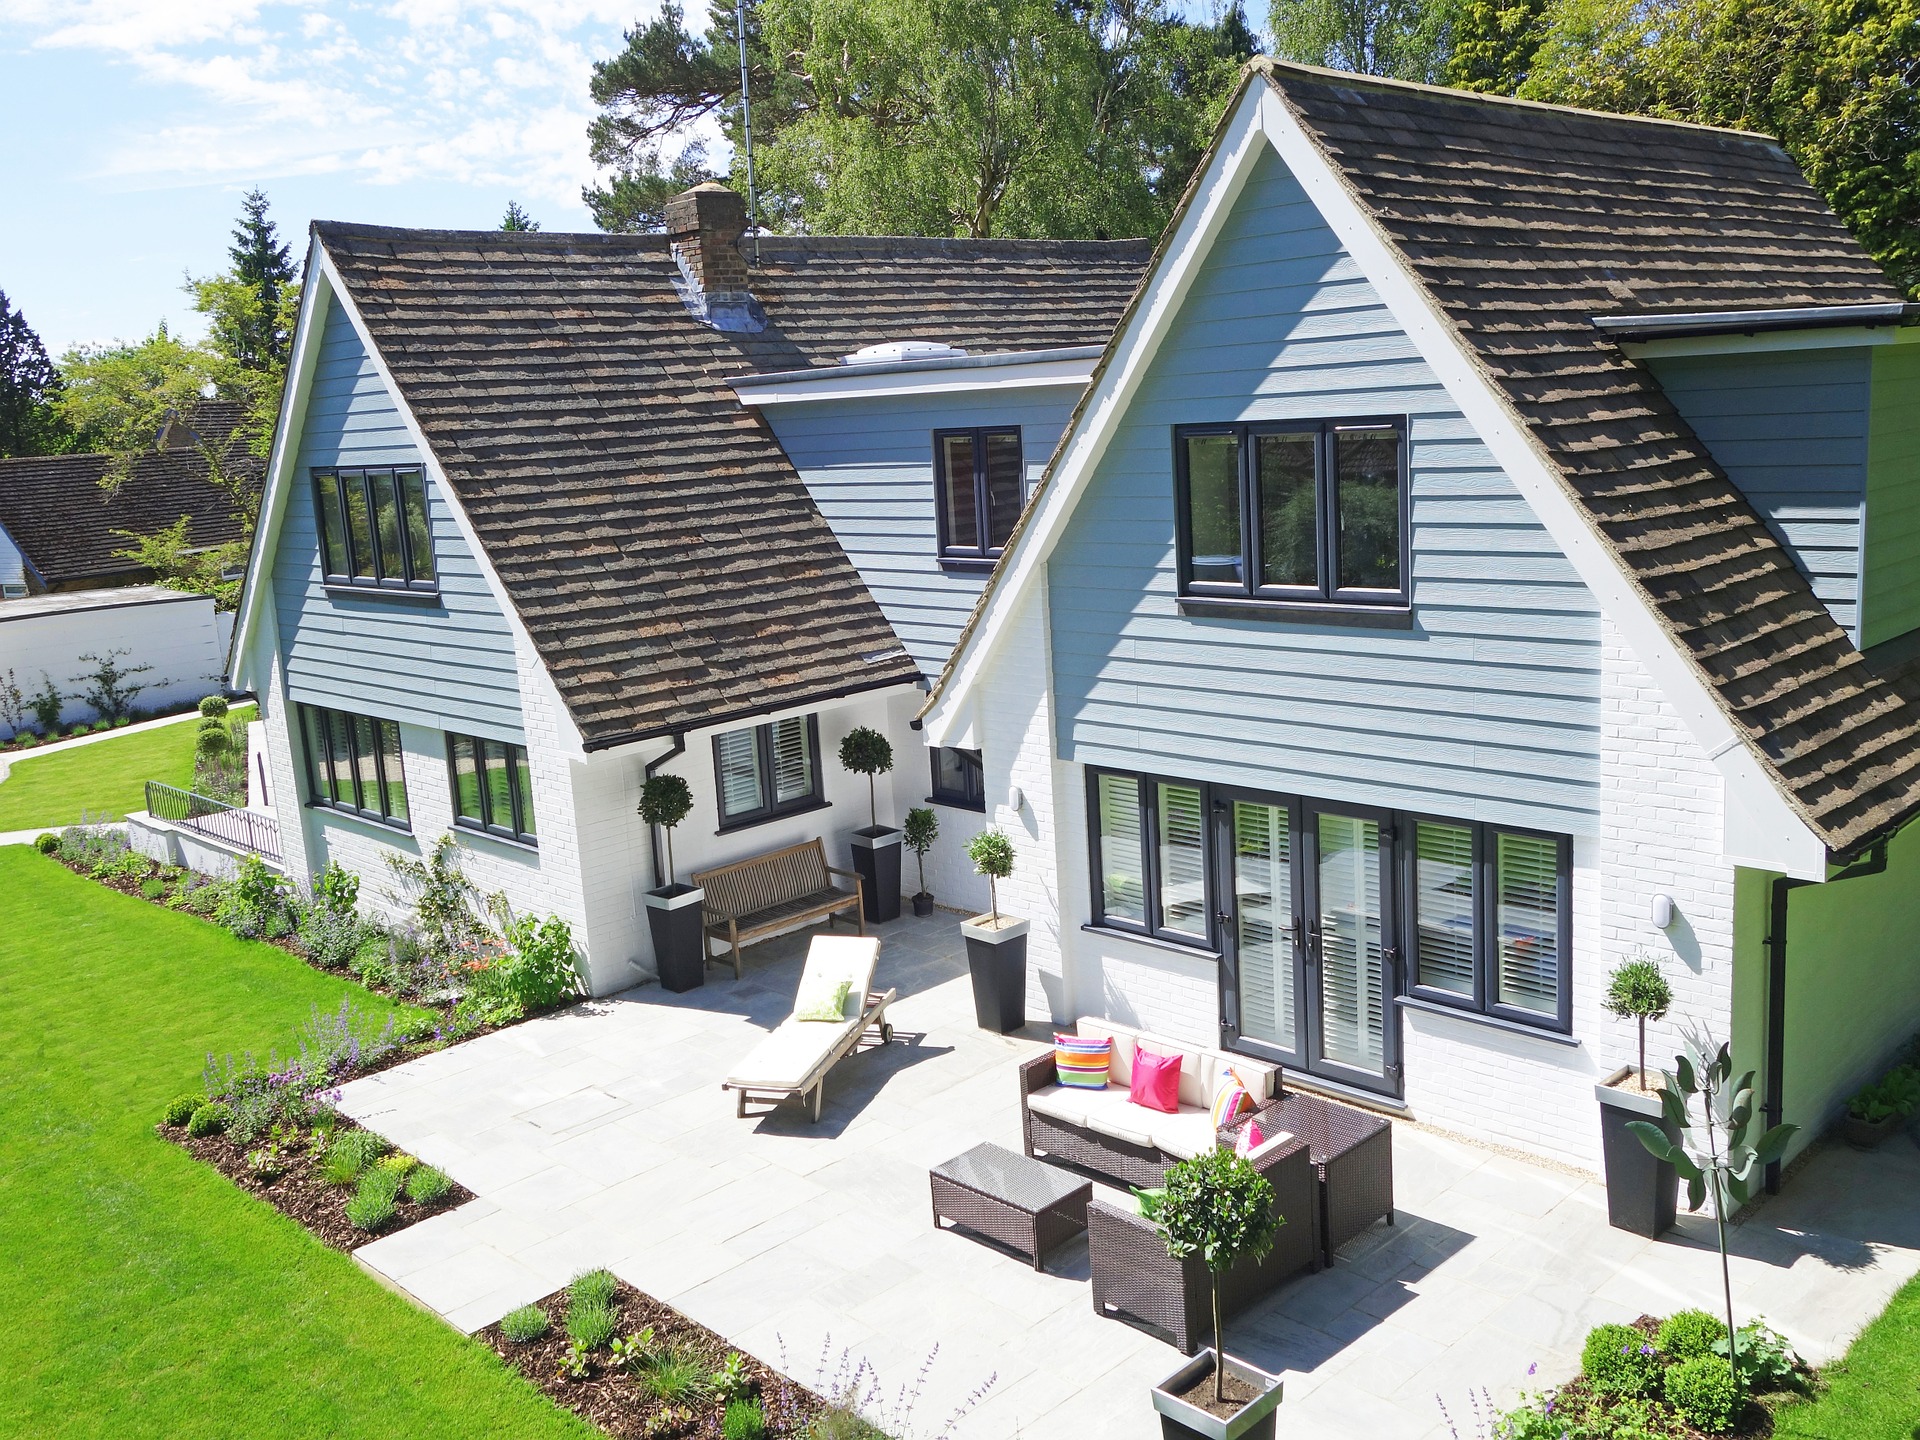
    Employees have relocated to rural areas or the suburbs due to social distancing protocols. The 2021 market movement has increased the demand for outdoor real estate photography as more people are looking for permanent dwellings. Listing photographs have become competitive with most real estate deals happening online.

    What Makes Excellent Property Photos

    There are thousands of ways to take great photos, and you can make the most out of every element available. You can showcase a scenic mountain backdrop on a sunny day or a nighttime light display. There are no hard and fast rules to outdoor property photography, but there are ways to ensure that you get the best results.

    Essential Outdoor Real Estate Photography Tips

    1. Preparation before the shoot

    Excellent planning allows you to perform better and get ready for any external factors. For starters, think about why you’re shooting the outdoor real estate photos and what you’re going to do with them. You may want to post the pictures on a listing website, or you may put it up for lease.

    Here are some of the things you should prepare before the shoot:

    • Clean and declutter the property.
    • Decide on your equipment such as wide lens, drone, diffuser, lighting equipment, tripod, etc.
    • Think of a concept or focal point in your shoot.

    Your primary reason will determine the production style, composition, and equipment needed.

    2. Straighten the horizon

    The horizon should form a straight line to avoid awkward angles. If you can’t see the horizon, check out the topmost part of the lawn or landscape and make sure it’s a straight horizontal line. This simple reminder ensures that you’re practicing the correct perspective in your photo.

    3. Check the weather forecast or season

    Outdoor photoshoots are heavily dependent on the weather. Everything from the sun to the clouds will dictate the quality of your photo. While diffusers and artificial light can make up for cloudy days, you’d want to conduct the shoot while the sun is high and bright.

    4. Highlight unique features

    Compose the outdoor photoshoot from your potential buyer’s perspective to effectively deliver your message. Select a few angles or features in the property or surrounding that would tell a good story.

    Here are some of the questions you should consider:

    • Who are your target buyers?
    • Why would they buy or rent your property?
    • Are they planning to stay short-term or long-term?

    You can include the surrounding imagery in the shoot if you’re planning to sell the property as a whole.

    5. Post-production

    Lastly, spend time and effort in post-production, especially when you’re planning on posting the pictures online. Raw images are only suitable for personal or family use. If you want to publish your photos, you will need to edit them.

    Here are some of the standard post-production processes:

    • Soften rough textures.
    • Apply a blurring effect to illustrate the depth.
    • Remove awkward elements like shadows or trash.
    • Enhance the colors of the roof or garden.

    You need to check how your images look when zoomed in, regardless of how beautiful they appear on the viewfinder or preview.

    Competitive Real Estate Photos

    Professionally done outdoor property photos are visually appealing to buyers. Images showcasing landscapes and unique property features have higher chances of being selected. Enhance the brightness and color levels to stand out and sell the property faster.

  • What is Depth of Field in Real Estate Photography?

    What is Depth of Field in Real Estate Photography?

    The concept of photography is all about capturing a certain subject or landscape to preserve a specific moment. To do this, most photographers opt to blur the subject’s background to add distinction to the main attraction of the photo.

    Moreover, they use it to provide emphasis to the subject’s entirety. With the right instructions, a photographer can grasp this technique easily.

    The blurring of the background is referred to as the depth of field (DOF). In a nutshell, the depth of field provides direction to photographers for them to know whether the subject or the entire frame is focused, or if only a certain part of the scene is blurred.

    While this technique is effectively utilized in any kind of photography, it is more applicable to real estate photography. The proper utilization of the camera’s depth of field will showcase the property’s highlights, mainly focusing on the marketable features that the house has.

    The depth of field is highly reliant on the camera’s capability to work well with light.

    First, the camera lens redirects the available light to the camera’s sensor. Then, the pieces of glass within the lens will adjust the light rays, motioning for them to meet at the image sensor. When the points of light meet at the sensor, it indicates that the subject is in focus.

    Meanwhile, the points of light that meet before or after the image sensor are considered blurry or out of focus. It requires patience and attention to detail as each turn of the lens or any slight movement may skew the achieved focus.

    The focus is also determined by the photographer’s distance to the subject. Using a camera lens with a longer focal length may produce a narrow angle view, with the image’s focal point being farther than usual.

    On the other hand, a lens with a shallow focal length can also be a substitute for a wide angle lens, which captures a wider view, but doesn’t necessarily emphasize the scene’s details. If the real estate photographer is photographing the house’s exterior, it is best to use lenses with a shallow focal length, to completely capture the property’s expanse. However, if the main subject is the house’s interiors and salient features, it is recommended to use a longer focal length.

    Moreover, the depth of field serves as a guide regarding the certain extent of how the subject will remain sharp. A shallow depth of field can be tricky, for any object straying from the mandated distance will come out blurry.

    At the same time, a wider depth of field gives focus to several objects even though the photographer is significantly farther from the subject. The depth of field the photographer will utilize will depend on the level of exposure and emphasis they would like the subject to have.

    The camera’s aperture also plays a crucial role. Through this, the photographer can control how much light the camera absorbed through an opening in the lens.

    Remember the following:

    • The larger the opening, the more light the camera takes in to interconnect more points of light.
    • The wider the aperture level, the shorter the distance it requires to produce a sharper subject.
    • It is recommended for real estate photographers to use a wider aperture when it comes to focusing on the home’s features, while a smaller aperture level can make almost everything within the frame focused.

    Above all, most photographers utilize this technique in order to magnify the central subject or the scene’s entirety while real estate photographers may use this technique to focus on the property’s selling points and specific features, which will effectively catch prospective buyers’ and realtors’ attention.

  • Should Real Estate Photographers List Packages’ Prices Online?

    Should Real Estate Photographers List Packages’ Prices Online?

    For years, some real estate photographers are still asking the same question over time: Is it necessary to put prices online?

    Well, the truth is there is no right or wrong answer here. It is purely your decision as to the photographer, especially if you are a freelancer.

    However, if you are connected to a real estate photography company, the decision to publish your services’ rates is solely up to the owner, not you.

    In this case, it is now a matter of communication with your boss. It is best if your leader is open to feedback, but they don’t need to consider what their employees think all the time.

    But if they do, you are lucky. So, consider the facts and use them to prove your point.

    It would be best to give the pros and cons so your boss can evaluate things and make a sound decision.

    So, here are the pros and cons of listing prices on your website and other online platforms.

    Pros

    Search Optimized Result

    Since search engines such as Google love to show results based on unique algorithms and keywords, it is best to take advantage of it by putting your prices online.

    As long as the page is optimized correctly, there is a chance that your site will rank with the keyword like “How much does it cost?“

    This is considered one of the most searched question-based keywords that have valuable traffic. Hence, including a price table on your website can help get more traffic, improving your visibility online.

    Credibility and Trust

    Having your price available on the website will build your authority over the service or product niche you are targeting.

    Moreover, it makes potential buyers trust you for being transparent with your rates. It gives them the idea that you only charge reasonably to everyone who wants to avail your products or services.

    Efficient and Time-Saving

    Imagine going through a series of inquiries before getting a quote for what you need. It is tiring and time-consuming.

    However, if you eliminate this from the process, there is a lesser chance for potential customers not to pursue the purchase.

    Besides the work quality, price is also an essential key factor driving clients’ decisions. Giving your costs right away allows them to check if they can afford it or not. This will save you time and ensure more successful transactions in the long run.

    Cons

    Price Shopping

    There is no denying that making the prices public allows people to browse and look for competitors’ websites to check if their services are more affordable than yours.

    This can be a downside because prospective clients may only look for the prices and not consider the efficiency and quality of work you can offer.

    Room for Doubts

    You see, it is expected that competitors offer the same product or service as yours at a lower price than what the standard is.

    Well, you understand that this is the right price for it, but your potential clients do not, and it is possible for them to doubt you right away, asking why you are offering this at a higher price when others do not.

    Client Database Problem

    One reason businesses opt not to show prices on the website is to build a client’s database. This is usually done by incorporating email marketing strategies wherein potential clients sign up to get information about the prices.

    This is a good strategy but can be missed if your prices are all on the website, except if you offer custom pricing wherein they need to email you to get a quote of what they need.

    Alright. These are some of the pros and cons you can cite to support any decision to put prices on your website.

    We hope that this gives you valuable insights to make the best decision about the business or job.


  • Top 4 Most Popular Panorama Makers

    Top 4 Most Popular Panorama Makers

    In photography, panorama is one thing that makes the lives of photographers comfortable and easy.

    Using this technique, real estate photographers can stitch out the most compelling images you need for your listings.

    But why is panorama critical in real estate photography, and how can you make one?

    What is a panorama?

    Unless you have the most updated camera, capturing the perfect panorama shot is quite challenging. Hence, it would be useful to know how to do this manually.

    So, what is a panorama?

    In photography, the panorama is a technique wherein images with single exposures and HDR are stitched together to create one comprehensive picture. Panoramic images show the particular captured image in a broad view – something that a standard camera lens cannot do.

    Moreover, panoramic photography is only for wide horizontal images. It is commonly used for landscape photography but is now widespread in real estate photography, cityscape photography, and architecture photography.

    Panorama Makers for Real Estate Photographers

    Today’s modern cameras have panoramic mode available, but if you still do not have the most updated one, try using a panorama maker.

    Check out this list.

    1.  PTGui

    PTGui is one of the most popular panorama makers with photographers. It has a simplified interface, friendly-user features, and fast processing that makes the perfect panorama images.

    Moreover, it is also versatile as it supports many types of lenses and cameras.

    The PTGui Pro version supports HDR blending and Exposure-Fusion, which are essential in creating the best sharpness through the frame and blending across the photos’ seams.

    Here are some of its pros and cons.

    Pros:

    • It allows fast adjustment of the projections, including rotation and center.
    • Automatically recognizes the camera and lens. Once done, it will calibrate the perfect settings for you.
    • Offer a wide range of projections such as the essential rectilinear, the obscure Vedutismo, spherical, “little planet,” and cube face.
    • Remove unwanted features and allows you to tweak the control points manually.
    • Stitch a 1 Gigapixel panorama in just 25 seconds.

    Cons:

    • Default settings are unconventional and need a lot of manual adjustments.

    2.  Autostitch

    Autostitch is a wholesome automatic panorama maker with an easy-to-use interface and functions.

    Just click on the File menu, then tap on Open to import photos. This software will automatically work on stitching the pictures in one go.

    The usual turnaround time is around two minutes. After this, you should already have a panoramic photo. The matching and blending of edges are generally better in Autostitch than manual operations.

    Here are its pros and cons.

    Pros:

    • A simple and functional interface
    • Proven effective in stitching images with superb quality

    As for the cons, users worldwide do not have specific complaints when using this tool, so it is up to you to judge.

    3.  Panorama Stitcher Mini for PC and Mac

    Panorama Stitcher Mini is a favorite of most Mac users when creating a panorama.

    Its free version allows users to experiment with how to create a stitched panorama by using an app. Such an app can stitch up to five images and is now compatible with macOS 10.12.

    Moreover, it also incorporates lens shading correction for more accurate and realistic colors.

    Here are some of its pros and cons:

    Pros:

    • Fully automated panorama maker application
    • Create high-resolution images suitable for large prints such as banners or tarpaulins.

    Cons:

    • Quick memory draining
    • Slow speed

    4.  Hugin

    Hugin is an open-source panorama photo creation tool. This means it can be easily modified by anyone knowledgeable about open-source software to customize it according to needed features.

    It is free software that allows users to fix control points manually. This makes various exposures taken from two types of lenses look natural and smooth.

    As for the pros and cons, check the following:

    Pros:

    • Special free software.
    • Easy to install and use
    • Final panoramic images are high-quality

    Cons:

    • It can be challenging to use by beginners
    • Bugs are common

    So, what do you think? Which of these tools above is your best choice? Let us know below!

  • Top 5 File Formats in Photography

    Top 5 File Formats in Photography

    In photography, knowing how to capture the perfect images is the main point but knowing the technicalities is another thing to deal with and understand

    Learning the art of photography is not always taught in the book. Sometimes, you need to invest more time into learning other things to equip you further in the game.

    There are always many things to understand and remember. One of these is the file formats.

    When you specialize in real estate photography, it is best to know which file format is the most suitable for your photos. The first step to determining this is by knowing your purpose. Evaluate and try to understand what you are trying to achieve.

    Then, try to check which format fits your purpose. As real estate photo editors, having a suitable format is one key to a successful editing process.

    It can help a lot in completing the project with the highest quality possible. Take a look at this guide and learn the standard file formats in photography in general.

    JPEG (Joint Photographic Experts Group)

    JPEG is the most common image file type.

    Most documents and websites use this type of image, including those used for printed outputs. Nowadays, it is used mainly in social media, emails, and other marketing campaigns.

    One of its advantages is that it takes less space in your memory cards but does not support transparent backgrounds for images, and is more prone to losing some color information.

    PNG (Portable Network Graphics)

    The PNG format is the most versatile file format.

    It is a lossless file type because it can preserve images without any loss in its quality. This format helps a lot, especially if the photos need a transparent background. However, it is hardly practical if you intend to use it for non-transparent purposes.

    TIFF (Tagged Image File Format)

    TIFF is the best for the post-processing stage since this format is never compressed.

    It is also compatible with almost all image-editing software currently available. You can also have options to support different color standards such as CMYK, RGB, Lab, Indexed Color, and Grayscale Images.

    It is best to preserve the image’s quality, primarily if used for high-quality printing. However, it is usually a large file size and  is not always supported by most websites and social media platforms.

    PSD (Photoshop Document)

    PSD file comes from Adobe Photoshop. It is usually used to save images for further editing.

    It is one of the only formats that can save a file with all the existing Photoshop features, including the layers, applied effects, and other healing tools used to beautify the image.

    Specifically, you will be able to preserve layers, transparency, adjustments, masks, clipping paths, blending modes, vector text, shapes, gradients, and others, but its downside is that you can only open the file in Photoshop.

    GIF (Graphics Interchange Format)

    The popular animated image you see online is known as GIF.

    It is a popular image format online because of its animation property, which is very useful for diagrams, graphics, logos, and others with limited color range.

    Due to its animation effect, it is highly favored by those people who need it for their graphics. Yet, it always has limited features in the color range, which are not best for reproducing high-quality images.

    These are the most commonly used file formats that every photo editor can use and experiment with.

    There is no written rule about what format you should use, but there are recommended ones you can try. Remember that every format has its use, so it matters you choose what fits most your needs.