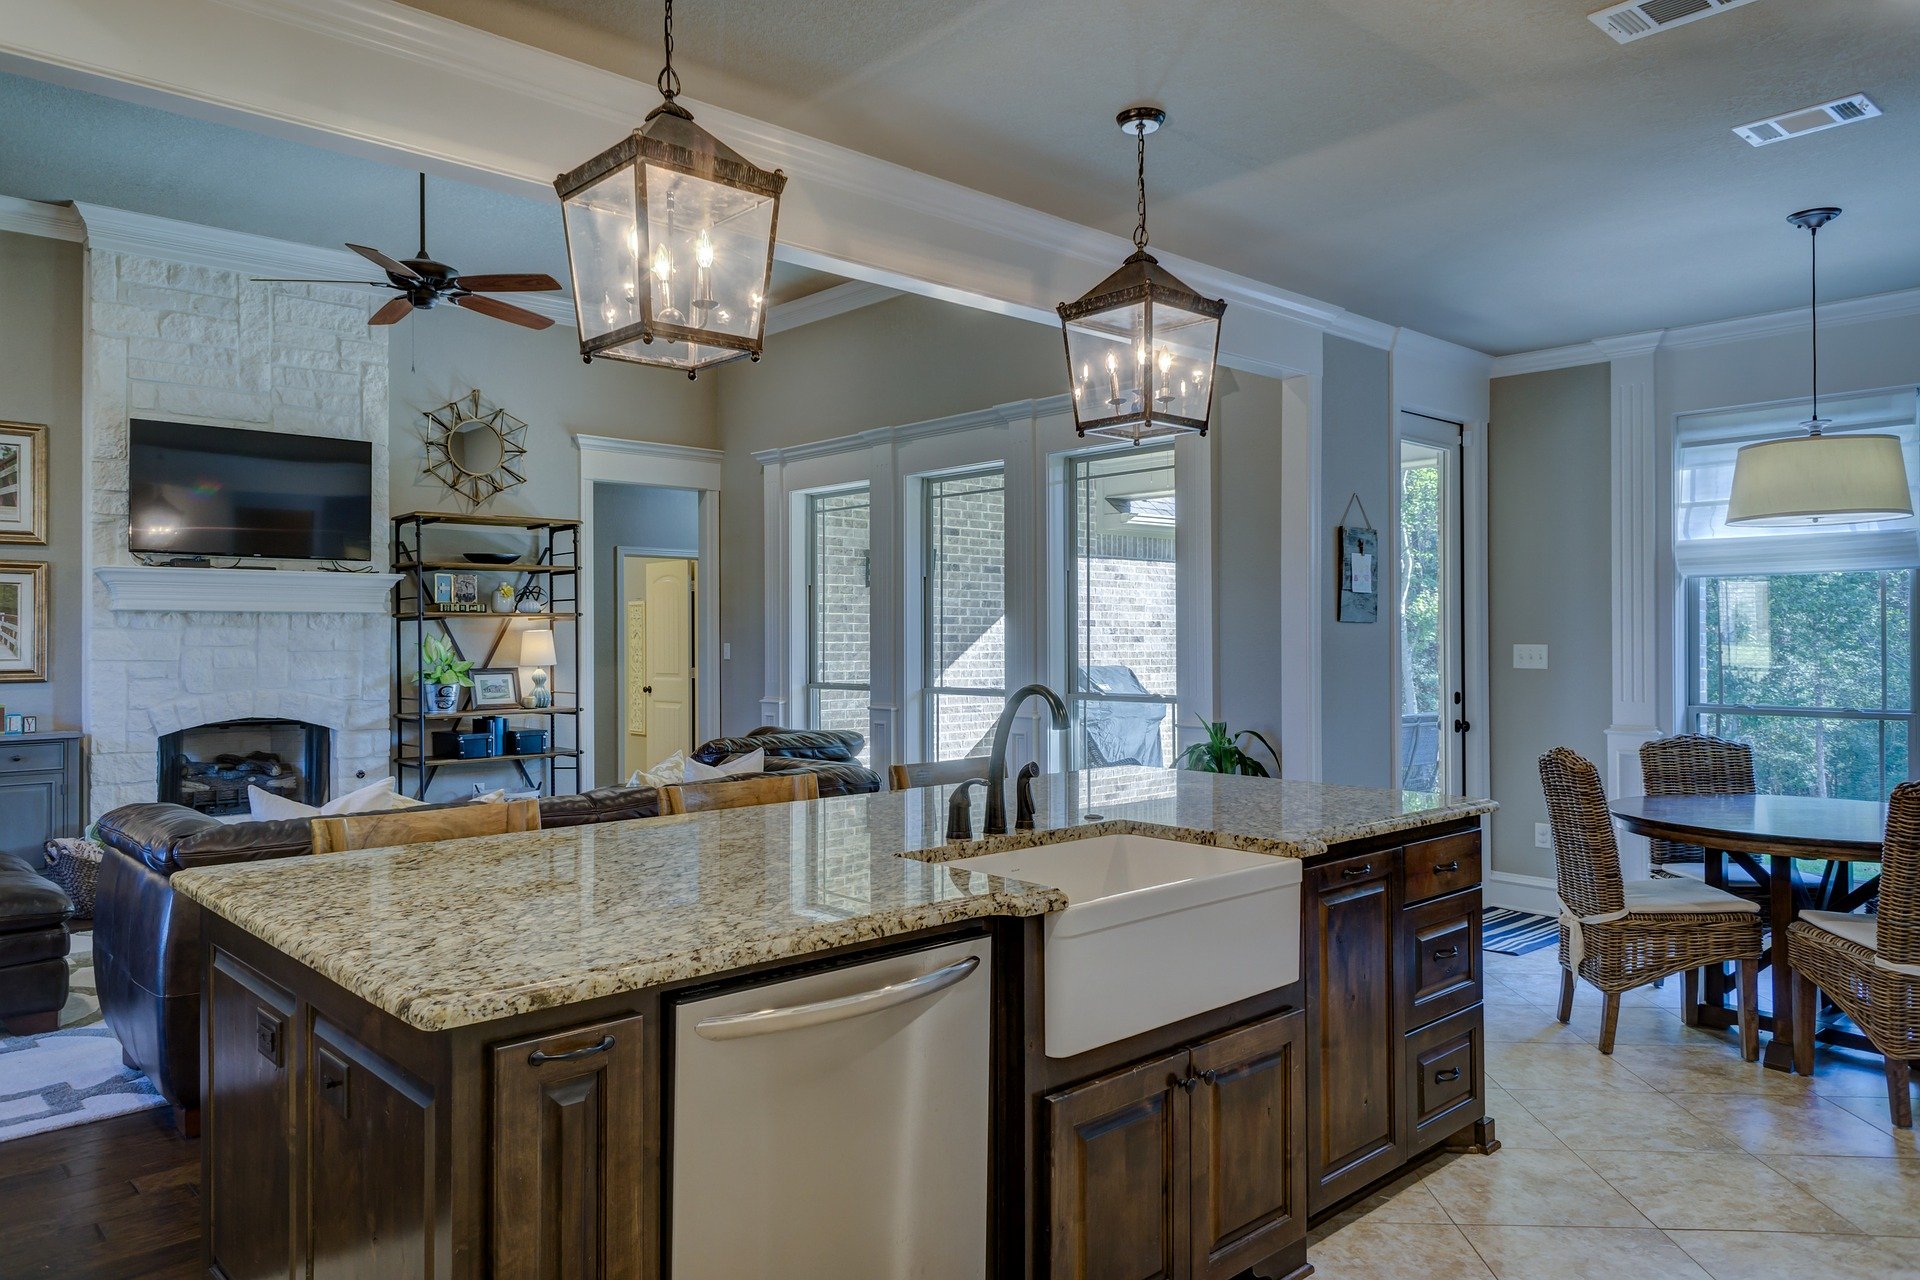
The real estate industry’s tools and devices have evolved to accommodate the growing market needs and demands, especially in creative listing methods. These days, companies even offer real estate aerial photography services to spice up your listing photos. As a result, aerial photography will dominate the ever-competitive real estate industry.
2021 is the best year to start this innovative real estate trend. So before anything else, let’s talk about aerial photography in a real estate setting.
What is Real Estate Aerial Photography?
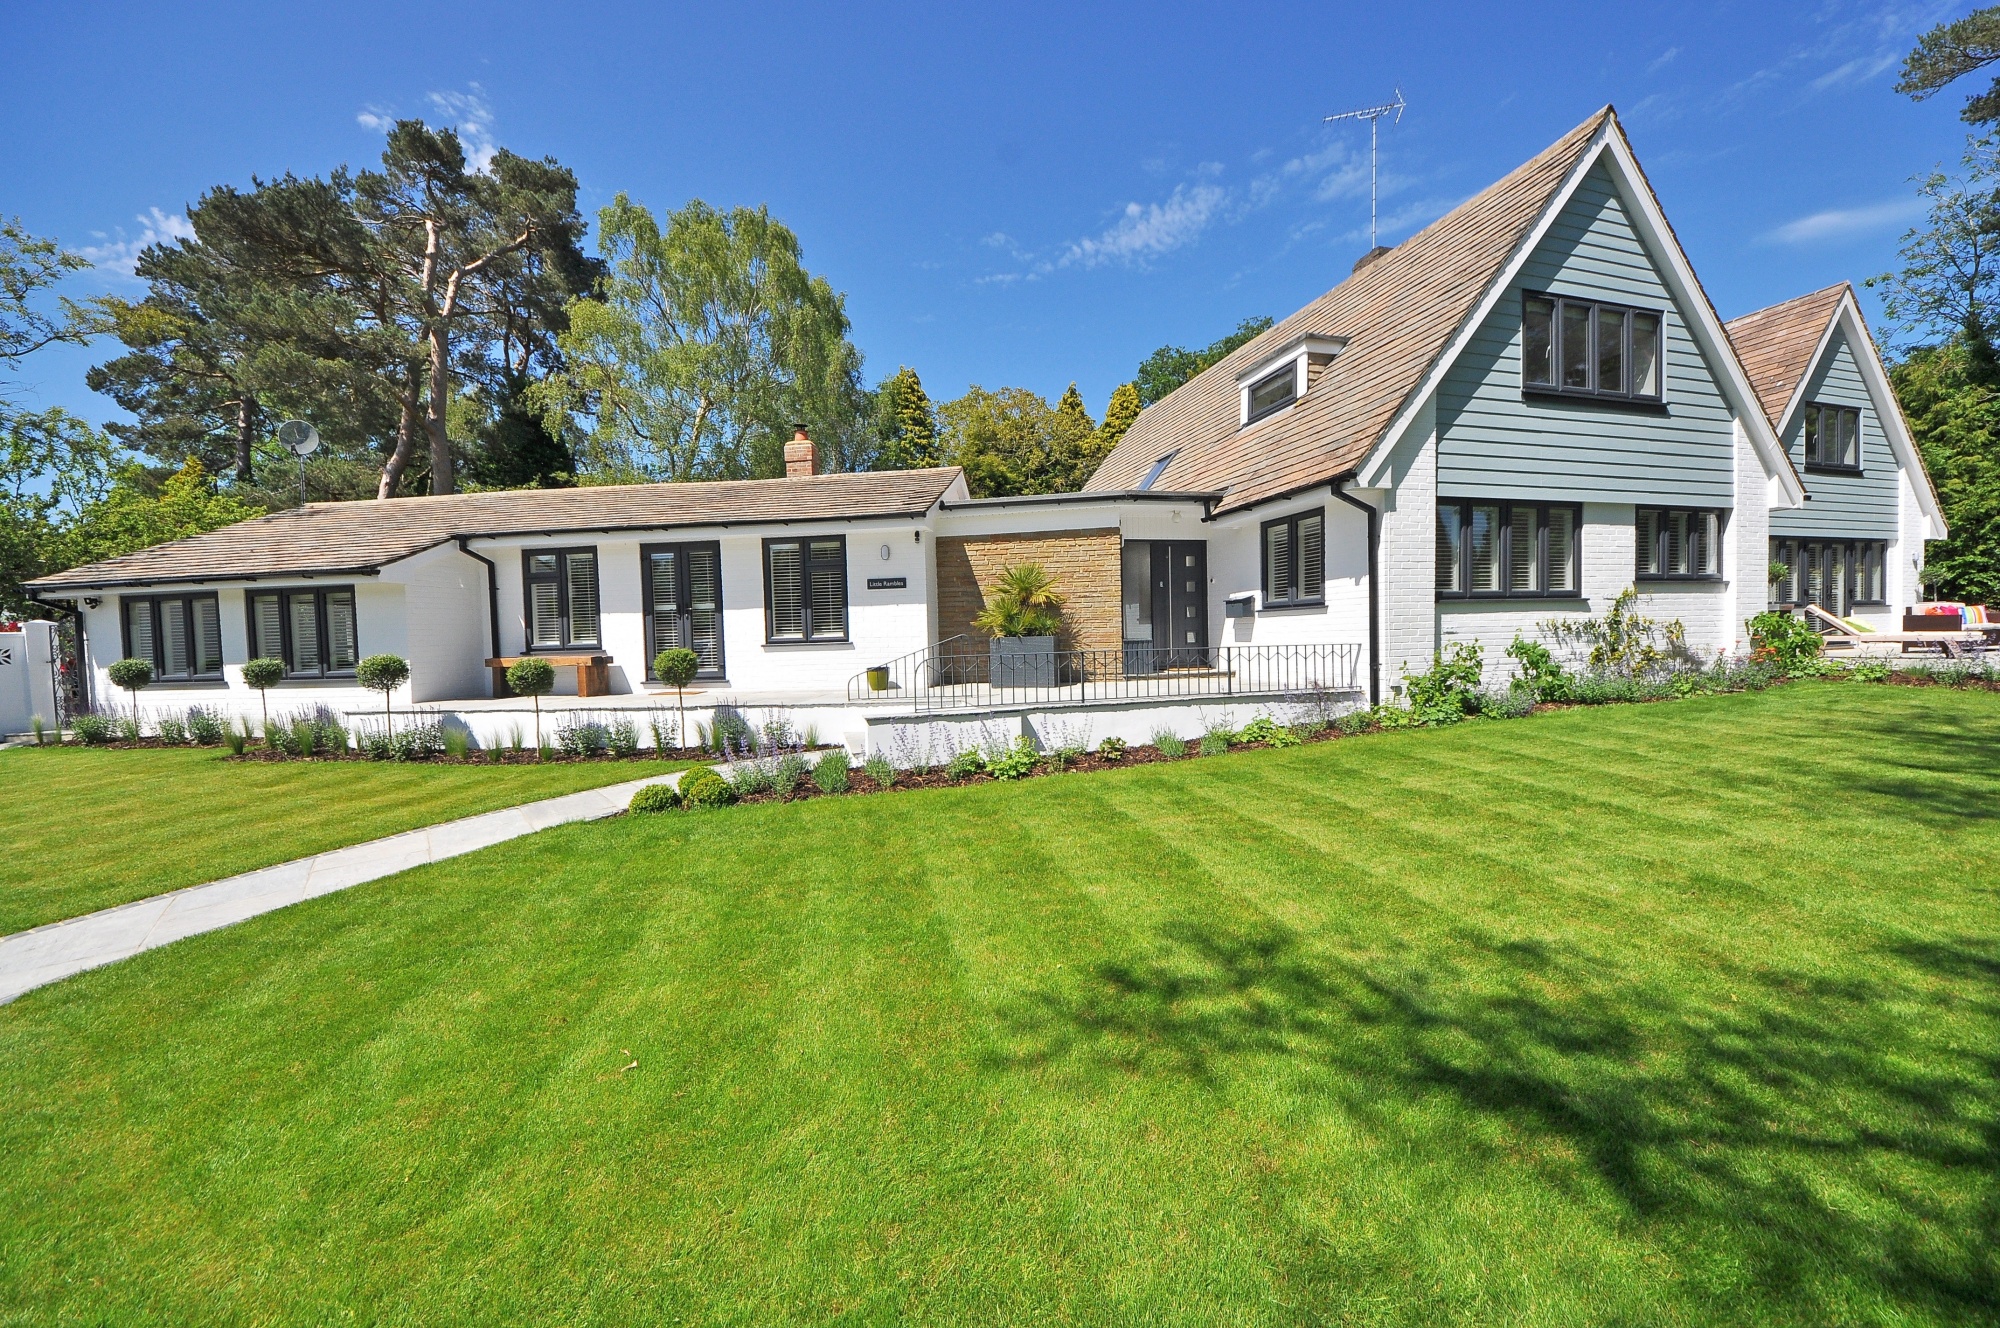
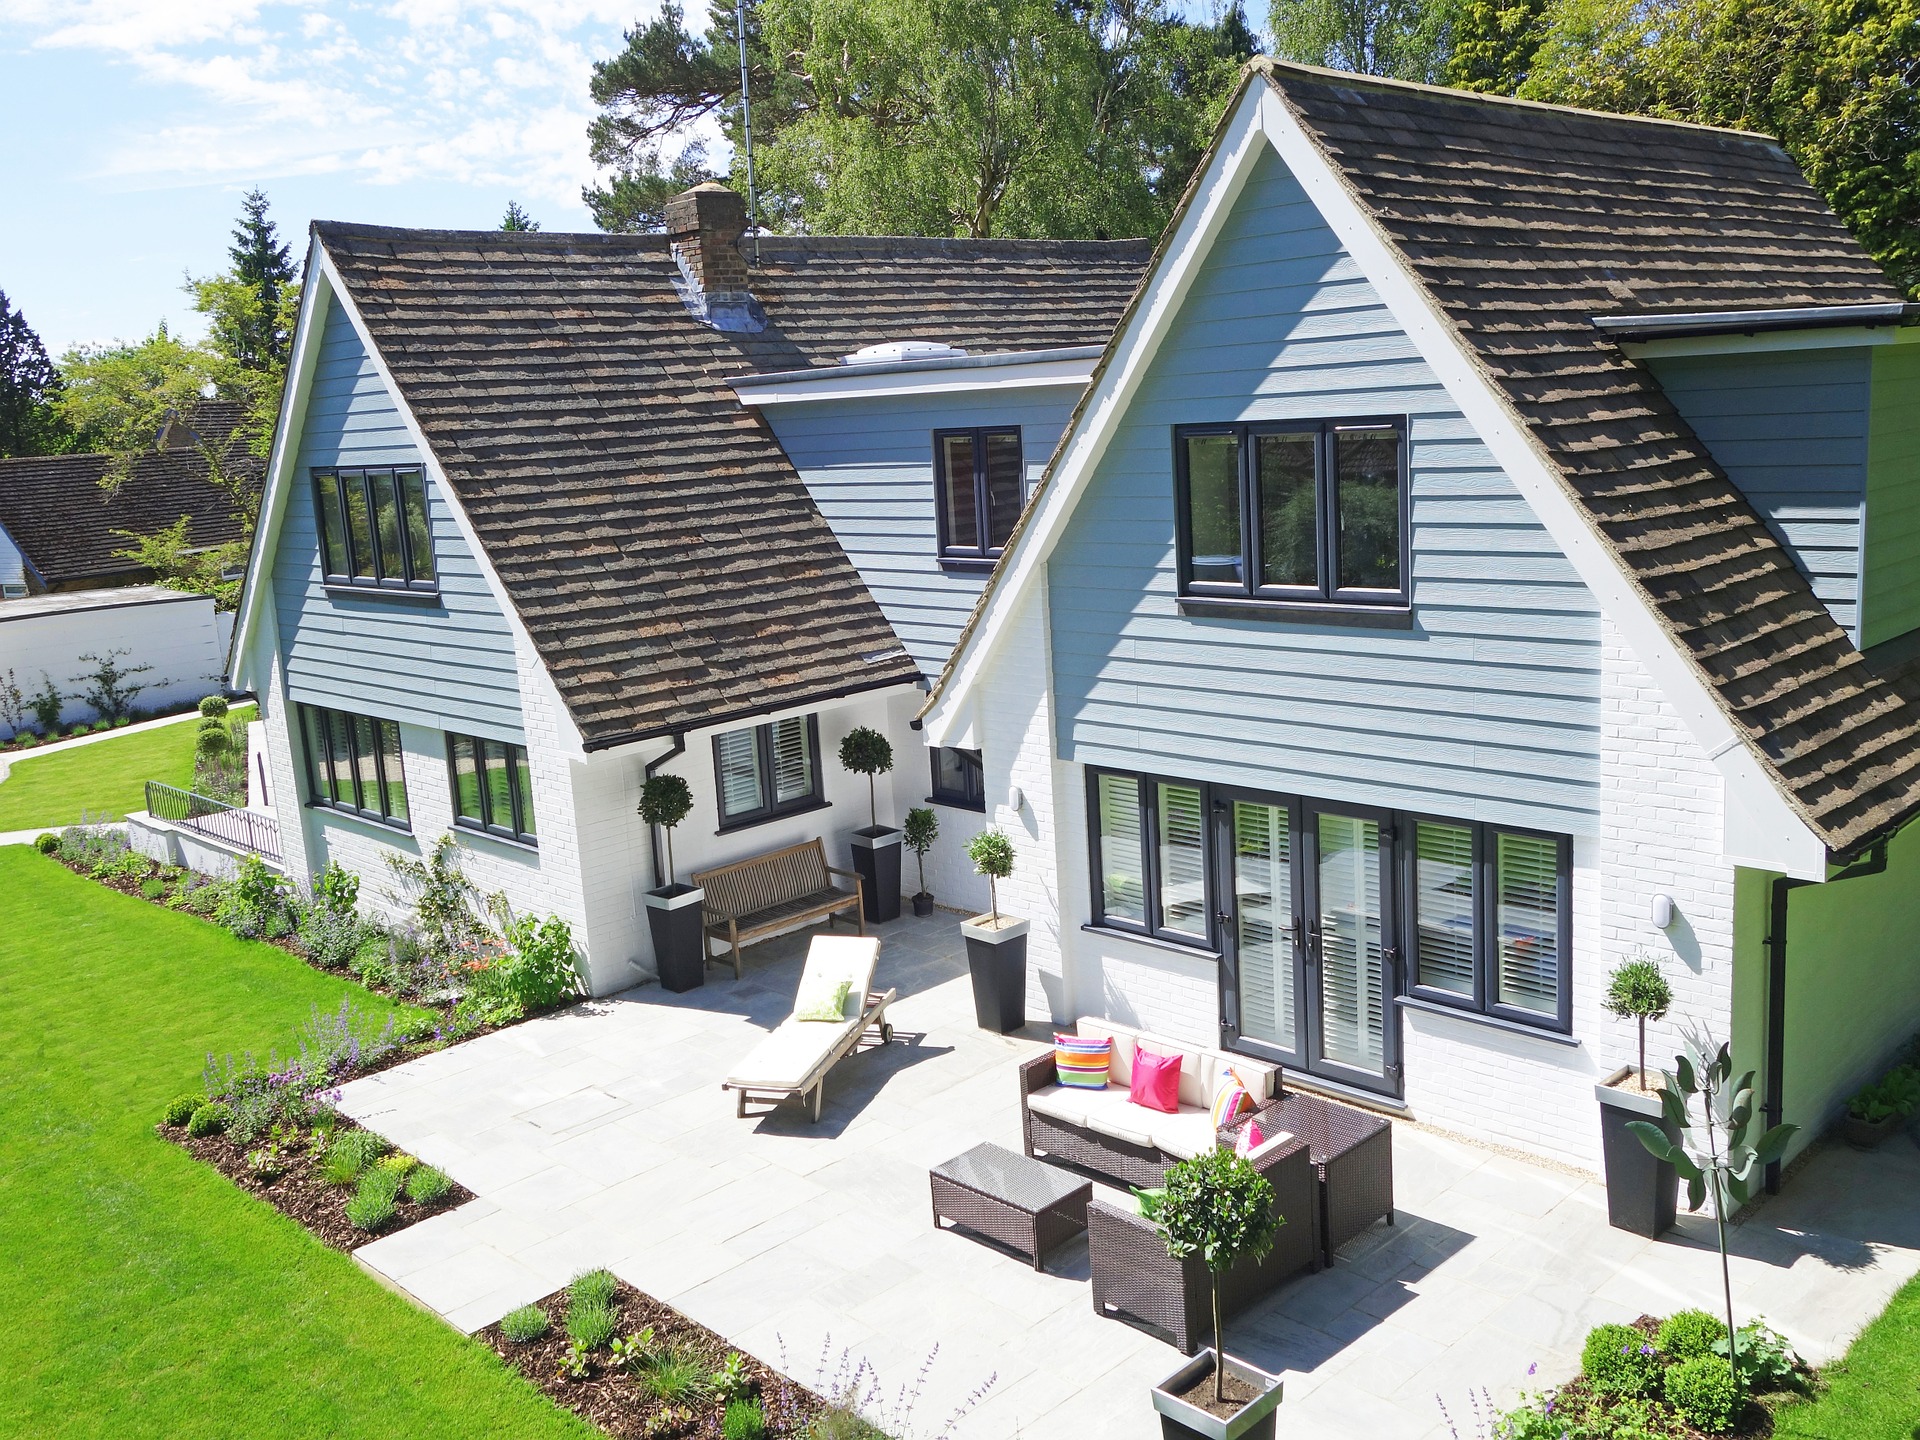
Aerial Photography is taking high-altitude images using drones or other devices. It’s a technique that enables you to creatively display unique angles that most people don’t see daily. Due to its novelty, people have been using aerial photography to upgrade the usual photography styles. Some even compile these photos into videos. Check out these real estate aerial photography tips.
Most real estate aerial photography services offer drone footage as images and videos because they are in high demand. You may ask yourself if doing aerial real estate photography is worth the effort.
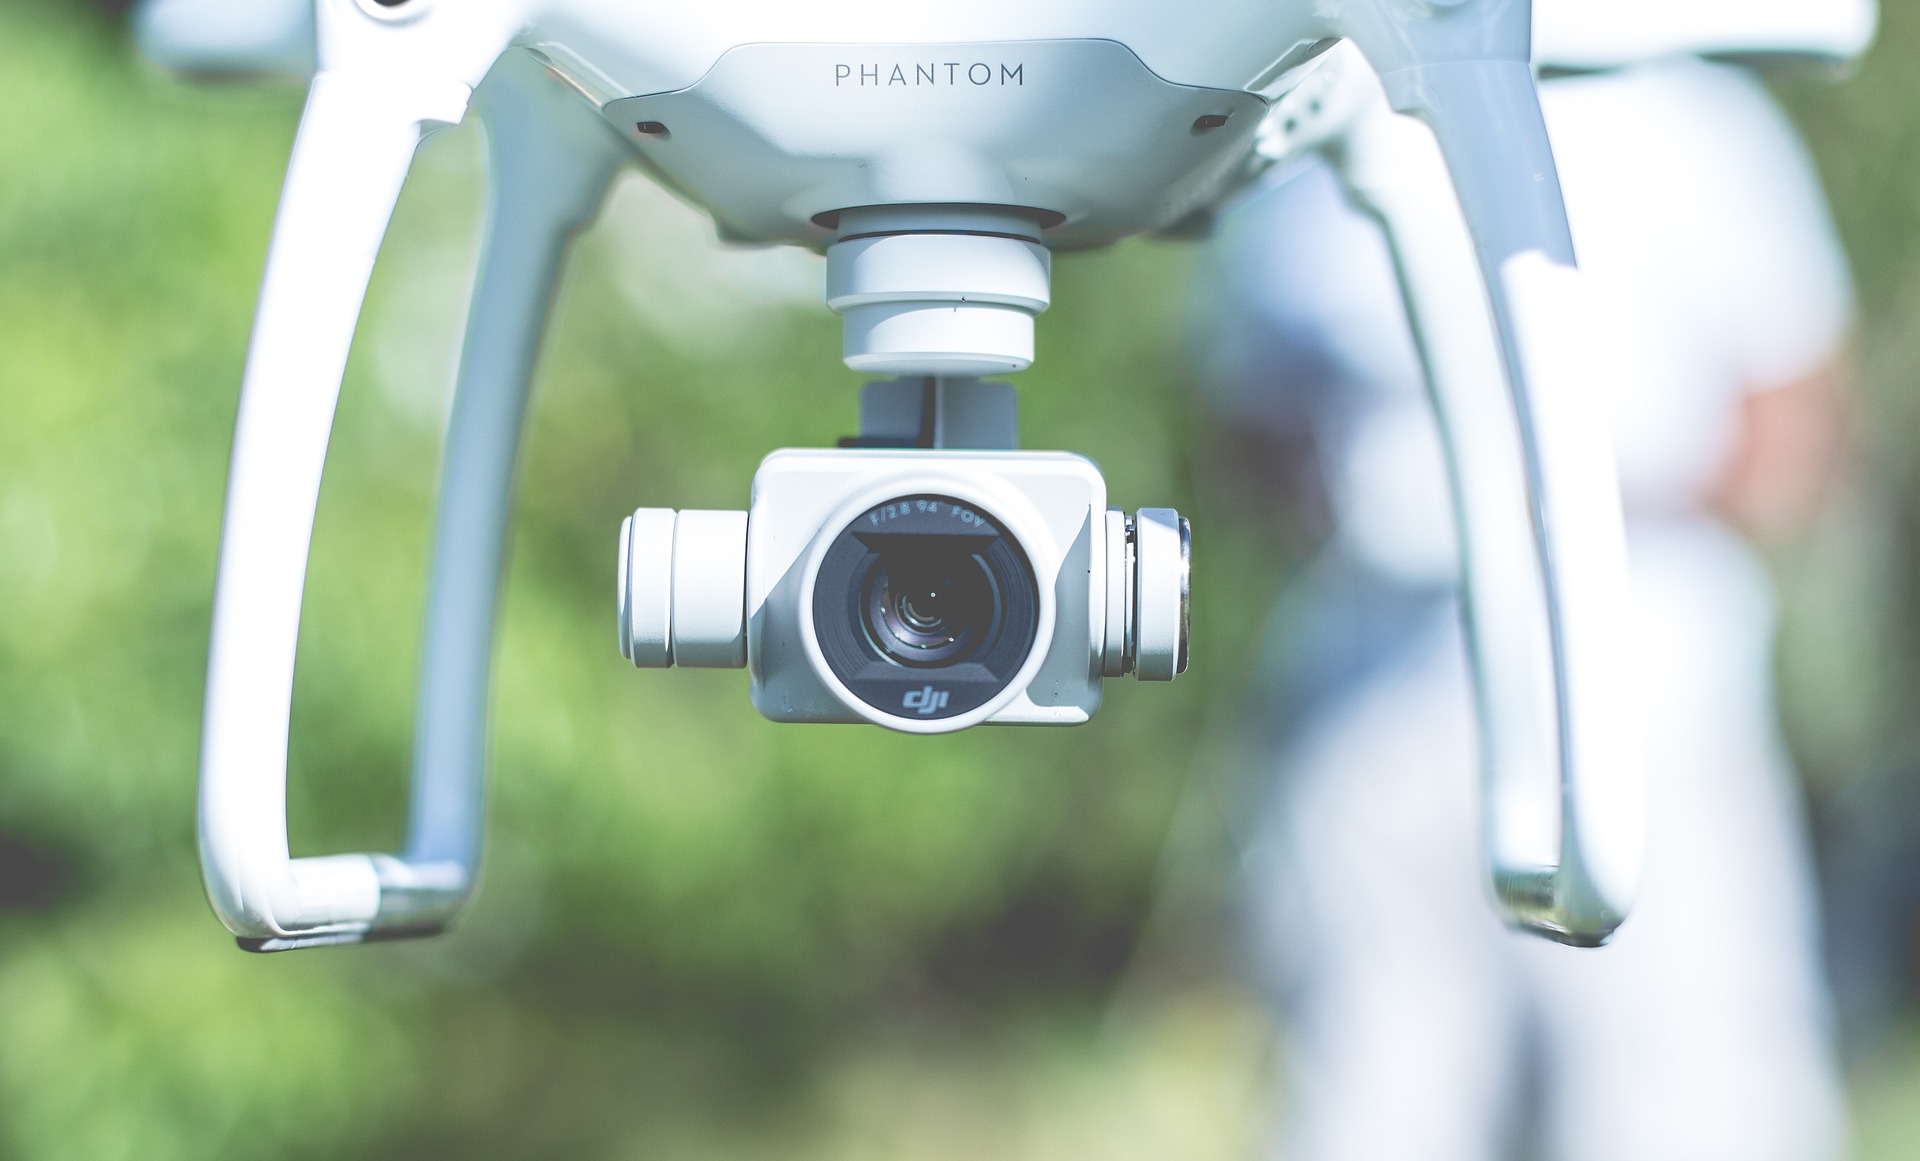
Pros and Cons of Drones for Real Estate Aerial Photography
There are different reasons to use aerial shots for real estate, especially when you’re planning to dominate listings. However, you may still be on the fence on whether or not you should hire a real estate aerial photographer. Maybe these reasons can help.
Here are some of the advantages and disadvantages of using drones for aerial photography:
Pros
1. Unique and attractive
DSLR and smartphone cameras can get the job done, but a drone adds a unique perspective. For example, you want to get aerial shots of a particular location or view outside the apartment window. A drone could allow you to create a panning or panorama photo instead of a one-angled static image.
2. Cover a lot of ground
Most smartphones have built-in wide-angled lenses so that you can conduct rooftop shots while standing and overlooking the entire city. However, a drone could take your phone or camera even higher or to an angle that can showcase more areas or places.
3. Long-term investment
A drone would be an excellent long-term investment because it will always be relevant in the real estate industry.
Cons
1. Expensive equipment and accessories
Every photographer will tell you that a drone is an expensive investment, so it’s not a recommended purchase, especially when you only have one or two projects in the queue. Aside from the actual drone, you have to consider the accessories and other equipment you need to carry out the job.
Hiring a professional real estate aerial photographer or real estate photography company can solve the investment problem. These experts already have drones at their disposal, and they are accustomed to the handling and operation of these devices.
2. High learning curve
Owning a drone is one thing, and effectively navigating the device is another. You may think that buying a drone and taking it out for a spin will instantly award you with the best real estate listing images and videos, but this couldn’t be further from the truth.
Real estate drone photography is a different ball game since you need to master real estate photography and drone photography principles. However, it’s manageable if you have the resources and time to practice.
Final Thoughts
Real estate aerial photography is an excellent way to showcase different views of the property for sale. A drone is a valuable device if you’re planning to sell several homes within a locality. You can exhibit high-altitude angles, including beautiful sceneries and surroundings, to potential buyers.