Nowadays, there are already many cameras to choose from: point and shoot, DSLRs, and the mirrorless ones. Yet, how do these cameras differ from one another? What does it take to choose the best one for you? Let us find it out.
The very first thing that you want to know about cameras is their functionalities. Here, we will compare a DSLR and mirrorless camera in terms of different criteria such as size and weight, autofocus speed, image preview, video quality, shooting speed, battery life, and lenses and accessories.
So, before discussing each factor, let us define first what is DSLR and mirrorless camera.
DSLR and Mirrorless Defined
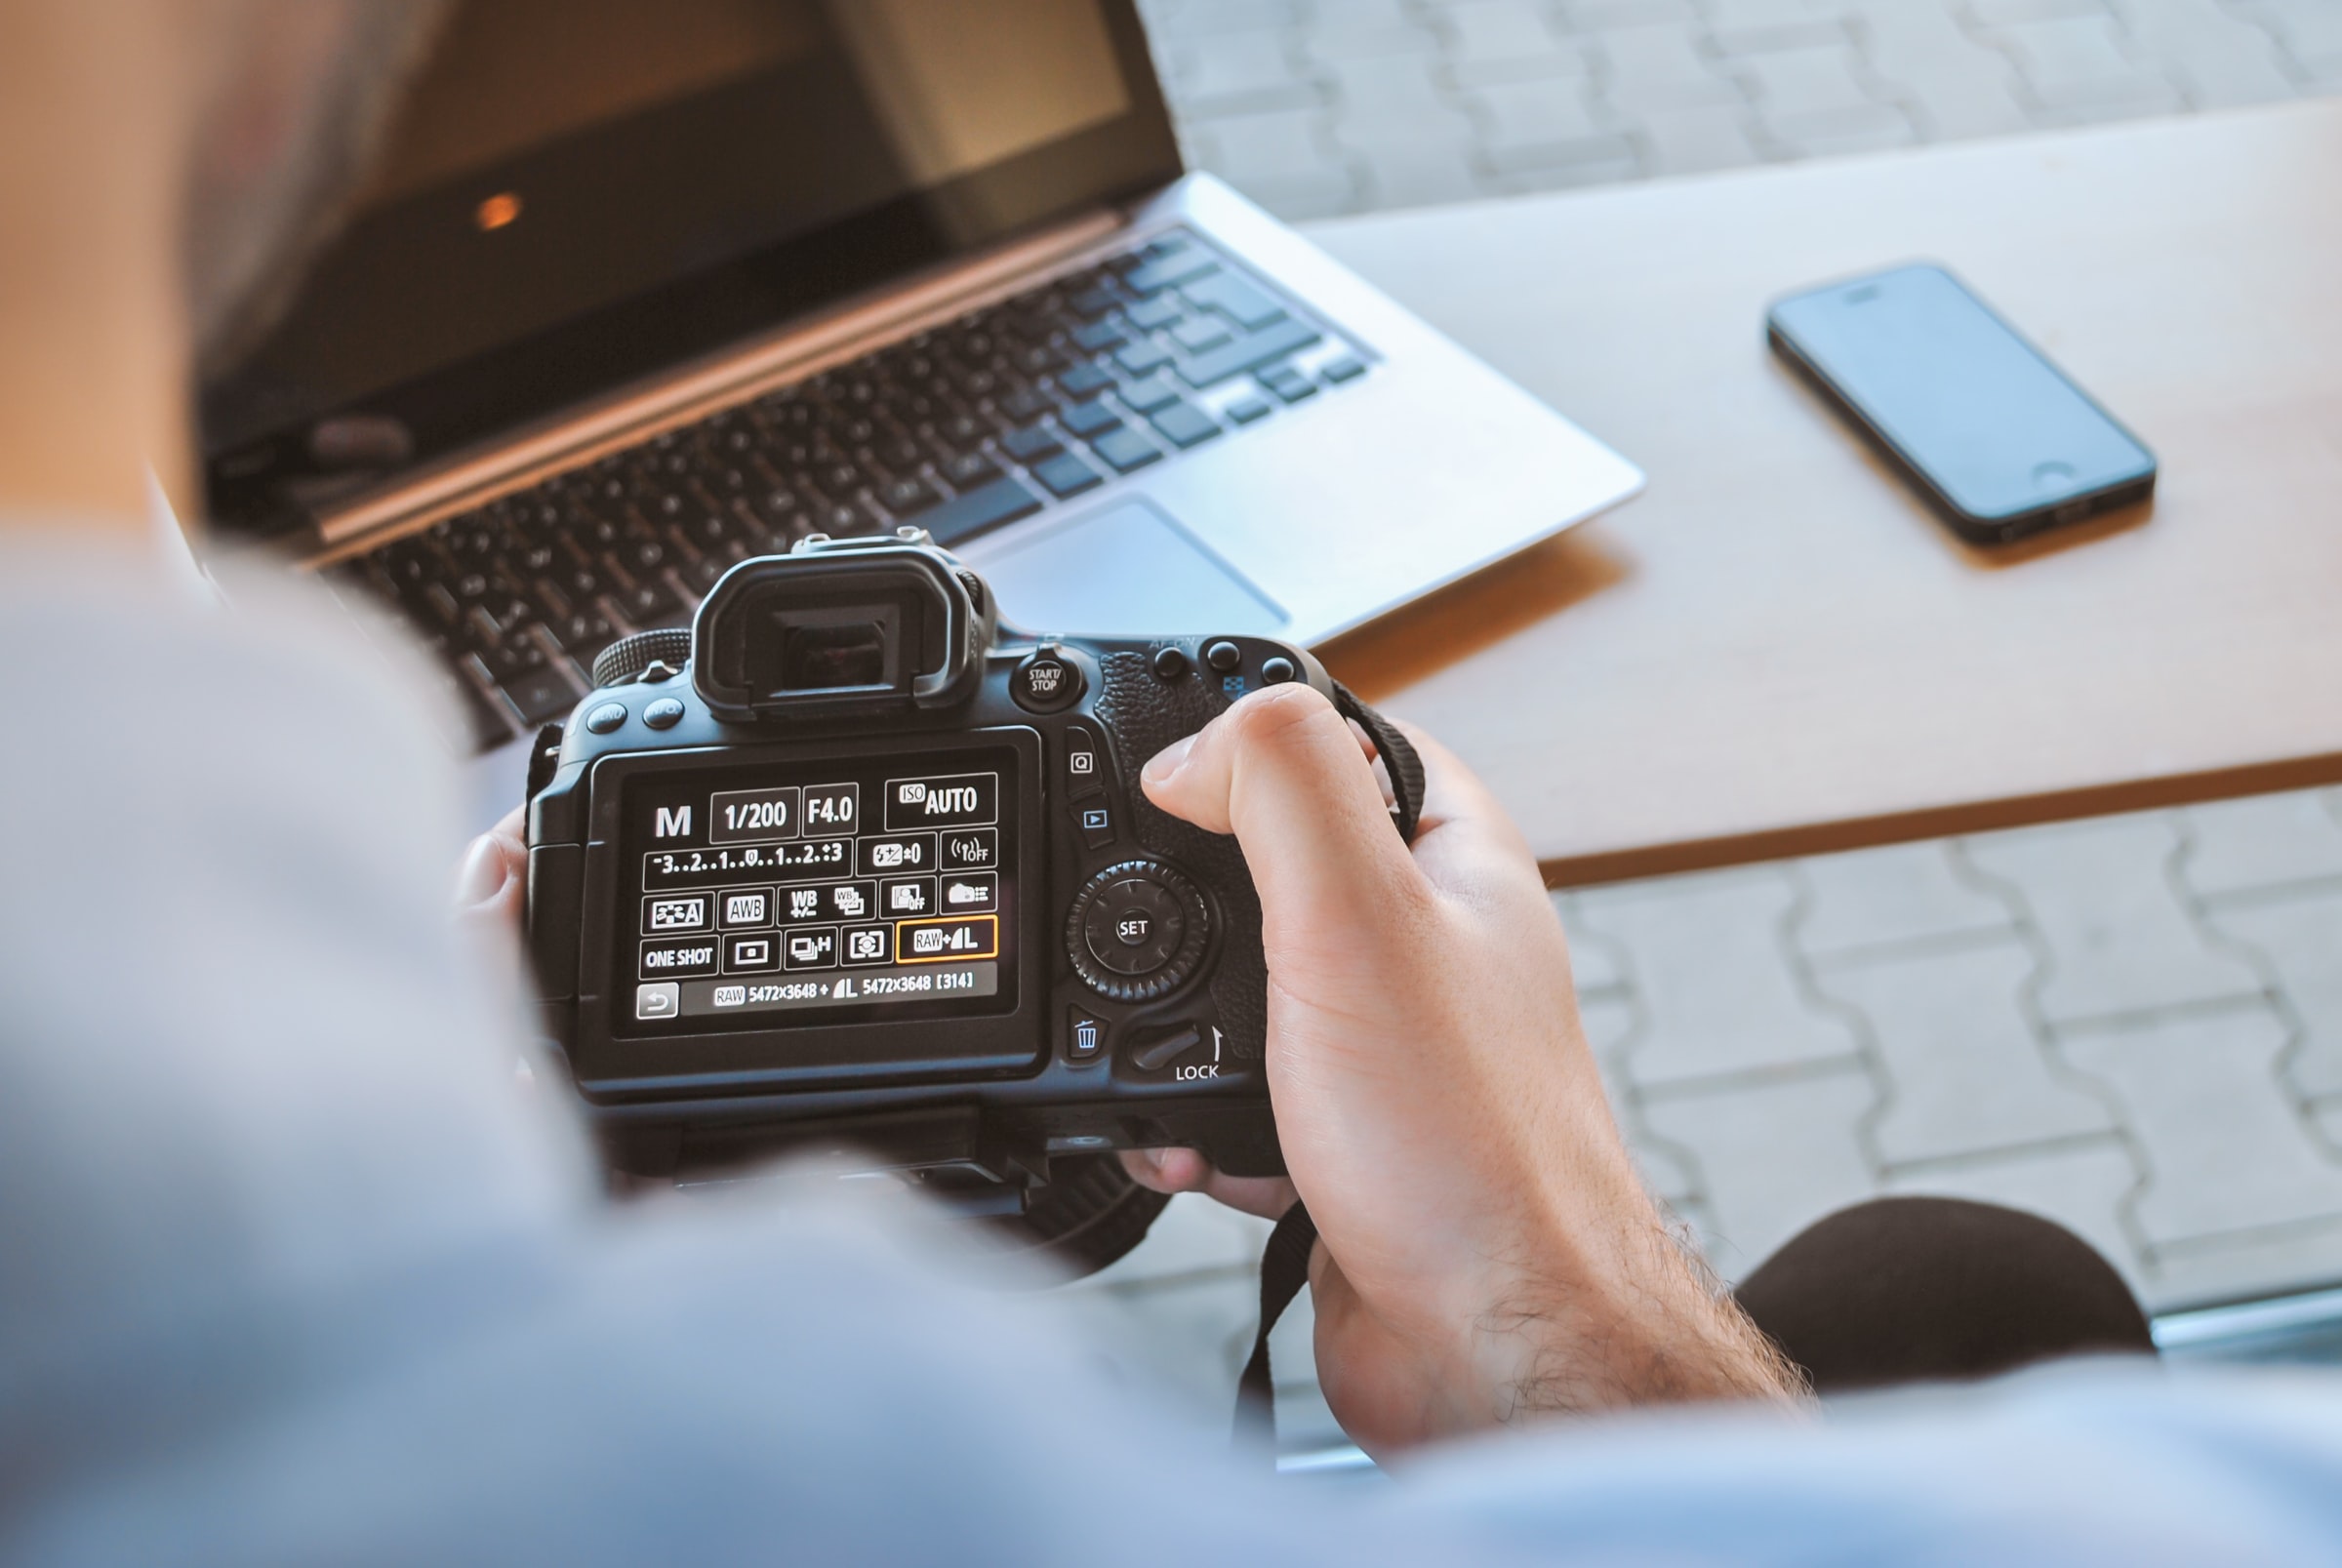
DSLR stands for the digital single-lens reflex, a type of camera that uses a mirror mechanism to reflect light from a camera lens to an optical viewfinder. It can also let light pass onto the image sensor by moving the mirror in a different direction.
On the other hand, a mirrorless camera allows light to pass through the lens, then onto the image sensor. This process captures a preview of the image and displays it on the rear screen. Some models have a second screen inside its electronic viewfinder.
Size and Weight
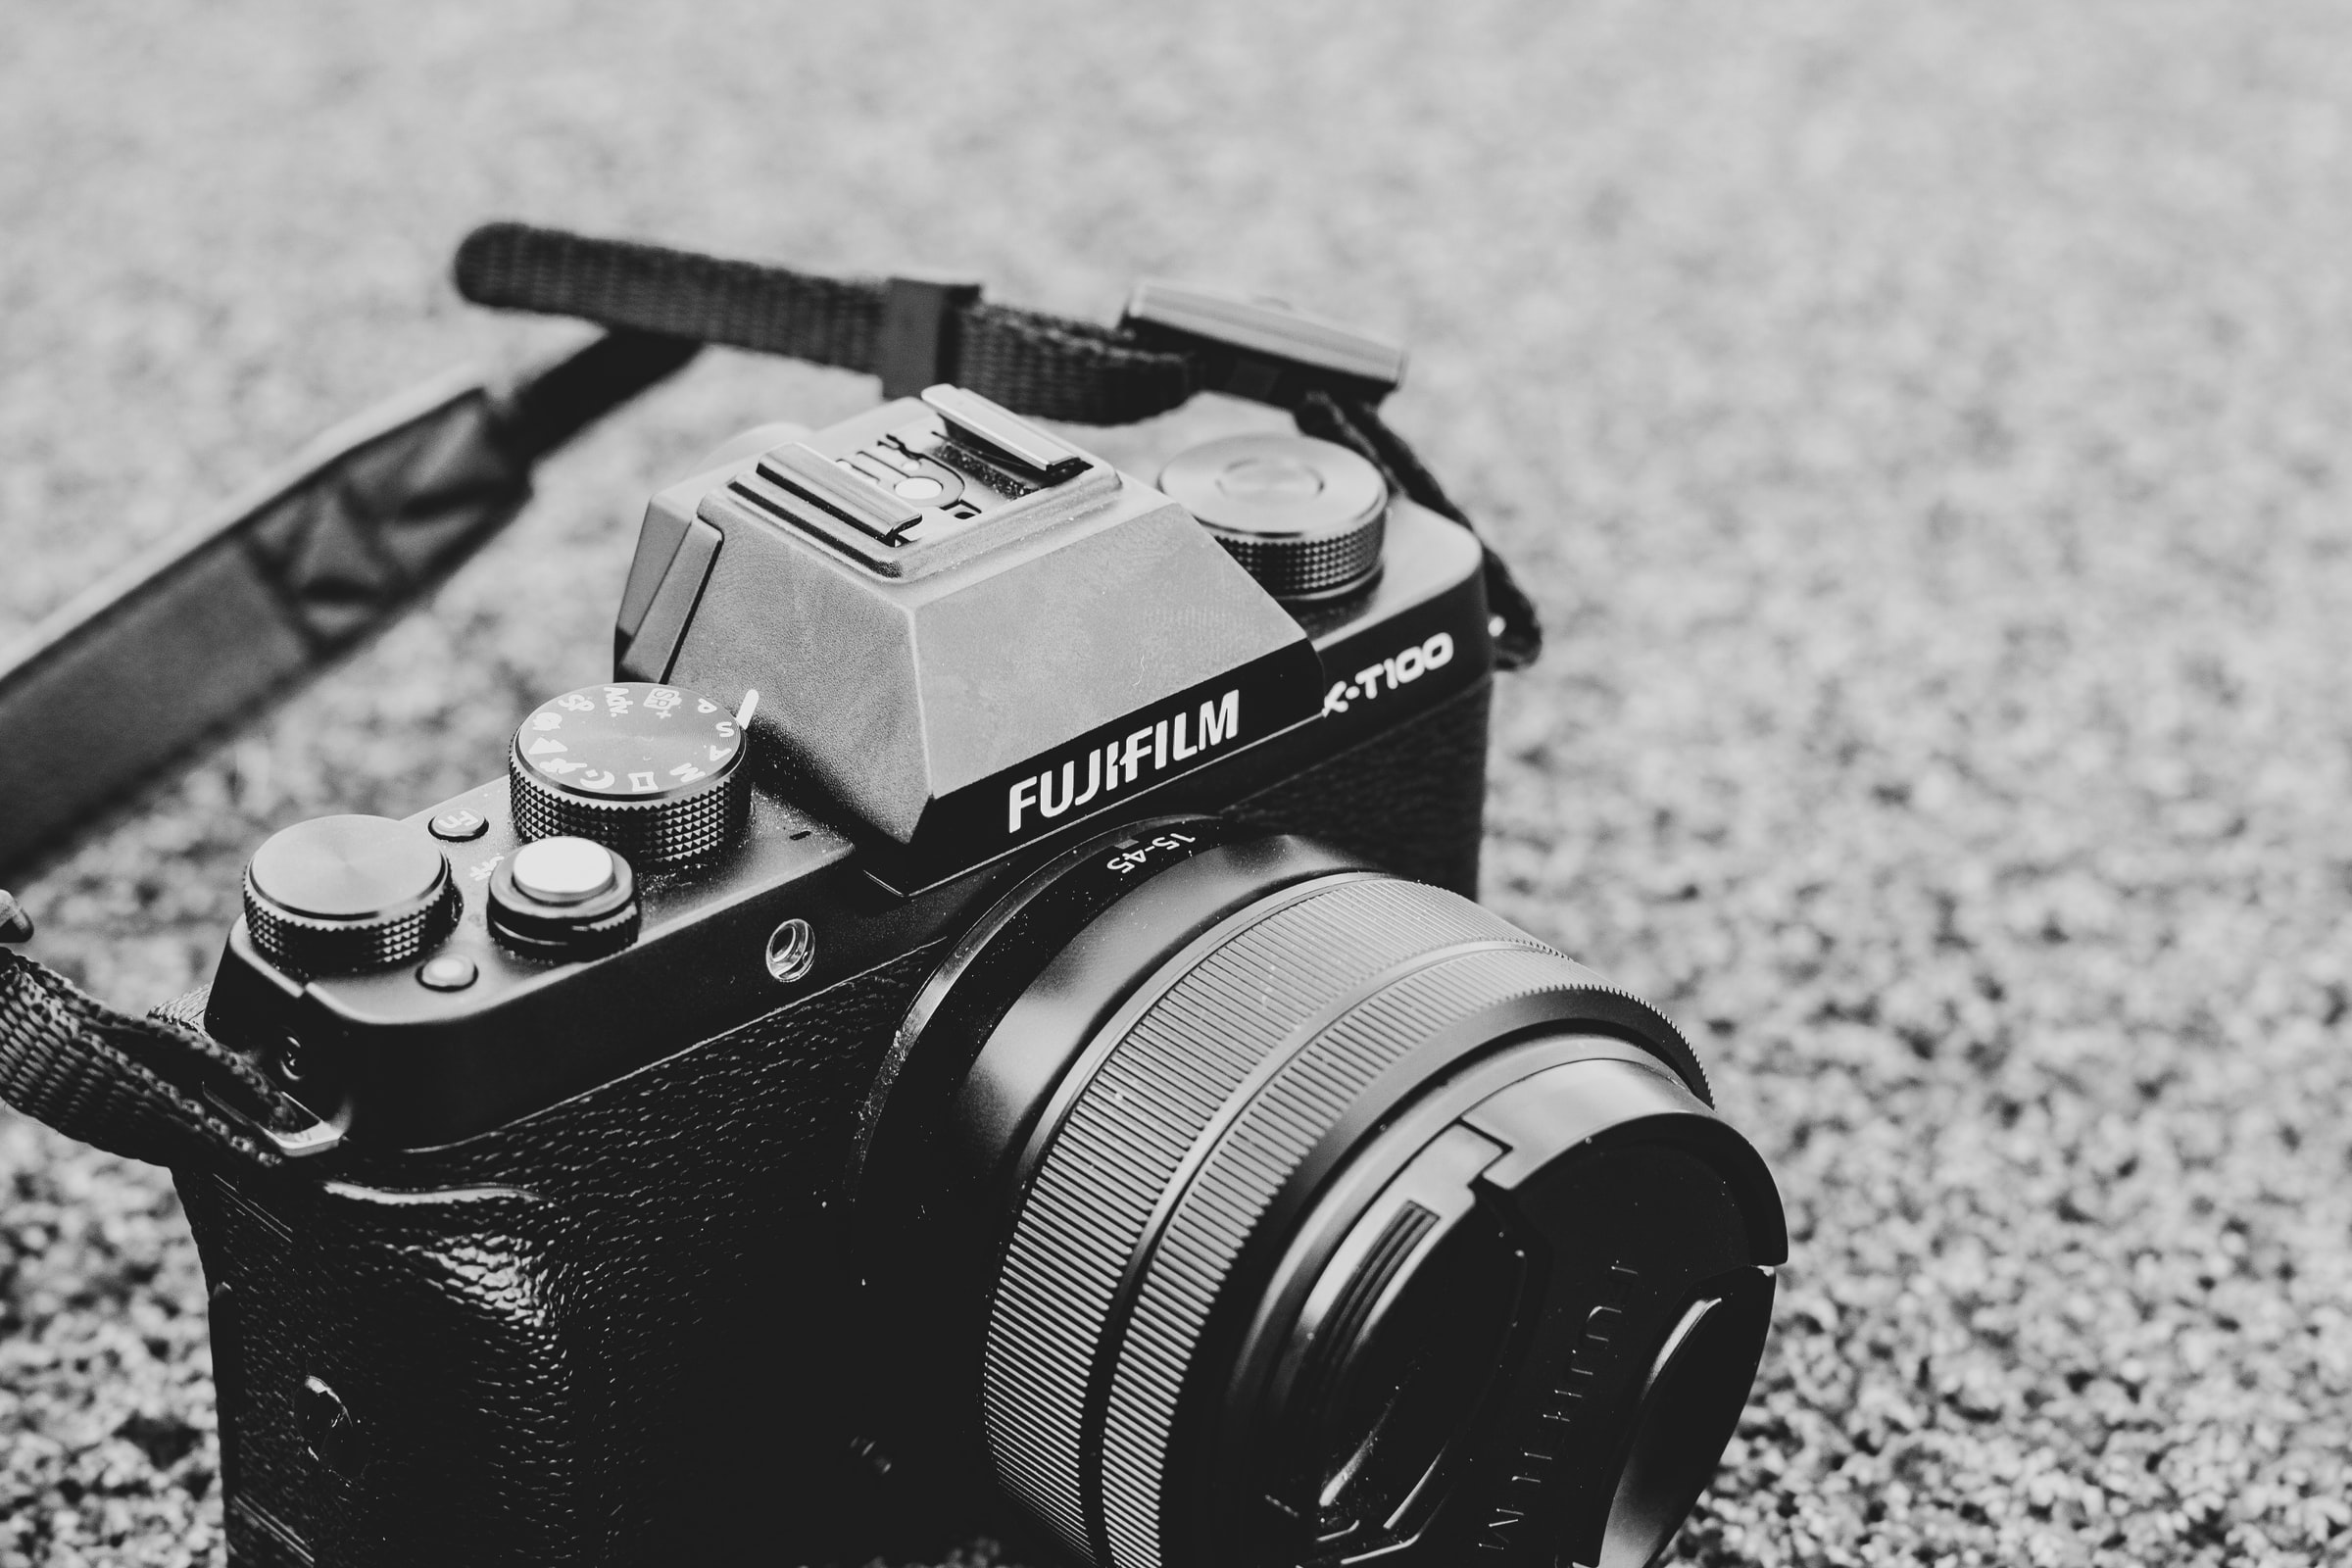
A DSLR camera is huge, based on physical appearance, since it needs to fit in a mirror and a prism. At the same time, a mirrorless camera body is smaller than a DSLR making it more compact and lightweight. Hence, you can carry a mirrorless camera more easily than a DSLR.
Autofocus Speed
Now, talking about autofocus and low-light shooting, DSLRs are considered superb in terms of quality. However, with constant technological advancements, some mirrorless low-light cameras are now gaining popularity in the market. At the same time, mirrorless autofocus systems have improved greatly also with speeds comparable to DSLRs. In certain types of photography, such as real estate photography, the autofocus speed matters a lot when capturing the images, so pay attention to this.
Image Previews
A typical DSLR has an optical viewfinder that shows you exactly what the camera will capture. It is slightly different when it comes to a mirrorless camera because you get a preview of the image on-screen. In terms of outputs, a DSLR is always the best in low light than a mirrorless, and this is something you may want to consider when buying your camera.
Video Quality
At times, in real estate photography, there is also a need to create videos. In general, higher-end mirrorless cameras are best for video shooting. DSLRs are not preferred since they cannot use phase detection with the mirror up while recording video. This means having to use the slower, less accurate, contrast-detection focus method.
Shooting Speed
Perhaps, it is in terms of the shooting speed that these two cameras become equal. Both have fast shutter speeds and can capture a lot of images. However, if we take into consideration the exception of exceptional DLSRs, mirrorless cameras have an edge.
Battery, Lenses, and Accessories
Generally, DSLRs have longer battery life because they can shoot without using the LCD screen that is technically battery draining. Also, in terms of the lenses and accessories, a DSLR has access to several lenses from different manufacturers, while mirrorless models are more restricted.
With these comparisons on hand, you can weigh each factor and determine which is more useful for you. It is hard to pinpoint what is best for you without considering your opinion, budget, and purpose for buying a camera. Hence, the best way to deal with it is to do thorough research until you decide what to buy.