Category: Photographer

  • 6 Reasons why Homeowners Love Living in LA

    6 Reasons why Homeowners Love Living in LA

    LA can seem like a charming city to everyone. Think about Beverly Hills, Silver Lake, and all the interesting places in between. If you’re thinking about moving to LA, you might already know that Los Angeles is another expensive real estate market next to New York.

    However, there are lots of perks to living in LA that many people are not actually leaving the city.

    1. Weather. This is the most obvious reason why people love LA. The weather is mostly the perfect 73 degrees out unlike other places in the country. This is also the weather for most days of the year. It’s not too hot nor too cold which makes it perfect for ice cream and a bike or a walk out. Although in the summer the temperature can get a bit hot, it’s not too humid. It’s also sunny 90 percent of the time which is great for being out and about all the time.

    2. Diversity. You will meet different types of people in LA. The city is a huge melting pot culturally and ethnically. LA has a consistent influx of immigrants which makes it even more vibrant and colorful. It is a city of transplants and is the 12th most diverse city in the country. Over 200 languages are spoken in Los Angeles. This kind of diversity fuels the city, from its food to its culture. This creates more meaningful adventures and experiences for everyone in the community.

    3. Increasing home valuation. Home prices in LA have appreciated over 70 percent in the last five years. The real estate market did take a huge hit during the recession. However, it’s now going strong. Breaking through the LA housing market can be difficult for first-time homeowners because of the home prices. However, its year-on-year growth is a good reason why many homeowners stay and love living in LA.

    4. Neighborhood. Los Angeles is not just a city. It is composed of more than 80 neighborhoods and districts merged into a single city. Each neighborhood was developed piecemeal and has its own definitive characteristic. This means there is always a specific part of LA for every homeowner. There are some neighborhoods that come with great schools. Others are a focal point for certain ethnicity. No matter what kind of neighborhood you’re after as a homeowner, you can surely find one in LA.

    5. Investing. There are a lot of investors coming and moving to LA because of the growing start-up community and also the real estate industry. This is especially true for foreign investors that think LA is a strategic location for their new real estate portfolios. Many Chinese investors consider the coastal communities in LA to be inexpensive. This also has become a favorite destination for them. In turn, this propels the growth of the real estate industry in LA and makes it even more favorable for current homeowners.

    6. Lifestyle and attitude. Because of the pleasant weather in Los Angeles, there is a strong fitness and outdoor lifestyles that are imbibed by the city and its people. The gyms are everywhere and easily there are trails and parks for those who want to hike, run, or bike in the outdoors. There is also a prevalence in the casual and cool attitude in LA. You’ll definitely see the laid back West Coast feel everywhere. The dress code is usually casual.

    There are other reasons as to why homeowners and everyone in general love LA. Aside from the growing real estate market, its diverse culture, and casual lifestyle, Los Angeles is home to a good job market, a delicious food scene, and a variety of activities. You’ll never be bored of LA and it’s a city brimming with opportunities and good fun.

  • Self-Taught Real Estate Photography

    Self-Taught Real Estate Photography

    The markets in real estate are constantly growing and heating up. The demands too are getting higher. Because of this, real estate photography has never been more essential in selling properties than what we experience today. Since real estate has always been high on demand, competition in photography is thriving.

    Real estate and architectural photography always go hand in hand. Many people today engage themselves in the practice of real estate photography. Real estate brokers and agents are in partnership with photographers to shoot properties for marketing purposes. Many buyers initially look for pictures or videos of the properties they wanted to buy before having an ocular inspection.

    But many individuals who wanted to become real estate photographers find it hard to develop the necessary skills to master this business. Some of them finished Interior Design and Architecture. Others finished computer-related course. Interestingly, some topnotch photographers developed their technical skills because photography is just their hobby.

    But regardless of the kind of degree people hold, real estate photography can be self-taught. With the use of proper technology combined with a touch of creativity, the angles, composition and perspectives can be done naturally in a professional quality.

    Self-help Tips to Master Real Estate Photography

    In self-studying real estate photography techniques, how to get started is the primary consideration. Starting from scratch can be a big challenge. It is beyond doubt that an individual has the interest in this business if he is eager to learn something in this industry. This is this very reason that propelled him to practice photography. The only thing that results in backpedalling someone to pursue photography is the lack of the necessary skills.

    Below are some self-help tips in realizing your dream to become a real estate photographer.

    1. You are not shooting for yourself

    A start-up photographer must always have a mindset in marketing because real estate photos are for buyers and clients alike.

    2. It is not necessary to get all the best gear

    In photography, investing in camera equipment is the basic material to own.It is not necessary for someone to own the best gadgets if you are just starting to learn. All you need to have is a camera, lens, and tripod. It is also important to have supplemental lighting and editing app like Photoshop.

    3. Develop creative skills of photography

    There is no school for creativity. But there is always a time to practice in making your craft perfect. Creative skills can be developed through constantly perfecting your ideas. Creativity entails uniqueness because this is a special kind if sensibility owned only by the photographer himself.

    4. Develop technical side

    Mastering photography starts from the proper use of the camera. Your camera must have the space for cable release, a flash, assortment of lenses and wireless triggers. Aside from this, it is a requirement that wide lenses must be used. Using a 10-22mm or 12-24mm is perfect for cropped sensor cameras. Use a 16-35mm lens for full frame cameras. Using tilt-shift lenses is the best way to prevent vertical lines to converge.

    Extra lighting is advisable because it can be used to areas where indoor subjects cannot benefit from daylighting. If you want to have a perfect blend of lighting, try light hitting a front of a home just after sunrise or at dusk. They can be the perfect periods of the day to light hit outdoor home fronts.

    Other things to consider in self-studying techniques in photography are camera height and vertical edges. It is a cardinal rule that vertical edges must always be correct. These edges can be corners of walls, door frames and windows. It is of basic importance to know the angles you are shooting when tilting the camera to find out if the edges converge or diverge.

    5. Show extra careful in processing the photos

    The use of Photoshop in editing pictures is a common technique in processing photos. Do not start from an advanced technique. Editing images can be easy and fast, while there will be times when it is hard and takes longer time to process. Some photographers opt to edit image using Lightroom and other special editing apps.

  • 6 Basic Drone Real Estate Photography Tips You Should Learn

    6 Basic Drone Real Estate Photography Tips You Should Learn

    The art of photography has been boosted by drones. They have propelled photography to new heights and have taken the world by storm. Drones have been considered by photographers as a vital source to produce beautiful photos. They have opened up countless possibilities for photographers and videographers alike.

    Most especially for the aerial views of real estate properties, using drones can bring out unique and interesting perspectives. The use of drones allows every photographer to take photos at a higher perspective. According to Digi Cam Help, drones can instantly change plain old photos into something impressive.

    One can be truly impressed at how drones are capable of giving unique photos and videos. Especially important for photographers, drones have built-in cameras to rotate to provide them more freedom in creating magnificent photos. Aside from this, drones can help you reach far-flung areas that are inaccessible.

    Real Estate Drone Photography Tips

    Nowadays, drones are great not only for hobbies but to businesses as well. Adding drone to photography and videography real estate business can really help boost your business thus, increasing cash flow. To be able to master the use of drones, try the following tips below.

    • Basic function of drones must be clearly understood

    Basic function of drones

    According to dronevibes.com, learning to understand the equipment and finding time to practice it is the initial thing to do. Many drones that are available in the market today are very easy to operate with little practice time to spare.

    Making the drone fly in the air and just pushing the shutter button is the easiest part of the work. A photographer also needs to understand the light condition and the environment first before producing the well composed and graded photographs.

    • A well-planned shoot is a requirement

    As with all types of photography engagement, it is important to plan ahead. One of the reasons why photos are produced creatively is because the photographer must initially spend time researching the specific location of the property. To make things easier, Google Maps will aid you in scouting the area.

    Choosing a perfect time of the day to shoot is crucial in the development of a good photograph. Also consider the position of the sun during aerial drone photography because proper lighting is a big factor in the contrast of the shoot.

    Pre-visualizing the shoot will definitely help each photographer to assess the available points of view. For this reason, the camera’s settings can be adjusted like the metering mode and exposure mode.

    • Check propeller balancing and vibration dampening

    According to http://www.droneybee.com/drone-aerial-photography/, it is always important to check the propellers of the drone frequently to avoid the wobbling effect that basically affects the photo or video shoot. Even the slightest imbalance can create an uneven weight distribution that can significantly create extra movement that is prohibited in photo shoots.

    • Know the weather of your location

    Even if you are very creative in your drone photography techniques, it is still better to avoid using your equipment during windy, rainy or snowy weather. Although there are drones that are specifically made for rough conditions, it is still recommended to take shoots when the sun shines brightly.

    • Maximize flight time

    The last thing you really wanted is to damage or crash your drone. Once you are familiar with your equipment, it is important to know how long the drone can fly. It is essential to make test runs first before taking a serious flight for shoot.

    • Learn the concepts of aerial photography

    Even if you master the settings and manipulation of your drone, it is deemed useless if you do not know the basics of aerial photography. These concepts may include the focal length and scale, fiducial marks, overlapping and stereoscopic coverage, and many more. According to http://www.droneybee.com/drone-aerial-photography/, this is one of the requirements in developing the skills with drone aerial photography.

    Aside from the equipment that you own, you can also learn to master the concepts of aerial photography by watching and learning aerial photography and videos. Getting inspiration is one way to improve the art of aerial real estate photography. Learn how to get the piloting done and how the equipment is maneuvered around the area to constantly improve your craft.

    Author:
    Claire Wright, a savvy tech nerd and self-taught photographer who lives in Seattle and working at one of the best real estate photography companies called HD Estates.

  • HDR Your Real Estate Photography the Quickest Way

    HDR Your Real Estate Photography the Quickest Way

    The landscape of real estate photography has gone a long way since the turn of the century. Real estate photography involves both residential interiors and exteriors that are taken at different angles. It is known that clients may have different tastes in terms of property characteristics and a perfect shoot may all spell the difference.

    Time is gold in this advocacy as you also need to consider the time you spend with those you are working with and for those who own the property as well. And when we ponder on what time is the best for photo shooting, not all hours of the day are the same. The so-called golden hours for photo shooting are the hours before sunrise and before sunset.

    Efficient shooting and perfect processing workflow are the ones a real estate photographer must consider most. The reproduction of space in a realistic manner will help you sell the properties because of the photos you shoot. This is what clients really appreciate and accept. As we all know, houses and similar real estate properties contain challenging things when photography is concerned.

    HDR Photography: What is it?

    HDR or High Dynamic Range Photography is a trick in photography wherein a photographer can reproduce an efficient range of luminosity. This technique is a far better than what a standard photography can offer. Taking photographs of the same area but in different exposures then blending them altogether is the main concept of HDR Photography.

    In the case of real estates, HDR makes the work of the photographer easier. When he shoots photos from the inside, all the details of the room are obviously visible. What is remarkable is that the view outside the window does not look overexposed.

    The use of light is the primary idea when it comes to photography. Yet many of the photographers nowadays are making use of HDR as a solution and emerging alternate to flash guns and the use of multiple lights. In using HDR Photography, the delivery of a fresh and great looking image is exemplary but has a natural feel to it.

    Things Needed for a Good HDR Photography

    Since every photographer is assumed to have media cards, DSLR and lenses, there are still few requirements that needed to be prepared. These are as follows.

    1. Remote Trigger

    A remote trigger for the camera is important. This is required to minimize any unacceptable camera movement. This is also the best way to get a good picture without even touching the camera.

    Remote Trigger

    2. Tripod

    It is mandatory for every real estate photographer to have a tripod. This is important if you have to create a bracketed exposure of the room. Moving the camera just an inch will ruin everything. Aside from the camera, this is the second most important necessity if you want an assurance that your photos are all free from fuzziness.

    Tripod

    3. Flash

    It is widely recommended that a real estate photographer must use a ‘fill flash’. Fill flash means turning the flash to the lowermost setting as possible. There are photographers who oppose the idea of using a flash. But when it comes to working and shooting photos indoor, basic lighting plan with the use of fill flash is required.

    4. Software

    Using the best possible software for your HDR is a discussion among professional real estate photographers. The list of HDR software that is preferred most by photographers includes Adobe’s Photoshop which basically produce HDR images. Some would say that Photomatrix Pro 5.0 is better than Adobe’s version. What these HDR software do is that after capturing the images and once merged, the product is a new image having the dynamism of the original photos.

    Using HDR: A Step-by-Step Guide

    The procedure in using HDR to real estate photography is mentioned as follows:

    1. Measure the Dynamic Range

    After considering the space for your picture, it is a basic idea to first set the camera to Manual Mode. This allows you to adjust the white balance before you use the camera further. It also permits you to change the shutter speed. Afterwards, you need to set the aperture to either f/8 or f/11 but these are optional settings. It is required to measure the brightest bright and the darkest dark of the area. Everything still depends on what aperture setting the photographer personally likes.

    2. Use HDR Bracketing

    Some practices that are included in HDR bracketing involve overlapping photos during the blending procedure. It is advisable to preserve the focus during the entire process. This is done in order to get the same image results. Bracketed exposures may involve interior shots like balance difficulty, and single frame standard range.

    3. Presets as Starting Points

    There are assortments of presets involving the key areas of color blending. These are the white balance and color fidelity. Based on HDR bracketing, colors that are often found when the bright rays of the sun comes through the window are totally imbalanced. Once extreme highlighting is done, the tonal range and white balance blend each other.

    Using the 5 Stop Natural and 5 Stop Mixed Light presets, balancing of sunlight and warmer fluorescent illumination are made easily. The Single Exposure preset of the HDR technique requires several exposures to blend with the dynamic range. This trick can process several files down to single file only. The procedure mentioned can be several approaches of integrating HDR processing to real estate photography.

    Author:
    Claire Wright, a savvy tech nerd and self-taught photographer who lives in Seattle and working at one of the best real estate photography companies called HD Estates.

  • Things to Consider in Hiring a Pro Real Estate Photographer

    Things to Consider in Hiring a Pro Real Estate Photographer

    Being in the real estate industry can be challenging. The industry can be tough and competitive. There are quotas to reach and sales to make. Time is always of the essence and first impressions are essential.

    If you’re a broker or running a real estate business, you know for a fact that pictures are your best allies. These can help you create a good impression or just help you in selling properties fast. To achieve this, you need to invest in the services of a professional real estate photographer.

    Here are factors that you need to consider when looking for a photographer to help you in your real estate business:

    • Experience. Look for someone who is familiar with real estate. Although different photography works are similar on most levels, there are certain things that an experienced real estate photographer knows. This includes shooting interiors and capturing the best photographs of a commercial or residential space. There are also certain editing and photography techniques that only experienced real estate photographers are familiar. With this knowledge in the industry, they are also able to deliver the kind of images that clients and buyers actually want. You’ll save more time when you hire an experienced photographer.

    • Portfolio. You don’t want to miss asking for a solid portfolio from any photographer. Ask for portfolios from potential candidates to make sure that they can walk their talk. This allows you to check their work and ensure that they can produce the kind of images that you are looking for. Look for a photographer whose style matches with your business and the kind of clients that you take. A portfolio can tell you a lot about a photographer’s skills and what to expect from them. It can also help filter choices according to you project’s needs.

    • Film-making skills. Make sure that you hire someone who can be flexible in doing stills and videos, especially if both are things that you need in the business. Both are usually needed in order to make listings stand out from the rest. A real estate photographer who can bounce between the two will help you in drawing in more viewers and more clients. This should be something that you need to ask upfront. This skill can cost you more but it’ll be worth it down the road.

    • Pricing. This is a consideration that you wouldn’t want to miss. You wouldn’t want to spend money on work that’s subpar. Most often, than not, the cheapest photographer cannot provide you with the type of quality that you need. Do not always go for the lowest price that you get. Make sure that you invest and pay for what the image is worth. It is often the service and the output that you’re paying for when hiring a photographer. Ensure that the price is fair for both your business and the photographer.

    • Turnaround time. A fast turnaround time will help you achieve your goals. Since the real estate industry is fast-paced, you need to look for a photographer who can deliver the finished photos in a timely manner. This makes sure that you can quickly post your listings and make a sale right away. A 24- to 48-hour turnaround time is usually the standard when it comes to real estate photos. Make sure that your photographer can provide you with quality photos at this set time or even earlier.

    • Professionalism. Of course, you’d want to work with a professional photographer who delivers. You have to remember that the output is an extension of your name and brand. Hire a photographer who shows up on time during photo shoots and conducts themselves professionally in front of clients. Your photographer also needs to understand your business and make sure that he/she communicates this through photography. A professional photographer can be a dream to work with and this prevents any issues that you may encounter in the future.

  • Real Estate Photography Camera Settings: The Essentials

    Real Estate Photography Camera Settings: The Essentials

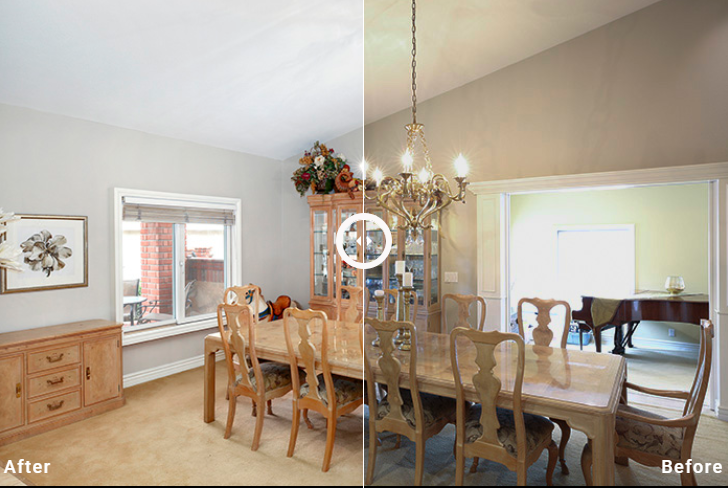
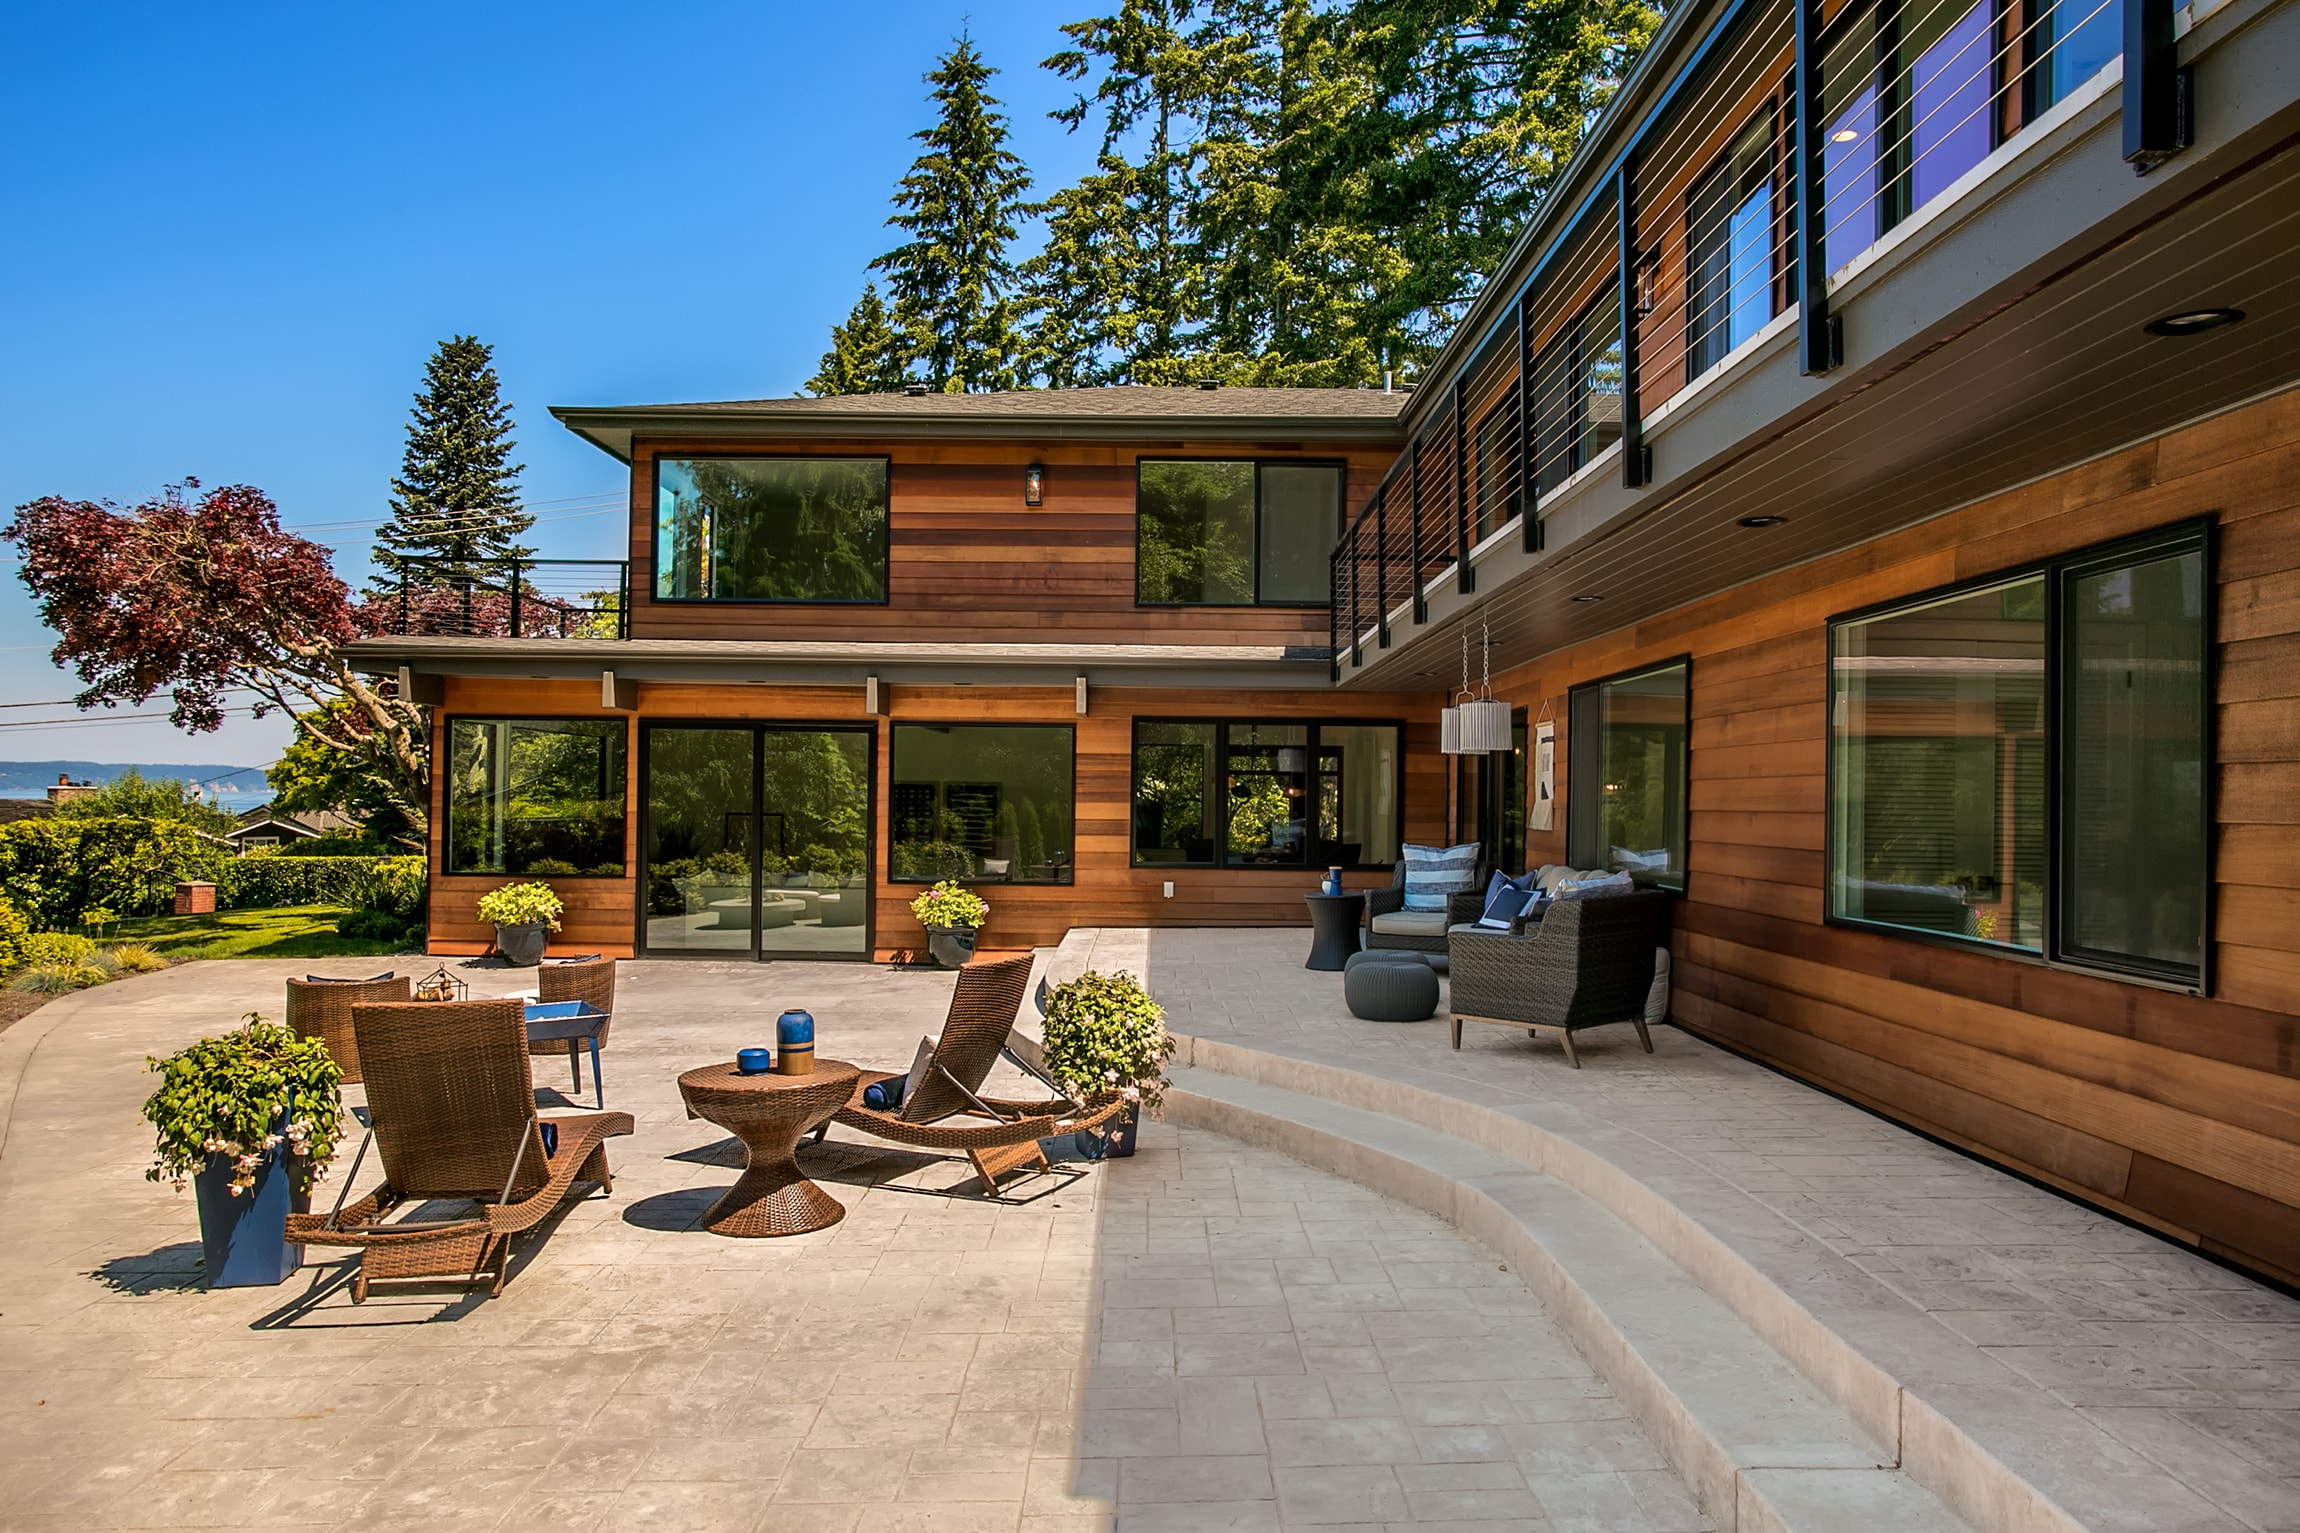
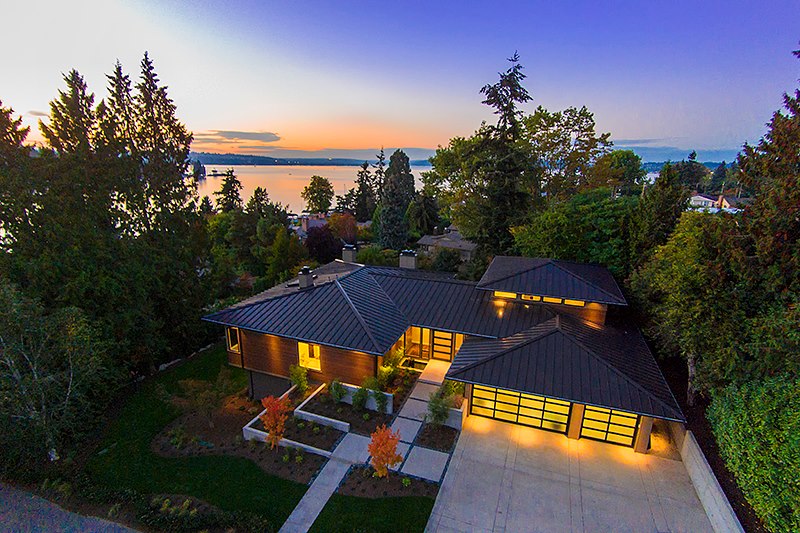
    Different kinds of photography utilize different kinds of techniques. When you’re dealing with people, you need direct them and pose them in a certain way in order to achieve the look that you’re going for. With real estate photography, you have to take a different approach. Since your subjects are spaces, you need to style the space and use specific real estate photography camera settings to achieve the kind of look that depicts the property and its market.

    If you want to delve into real estate photography, make sure that you know the essentials in order to deliver the best photos.

    Tools You Need

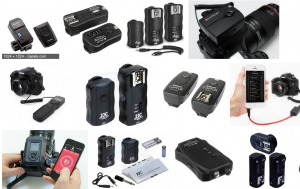
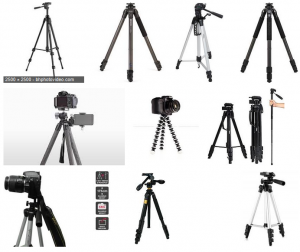
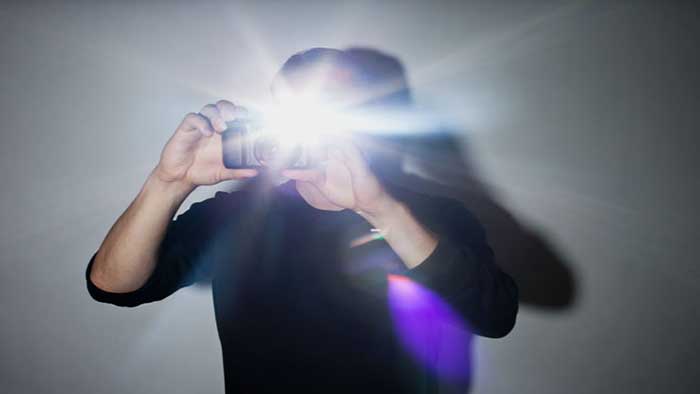
    Before you start shooting, you need to have the equipment in real estate photography. Start off with a digital SLR or a mirrorless camera that you can use manually. Having a good camera will give you an advantage when shooting on location. You have full control with a manual camera so you can adjust the settings as needed. Make sure that you have a wide-angle lens ready to be able to capture big rooms or properties. This is a mainstay in real estate photography and is a good investment. You also need a sturdy tripod and an external flash system or lighting to fill in the dark areas of the space.

    Having all these gears ready will set you up towards a good shoot. This ensures that you have all the bases covered.


    The Best Camera Settings for Real Estate Photos

    Knowing the best setting to use, especially when you’re using a manual camera. If you’re a real beginner, then you might want to spend some time in familiarizing yourself with the different settings and buttons in your camera. This ensures that you know which buttons to use in order to get the results.

    • In-camera HDR mode –HDR photography is a basic when it comes to real estate photography. This creates images with more depth and details. If you’re new to photography, you can use the in-camera HDR setting instead of shooting and editing photos on your own. This lets the camera blend three different exposures automatically to get an HDR photo. Unfortunately, the image will not be as professional-looking as the other HDR photos. However, this is a good option for starters who want an HDR photo will no effort.

    • Bracket image shots – Bracketing is a technique that’s widely used to achieve HDR. By using this setting, the camera takes three pictures at three different exposures. One will be at 0, the other will be at -3, and the last one will be at +3. You’re getting a wide range of lighting situations with this setting. The photo in -3 will have dark interiors but crisp windows while the image with 0 will be your neutral image. The +3 photo will provide a well-exposed image, especially on the darker parts of the room. You have to take these images into your software and blend these three together to create an HDR image. This allows you more control in how your image will look after.

    • Lower ISO – In shooting real estate, it’s best to stick with around 100 to 400 ISO. Anything higher than 400 usually creates grain in the images. Shooting in these ISO settings will give you a crisp and sharp image.

    • Aperture of F7.1-11 – Opting for a mid-range aperture gives you clear results, especially when you’re using a wide-angle lens. With lower apertures, you get sharper areas in the middle and some soft focus on the outer parts. The middle ranges of the aperture give you a perfect balance in order to create sharper images with the wide-angle lens.

    • Self-timer – This setting will come in handy to avoid shaking the camera if you’re pressing the shutter manually. This prevents any blurs on the image.

    • RAW setting – Shooting in RAW gives you higher quality of images. Since the information on RAW photos is not compressed, you are able to correct certain problems and make proper adjustments.


    Top Five Cameras Used For Real Estate Photography

    In line with camera setting, having the best gears in real estate photography can make a difference. Using professional equipment allows you to take better shots and produce high-quality images.

    The following cameras are top cameras that you can use for real estate photography. These allow you great control in taking the photos so you are able to mix and match settings.

    1. Panasonic Lumix GH5 This is a great camera that is perfect for capturing 4K videos. It has a 20.3-megapixel sensor that creates high-quality images, as well. The camera has a good image stabilization feature that reduces the motion blur and an advanced autofocus system for steady images. It also has a good grip and design to it.

    2. Canon EOS 5D MIV – This full-frame camera from Canon is built with a 30.4-megapixel sensor. Since it is a full-frame camera, it can capture more light and a larger part of the scene. It comes with a high-resolution sensor and an ISO range of 100 to 32000. You can also shoot 4K videos with this camera at 30p or 24p.

    3. Nikon D750 – This is another full-frame camera that has a 24.3-megapixel resolution. The D750 is Nikon’s most affordable full-frame camera. It has a tilting screen that may be convenient for certain shots. It has a built-in Wi-Fi compatibility and connectivity. You can also shoot HD videos with the Nikon D750.

    4. Sony Alpha a7R III – This mirrorless full-frame camera has a powerful 42.4-megapixel sensor that creates images of up to 7952 x 5304 pixels. It comes with a native ISO range of 100 to 32000 and a touchscreen tilting LCD. This has an advanced hybrid AF system and an amazing body-based image stabilization that minimizes motion blur and is useful for shooting in low light.

    5. Fujifilm X-T2 – This is a great all-around mirrorless camera that’s at par with other DSLRs for real estate photography. It has a 24.3-megapixel sensor that can produce high-quality images. It’s smooth and easy to use and comes with a 325-point autofocus system that’s great for shooting in low light and in reducing motion blurs.

    The good thing about these cameras is that these are flexible and can be used for different types of photography. If you’re a photographer who wants to play around, then you can do so with these cameras. No matter what or who your subject is, you can use your camera to suit your needs.


    Real Estate Photography Tips

    Aside from using the best gears and the best settings when shooting real estate, you also need to have a few tricks under your sleeves in order to have a better session. Here are some tips that can help you in making your photo shoot smoother and easier:

    • Use a tripod – Don’t underestimate how useful a tripod will be in photo shoots, especially in real estate photography. Propping your camera on your tripod keeps it steady on long exposure shoots. This allows you to handle low light scenes and creates no motion blurs. This also makes you flexible especially when you are dealing with a challenging space to shots.

    • Lightstands are your best friends – Having extra light stands will come in handy when you need light in a certain part of the room. Instead of relying on a countertop to place your Speedlight, a sturdy light stand will keep your light in place.

    • Preset editing – Have some handy presets for real estate photography ready when you just want some quick fixes and editing. There are presets that you can purchase or download for free. Just make sure that you look for those that suit real estate photography of the kind of look that you’re after. This might take a lot of testing and experiment on your part. However, it pays to find one that works for you. You can also create your own preset that you can use for all your shots. This readies all your preferred editing techniques in just a single button so you can quickly edit photos.

    • Be mindful of your verticals – It is often hard to keep your lines straight, especially the verticals in your image. As a real estate photographer, however, you need to be mindful of the vertical lines. Use the levels in your camera to keep your verticals straight. You can also edit this in Photoshop by using the transform feature. Make sure that you align windows, doors, cabinets, or wall edges on your photos.

    • Extra batteries – It’s a newbie mistake to forget extra batteries on a shoot. Always bring two or more batteries for long shoots just to make sure that you got everything covered. You don’t want to keep on charging after a few hours just because you forgot to bring extras. This ensures that you have a continuous shoot and that you’re making the most out of your time.

    • Be flexible – Lastly, it’s important to be flexible when doing real estate photography. There will be times when the weather and lighting conditions won’t go as planned. You might need to return to the property to do a second photo shoot or to work with what you got by using the available light that you have.
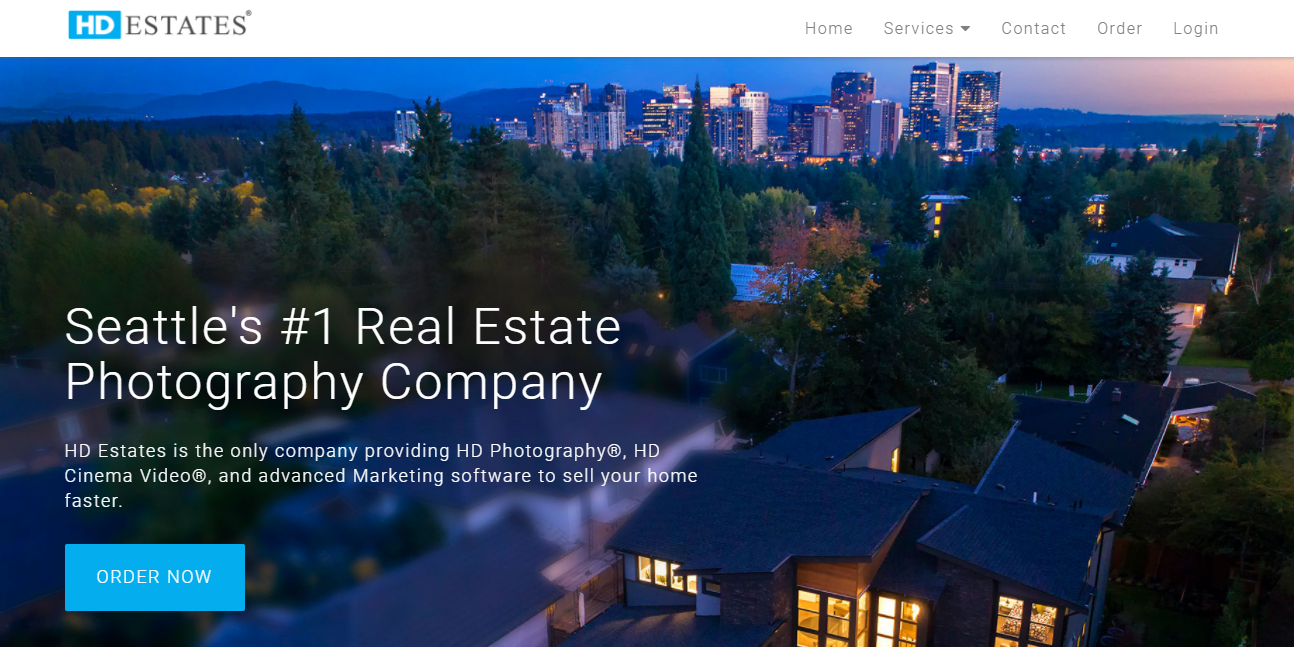