Author: Claire Wright

  • 7 Best Tips on How to Make the Best Listing Videos

    7 Best Tips on How to Make the Best Listing Videos

    In real estate, images are not the only important content to have. Most of the time, you need to secure videos that can show and provide more information about the property and the company. While securing compelling images is already handy work, producing a great video also requires more time and effort. Hence, there are always more reasons to hire a real estate photographer and videographer to produce your property’s images and videos.

    Now, getting started with the planned video production does not only mean preparation on the real estate photographer and videographer’s side. It also means preparing necessary documents for detailed instructions and following useful tips along the way.

    Here are seven proven tips for creating a compelling listing video.

    Hire the best videographer

    When it comes to creating the best listing video, it will help to hire someone who is an expert in the field. Doing this will assure you of a superb output from the technical to the video’s aesthetics side.

    Plan and write the script

    After determining the need for a videographer, your next step will be to plan and write your video script. Honestly, this should be done by someone from your marketing department, but if you are a one-person team realtor, you need to do this yourself. The key is to keep it short and straightforward. Having a long video is fine, but a short-form video is mostly preferred to retain a buyer’s attention.

    Make sure to show yourself in the video

    As a realtor, it is essential to have enough online presence. Show yourself in front of the camera and try to give a short explanation of the property, or you can also be the leading tour guide in the video.

    Choose the best background music

    Remember that achieving great video shots is good, but having the appropriate background music is another thing. A video without the right music seems out of context and is not very useful in capturing the target audience’s attention.

    Utilize drone shots

    Including some drone shots in the video also adds plus points to the video. With drones, capturing the unique aerial view is now more doable than before, when realtors may need to rent a real helicopter to get some nice aerial shots of the property. It is best to add some drone clips to show potential buyers the home in the context of the neighborhood, like how close it is to parks, schools, hospitals, churches, shopping centers, etc.

    Address your audience

    In the video, you should think that your audience will be your potential buyers too. Try to converse with them in a friendly way, but not too clingy. Be conversational and encourage them to ask questions through email or other communication channels available.

    Do not overuse editing techniques

    It is never wrong to utilize available editing processes – do not overuse them. For example, you can try minimizing the use of virtual staging in the videos and focus only on the relevant editing techniques you can employ. This will make the overall video look natural yet still enticing.

    In the end, make it a point to include these tips when planning and creating a listing video. Moreover, aside from making it superb, boost your online presence to ensure that your targeted audience can see your video. Making the best online listing video is a great asset you can add to your real estate listing. So, if you get the chance to secure a great video, use it well together with compelling real estate images and close that deal you dream.

  • Quick Guide on How to Choose Between Your DSLR and Mirrorless Camera

    Quick Guide on How to Choose Between Your DSLR and Mirrorless Camera

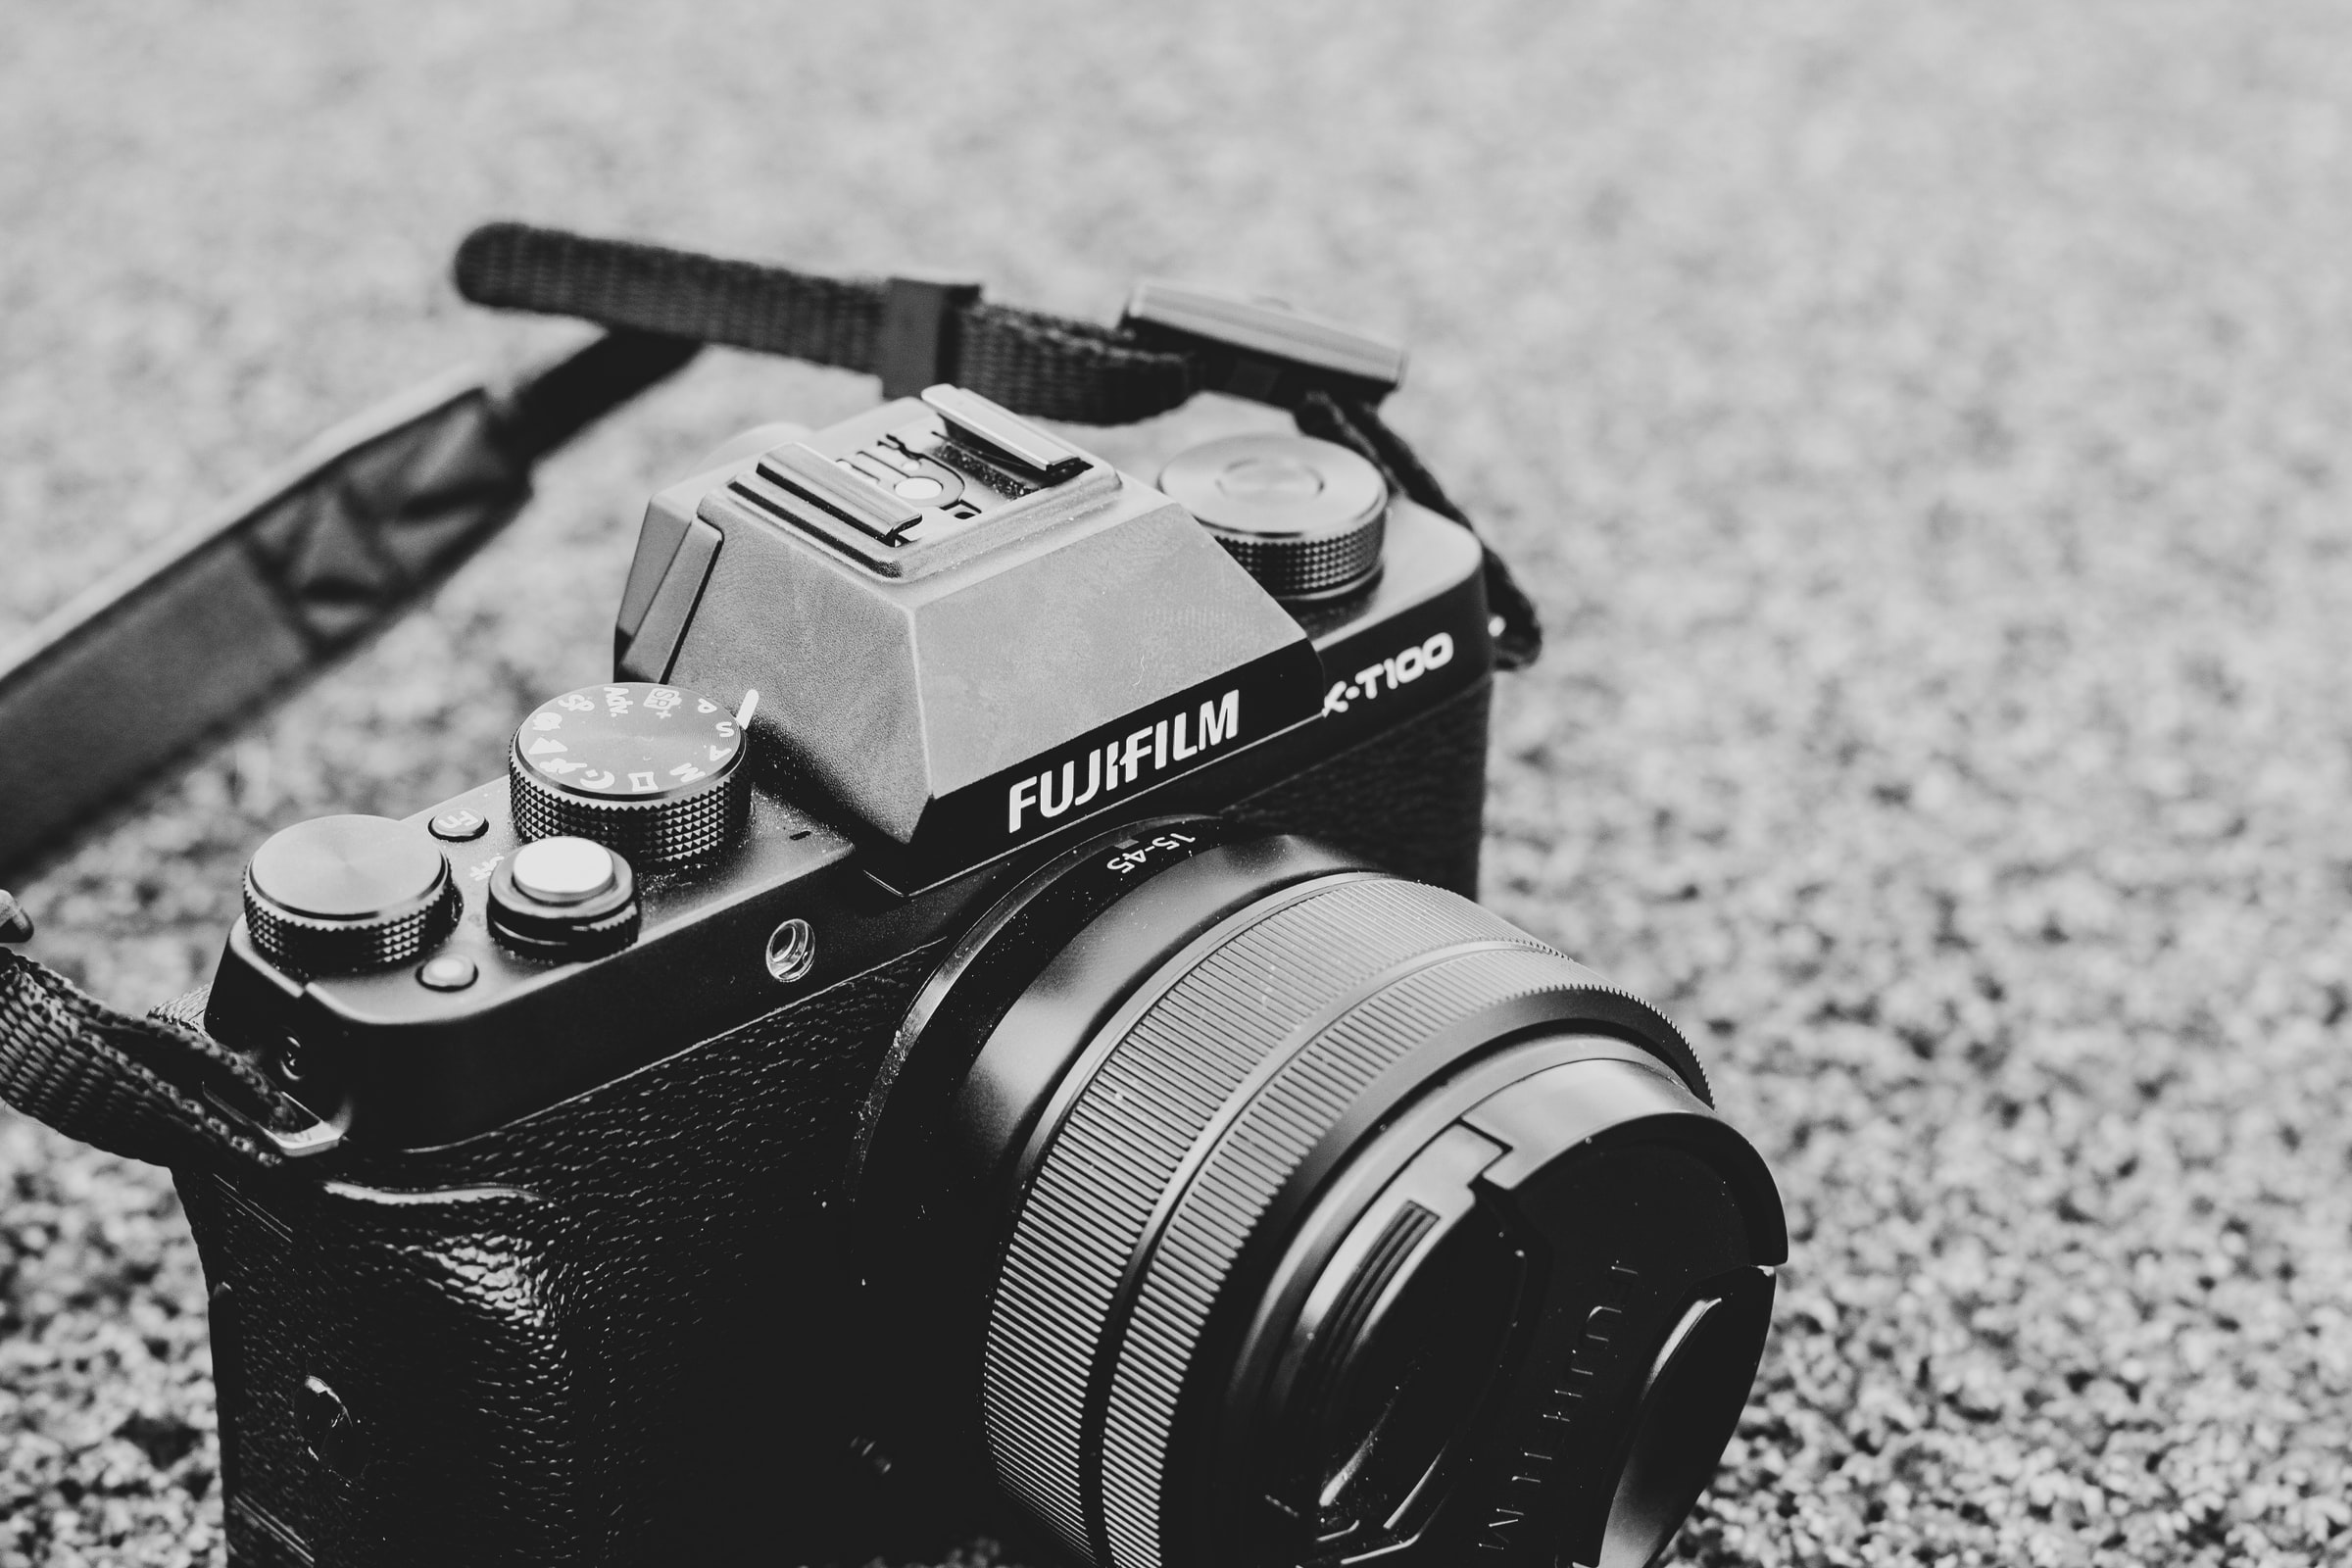
    Nowadays, there are already many cameras to choose from: point and shoot, DSLRs, and the mirrorless ones. Yet, how do these cameras differ from one another? What does it take to choose the best one for you? Let us find it out.

    The very first thing that you want to know about cameras is their functionalities. Here, we will compare a DSLR and mirrorless camera in terms of different criteria such as size and weight, autofocus speed, image preview, video quality, shooting speed, battery life, and lenses and accessories.

    So, before discussing each factor, let us define first what is DSLR and mirrorless camera.

    DSLR and Mirrorless Defined

    DSLR stands for the digital single-lens reflex, a type of camera that uses a mirror mechanism to reflect light from a camera lens to an optical viewfinder. It can also let light pass onto the image sensor by moving the mirror in a different direction.

    On the other hand, a mirrorless camera allows light to pass through the lens, then onto the image sensor. This process captures a preview of the image and displays it on the rear screen. Some models have a second screen inside its electronic viewfinder.

    Size and Weight

    A DSLR camera is huge, based on physical appearance, since it needs to fit in a mirror and a prism. At the same time, a mirrorless camera body is smaller than a DSLR making it more compact and lightweight. Hence, you can carry a mirrorless camera more easily than a DSLR.

    Autofocus Speed

    Now, talking about autofocus and low-light shooting, DSLRs are considered superb in terms of quality. However, with constant technological advancements, some mirrorless low-light cameras are now gaining popularity in the market. At the same time, mirrorless autofocus systems have improved greatly also with speeds comparable to DSLRs. In certain types of photography, such as real estate photography, the autofocus speed matters a lot when capturing the images, so pay attention to this.

    Image Previews

    A typical DSLR has an optical viewfinder that shows you exactly what the camera will capture. It is slightly different when it comes to a mirrorless camera because you get a preview of the image on-screen. In terms of outputs, a DSLR is always the best in low light than a mirrorless, and this is something you may want to consider when buying your camera.

    Video Quality

    At times, in real estate photography, there is also a need to create videos. In general, higher-end mirrorless cameras are best for video shooting. DSLRs are not preferred since they cannot use phase detection with the mirror up while recording video. This means having to use the slower, less accurate, contrast-detection focus method.

    Shooting Speed

    Perhaps, it is in terms of the shooting speed that these two cameras become equal. Both have fast shutter speeds and can capture a lot of images. However, if we take into consideration the exception of exceptional DLSRs, mirrorless cameras have an edge.

    Battery, Lenses, and Accessories

    Generally, DSLRs have longer battery life because they can shoot without using the LCD screen that is technically battery draining. Also, in terms of the lenses and accessories, a DSLR has access to several lenses from different manufacturers, while mirrorless models are more restricted.

    With these comparisons on hand, you can weigh each factor and determine which is more useful for you. It is hard to pinpoint what is best for you without considering your opinion, budget, and purpose for buying a camera. Hence, the best way to deal with it is to do thorough research until you decide what to buy.

  • Understanding LUT in Photography and Videography

    Understanding LUT in Photography and Videography

    The fundamentals in photography and videography are not only limited to your area of expertise; most of the time, it governs all fields of photography and videography, including the competitive field of real estate photography and videography.

    You need to learn and master several basic concepts, but understanding the idea of LUTs is one of the most challenging. Yet, regardless, having a good grasp of this topic will help you greatly in your work.

    LUT Defined

    Before anything else, it is essential to know the meaning of LUT.

    In simplest terms, LUT stands for Lookup Table – a term used to describe a predetermined array of numbers that provide a shortcut for a specific computation.

    In layman’s term: a preset color for your video footage or image.

    Many photographers agree that there is an established connection between the concepts of LUT and color grading. Still, the question is, “in what sense?” Technically, in the context of color grading, the LUT is responsible for transforming color input values from the camera to your desired output values, which is usually the final footage.

    Color Grading and LUT

    Color grading is a technique that is commonly used in real estate photography and videography. This method completely transforms your video’s look, but unless you are already a pro in doing this with years of expertise and achieving your clip’s desired look, you may not seem easy to do. Yet, guess what? By having the right LUT, you can ace color grading right away.

    After doing color correction, which is also a different editing technique from color grading, using LUTs are the quickest way to grade the footage. Yet, remember this pro tip: LUT will not work correctly if the footage doesn’t match from shot to shot, has no proper exposure, or is poorly color corrected.

    Why use LUTs on videos?

    • Increase the speed at which you can color grade
    • Set a predetermined look for a specific visual feeling
    • Use as a reference point to develop your unique style

    Types of LUTs and Where to Use?

    There are several different types of LUTs available: calibration, transform, viewing, 1D, and 3D. Regardless of which one you will use, you have to know the input level and color space intended for the specific LUT you wish to use.

    LUTs are used through standard Non-Linear Editor (NLE’s) like Premiere, Final Cut, and Avid. Moreover, it can be used on coloring software like DaVinci Resolve or Speedgrade. It is even available for use in motion graphics programs like After Effects.

    How LUTs work in photos?

    One has to understand that LUTs potential for photography is versatile, technically making it suitable for images. Hence, more photo editing applications now add direct support for LUTs.

    In images, LUTs are not like regular adjustments. This means you can use other adjustments other than LUT since it has its own set of parameters.

    Why use LUTs in images?

    • LUT alone is enough if you know how to use it correctly.
    • Presets need further adjustments, but LUT solves this problem right away.
    • LUTs are perfect for the favorite output you want to use across a range of different programs.
    • It is present in almost every editing software.

    So, what do you think about LUT? Indeed, this is a helpful tool for photographers who also edit their pictures. It provides a shortcut solution to the tedious process of editing images and clips without sacrificing the outputs’ quality. After all, who would want to make several adjustments to an image or clip when you can do it using one feature only? Just make sure you do this right to avoid ruining the raw files.

  • 5 Ethical Considerations in Real Estate Photography

    5 Ethical Considerations in Real Estate Photography

    When it comes to real estate, the ethical question is not only limited to the concept of how the industry works. Almost all businesses connected to it face the same dilemma, including those engaged in real estate photography.

    Determining what is acceptable and what is not in terms of shooting properties and editing the raw images is a buzz topic among realtors. Most of the time, it sparks debates that test the extent of this issue.

    Nevertheless, the community has set legal and ethical guidelines for photographers and editors to follow over the years. This is aside from the rules set by each listing site. Here is an outline of the five general guidelines followed by most real estate photography companies.

    1. Real estate photographers usually work for the listing agent (realtor). They can have the discretion to take the photos, but in some cases, they are asked to modify images of properties for sale.
    2. It is the legal responsibility of the listing agents to not “materially misrepresent” a property.
    3. For photo editors, modifying or removing temporary objects like garbage cans, cars, and unnecessary people are acceptable. Moreover, overcast skies are already a practice by most editors and generally not considered misrepresenting the property.
    4. For real estate photography companies, their photographers should remain truthful with their shots by not allowing editors to remove permanent objects like power lines or telephone poles. Aside from that, neighboring homes should not be removed from the picture because this is already one form of misrepresentation.
    5. Landscaping is a tricky part of images because it could be permanent or temporary. Some argue that it is okay to fix minor problems in the grass, for example. However, others are opposed to the idea and believe that it is one form of manipulation.

    Yet despite these five main guidelines, realtors and legal professionals still have their sentiments regarding the topic. Everyone shares their comments, and some of them are the following:

    Not removing anything unless told to do so

    Most editors say that they do not remove anything in the images unless the realtor tells them to do so. Moreover, if forced to remove anything, they ensure realtors will explain to the clients why the part is removed in the first place.

    Never alter the reality

    On the other hand, some photographers and editors stick to not modifying any part of the property that can change the real perspective of future clients or buyers. This is an essential pointer to consider because it will help the buyers set their expectations.

    Stick to the legal guidelines

    There are different real estate listing sites available online, and each of them has legal guidelines about photographs being used. It is the realtor’s job to follow these rules and not override anything, since it may result in your listings being taken down.

    Photographers and editors must not have any legal obligations

    Since photographers and editors work with the realtors and have the legal responsibilities since they are the member of any realtors’ association, the former should not be held liable for any misrepresentation disputes.

    In summary, we can say that the photographer and editor are working for the listing agent, not the potential buyer. Therefore, the property’s accurate representation is the agent’s legal responsibility, neither the photographer nor the editor’s.


    Still, it is best if photographers or editors can perform their duties with due diligence, so they wil not be held accountable by any misrepresentations that may arise from the edited images. It is recommended to document that they are modifying the photograph at the agent’s request, not only based on their discretion.

  • How to fix lens distortion in real estate photography?

    How to fix lens distortion in real estate photography?

    In photography, the term “distortion” is used to describe many different aspects of the subject. In general, they are undesirable and need to get fixed as soon as possible. Some types of lenses cause this problem in images. For example, the famous fisheye lens “distorts,” a photograph by intentionally bending straight lines. This makes the image look ugly and funny.

    Lens distortion has two main types: (a) when the lens “accidentally” makes a straight line curve or wobble when it should be straight, and (b) when two lines that are supposed to be parallel appear to “lean” in or out, depending on the angle.

    Moreover, there are also what we call the barrel, pincushion, mustache, and keystone distortions. But what are these, and how do they differ from one another?

    Barrel Distortion

    With barrel distortion, a straight line near the edge of the image will bend outward.

    Pincushion Distortion

    On the other hand, pincushion distortion causes straight lines to visibly bow inward instead, the total opposite of the pincushion distortion.

    Mustache Distortion

    Moreover, the mustache distortion happens when a straight line does both curvings back and forth. This is a common problem on more affordable, compact ultra-wide lenses such as the 14 mm lenses.

    Keystone Distortion

    The keystone distortion is not an optical lens flaw. Instead, it is a natural characteristic of the viewing angle. A classic example is shooting a house from a high location, and the subject is way too down your position. At this point, the vertical lines will visually converge in a downward “V” shape or vice-versa. Vertical lines should remain vertical because if not, they seem visually unsettling and unnatural looking.

    So, how exactly can you correct these common lens distortions? Here are two efficient solutions to try.

    There are two main ways to correct distortion in real estate photography: (a) check if the lens has a correction profile in the post-production software you are using or (b) try correcting it manually.

    Luckily, most lenses these days has a correction profile available already. You only need to access it on the raw conversion software such as Adobe Lightroom, Capture One, or Photomatix.

    Moreover, some of the mirrorless lenses have permanently embedded the correction profile in raw file data. This makes it accessible by only turning on or off the in-camera. Before shooting images, try checking the in-camera settings to make sure distortion correction is turned on. This process can make editing easy.

    On the other hand, for keystone distortion, Lightroom has automated and manual options to correct this problem. The software also has final straightening options that can make the editing quick and easy. At the same time, you can also use Lightroom’s manual tool to trace the lines that should either be vertical or horizontal.

    In the end, the major takeaways are the following:

    Turn on the in-camera before the shoot

    Check that the camera has its barrel or pincushion distortion turned on in-camera. To ensure that this will work, double-check first if the lens you are using has a permanently embedded correction profile.

    Set the necessary Adobe Lightroom settings

    In Lightroom, check that the Develop Module’s defaults include the Lens Profile Correction tool on and “automatic.”

    Master the quick-fix methods

    Learn how to “fix” vertical lines that are not vertical quickly using automatic or manual correction tools.

    Recheck your workflow and lens all the time

    If the work is getting complicated, and you think it is not beneficial anymore, try to seek a professional real estate photographer’s help or find another lens with a perfect correction profile.

  • 5 Tips for Taking Better Real Estate Photos With Your Drone

    5 Tips for Taking Better Real Estate Photos With Your Drone

    The use of aerial photography in real estate is booming and getting more advances. It allows realtors to showcase their properties from a different perspective, aside from the usual eye-level images seen on listings or online catalogs.

    A drone is needed to secure high-quality aerial images. Using this type of real estate photography helps agents sell homes by giving buyers a better view of the property. As a photographer, you should understand how drones work to use it properly in the fieldwork. It would be best if you had careful control over it to utilize its high-resolution cameras and take fabulous images to make a home stand out.

    So, if you are into aerial photography, here are five tips to take your drone real estate photography to the next level.

    Prepare the landscape

    Regardless of the type of property, it should be prepared well for upcoming aerial photography. Start by taking a look at scattered objects around the vicinity that will be distracting on the photos. Watch out for vehicles in the driveway and construction equipment if a house is still in the final building stage since these things are usually unpleasant to be seen on photos. The landscape’s preparation should focus on the place and not on other items in the area; hence, it can save time if you do this ahead of time and not when the drone is already up on air. This helps you save time as the photographer, and you also support the editors avoid tedious work of eliminating the unnecessary things in the photos.

    Use the intelligent flight mode

    If you are an expert in operating drones, you should be aware that they have autonomous flight modes. This feature changes how the aircraft behaves, giving you ultimate control over the drone and its functions.

    Adjust the settings

    The functionalities of drones vary based on the brand and manufacturer. There are countless settings available that deal with the flight of the aircraft and the camera operation. One pro tip to remember to shoot always shoot photos in raw. Having raw files is usually larger than usual, but it will give the editors more flexibility during the editing stage. Before you start shooting raw images, change first the aspect ratio to 3:2 to have the maximum resolution. Moreover, it will help to use the autofocus rather than the manual option, which can distract you during the process.

    Keep the drone at a low altitude

    Calculating the exact height needed during an aerial photoshoot is one of the common mistakes of most photographers. To avoid this, make sure to take photos above the property to have room for the actual house and not the roof only. It will show home buyers what to expect from the property. Moreover, ensure that all the other shots are taken lower to the ground.

    Professional editing

    In any photoshoot, it is always 50% shooting and 50% editing. A photographer’s work will not be much appreciated without the skills of trustworthy editors. They transform dull images into stunning photos using software programs like Adobe Lightroom and Photoshop. Realtors and clients should invest both in photography and editing as they go hand-in-hand. Otherwise, the absence of one cannot guarantee the best outputs.

    Are you considering drone photography for your next real estate listing? Do not hesitate anymore because you are up for a wise choice. With drone photography’s skyrocketing popularity, you can surely secure good sales at one go. Just make sure to follow these five excellent tips and happy aerial shooting!