In today’s competitive real estate market, it’s crucial for property sellers and agents to find new ways to make their listings stand out. One innovative technique that is revolutionizing the industry is aerial real estate photography. By capturing stunning images from above, aerial photography provides a unique perspective that can capture attention and highlight the best features of a property.
Understanding Aerial Real Estate Photography
Before diving into the world of aerial real estate photography, it’s essential to understand why it has become such a valuable tool in the industry.
Aerial real estate photography has revolutionized the way properties are showcased and marketed. Gone are the days of relying solely on ground-level photographs and descriptions to entice potential buyers. With the advent of drone technology, real estate professionals can now capture stunning aerial shots that provide a comprehensive view of a property and its surroundings.
These captivating images offer a unique perspective that allows potential buyers to fully grasp the layout, size, and features of a property. By showcasing a property from a bird’s-eye view, buyers can gain a better understanding of its relationship to the surrounding landscape, nearby amenities, and the overall neighborhood.
Moreover, aerial photography allows sellers to present their listings in a way that stands out from the competition. With eye-catching aerial shots, they can grab buyers’ attention and create a memorable first impression. These captivating images not only generate interest but also increase the likelihood of generating leads and closing deals.
The Importance of Aerial Photography in Real Estate
Aerial photography offers a multitude of benefits for both sellers and buyers in the real estate market. By showcasing a property from a bird’s-eye view, potential buyers can gain a better understanding of the property’s layout, surrounding landscape, and proximity to amenities. This gives them a unique perspective and helps them visualize the property’s potential.
Moreover, aerial photography allows sellers to present their listings in a way that stands out from the competition. With eye-catching aerial shots, they can grab buyers’ attention and create a memorable first impression, increasing the likelihood of generating leads and closing deals.
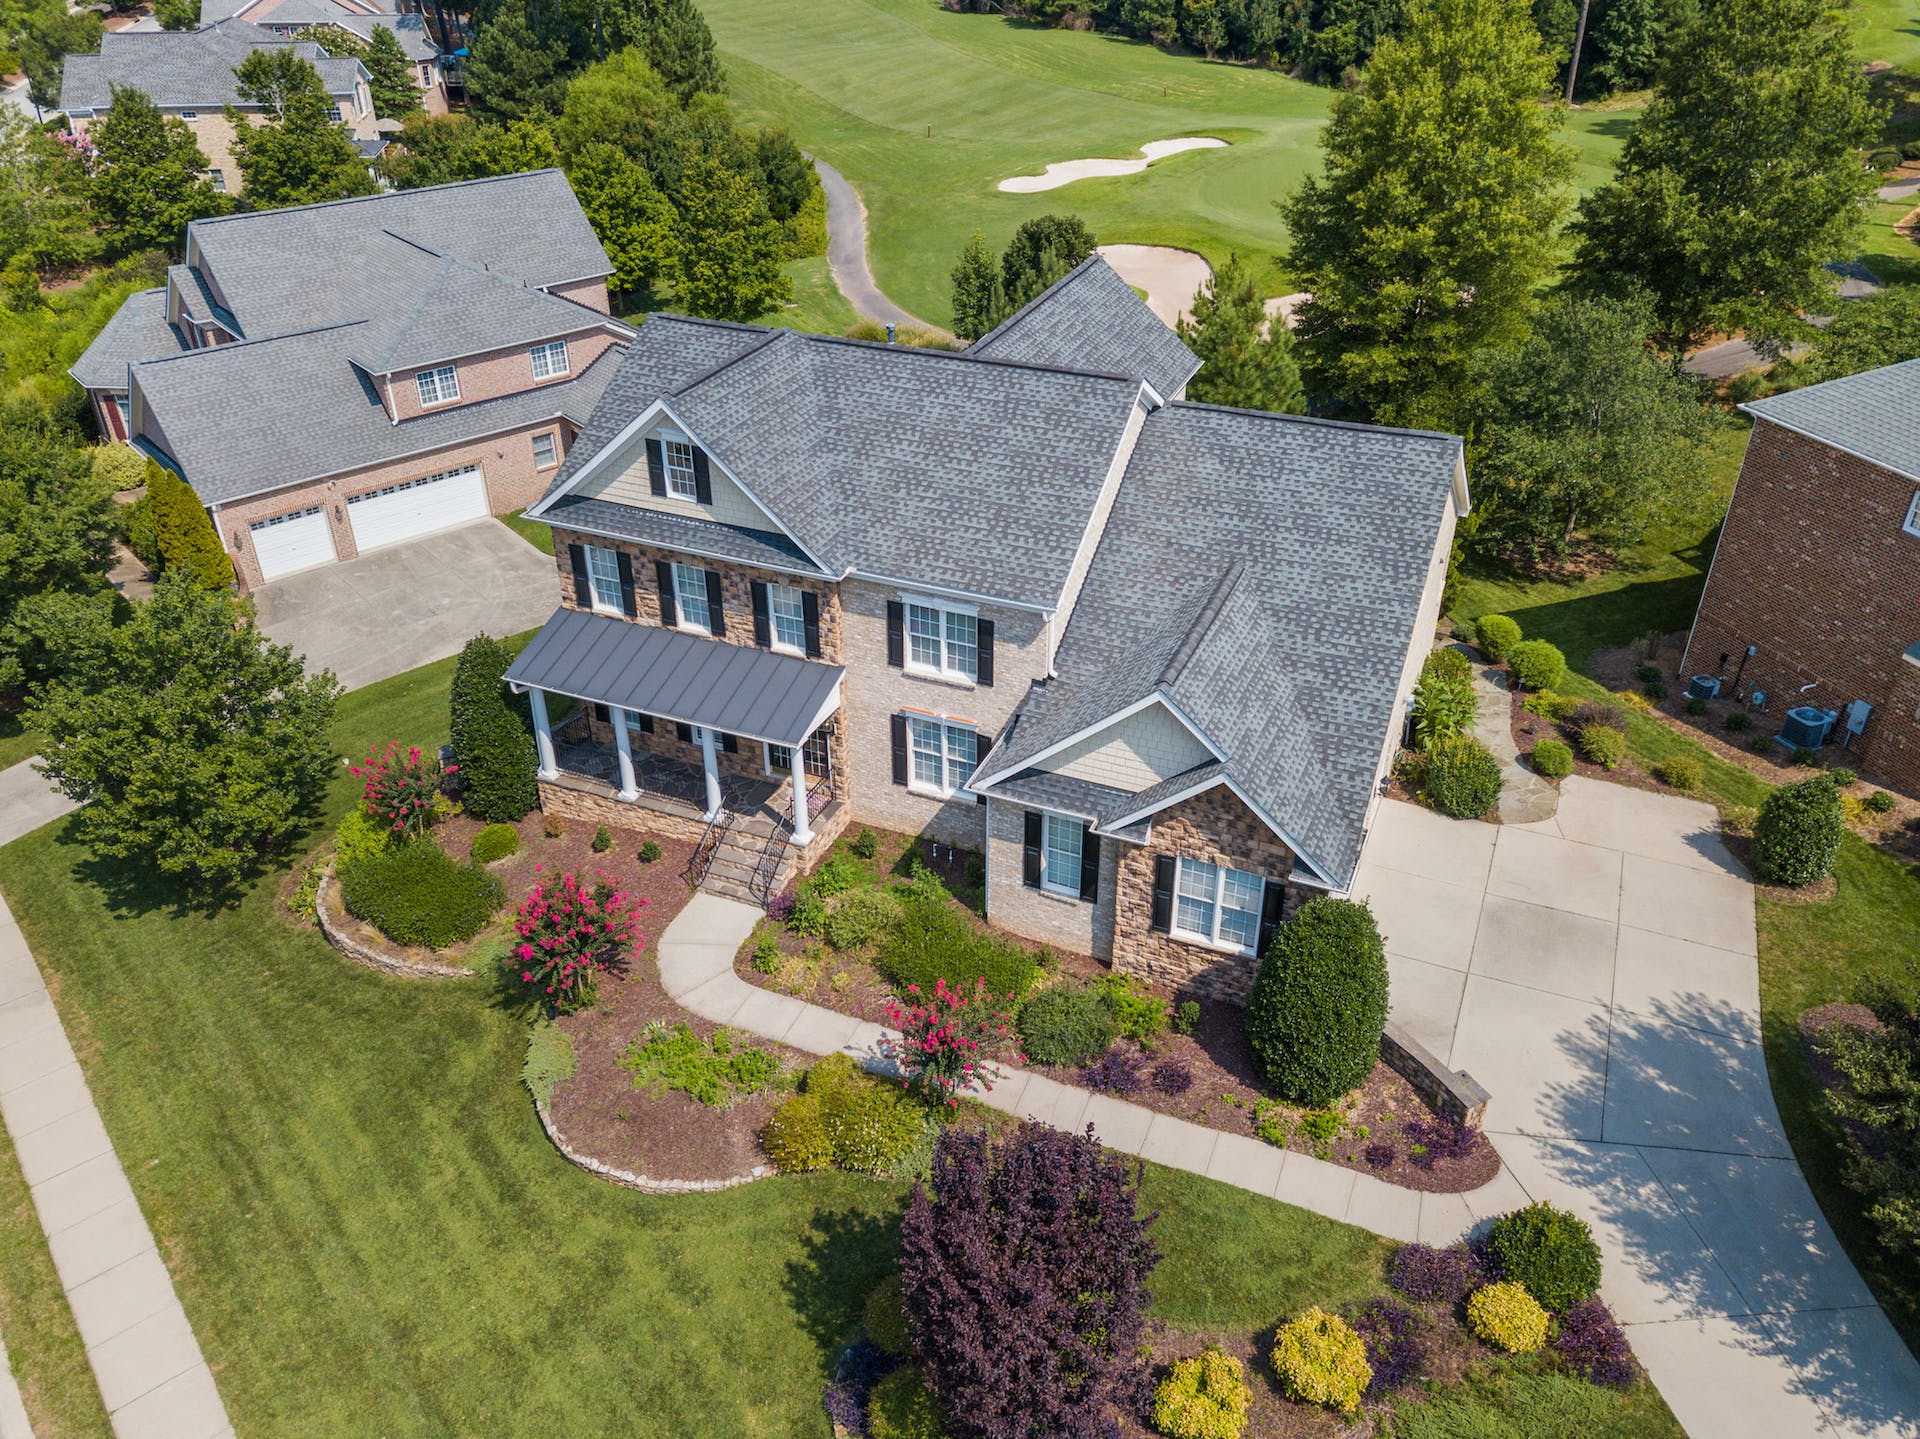
Furthermore, aerial photography can be particularly useful for showcasing large properties, such as expansive estates or commercial developments. These properties often have unique features that are best captured from above, such as sprawling gardens, swimming pools, or golf courses. Aerial photography allows potential buyers to fully appreciate the scale and grandeur of these properties, enticing them to explore further.
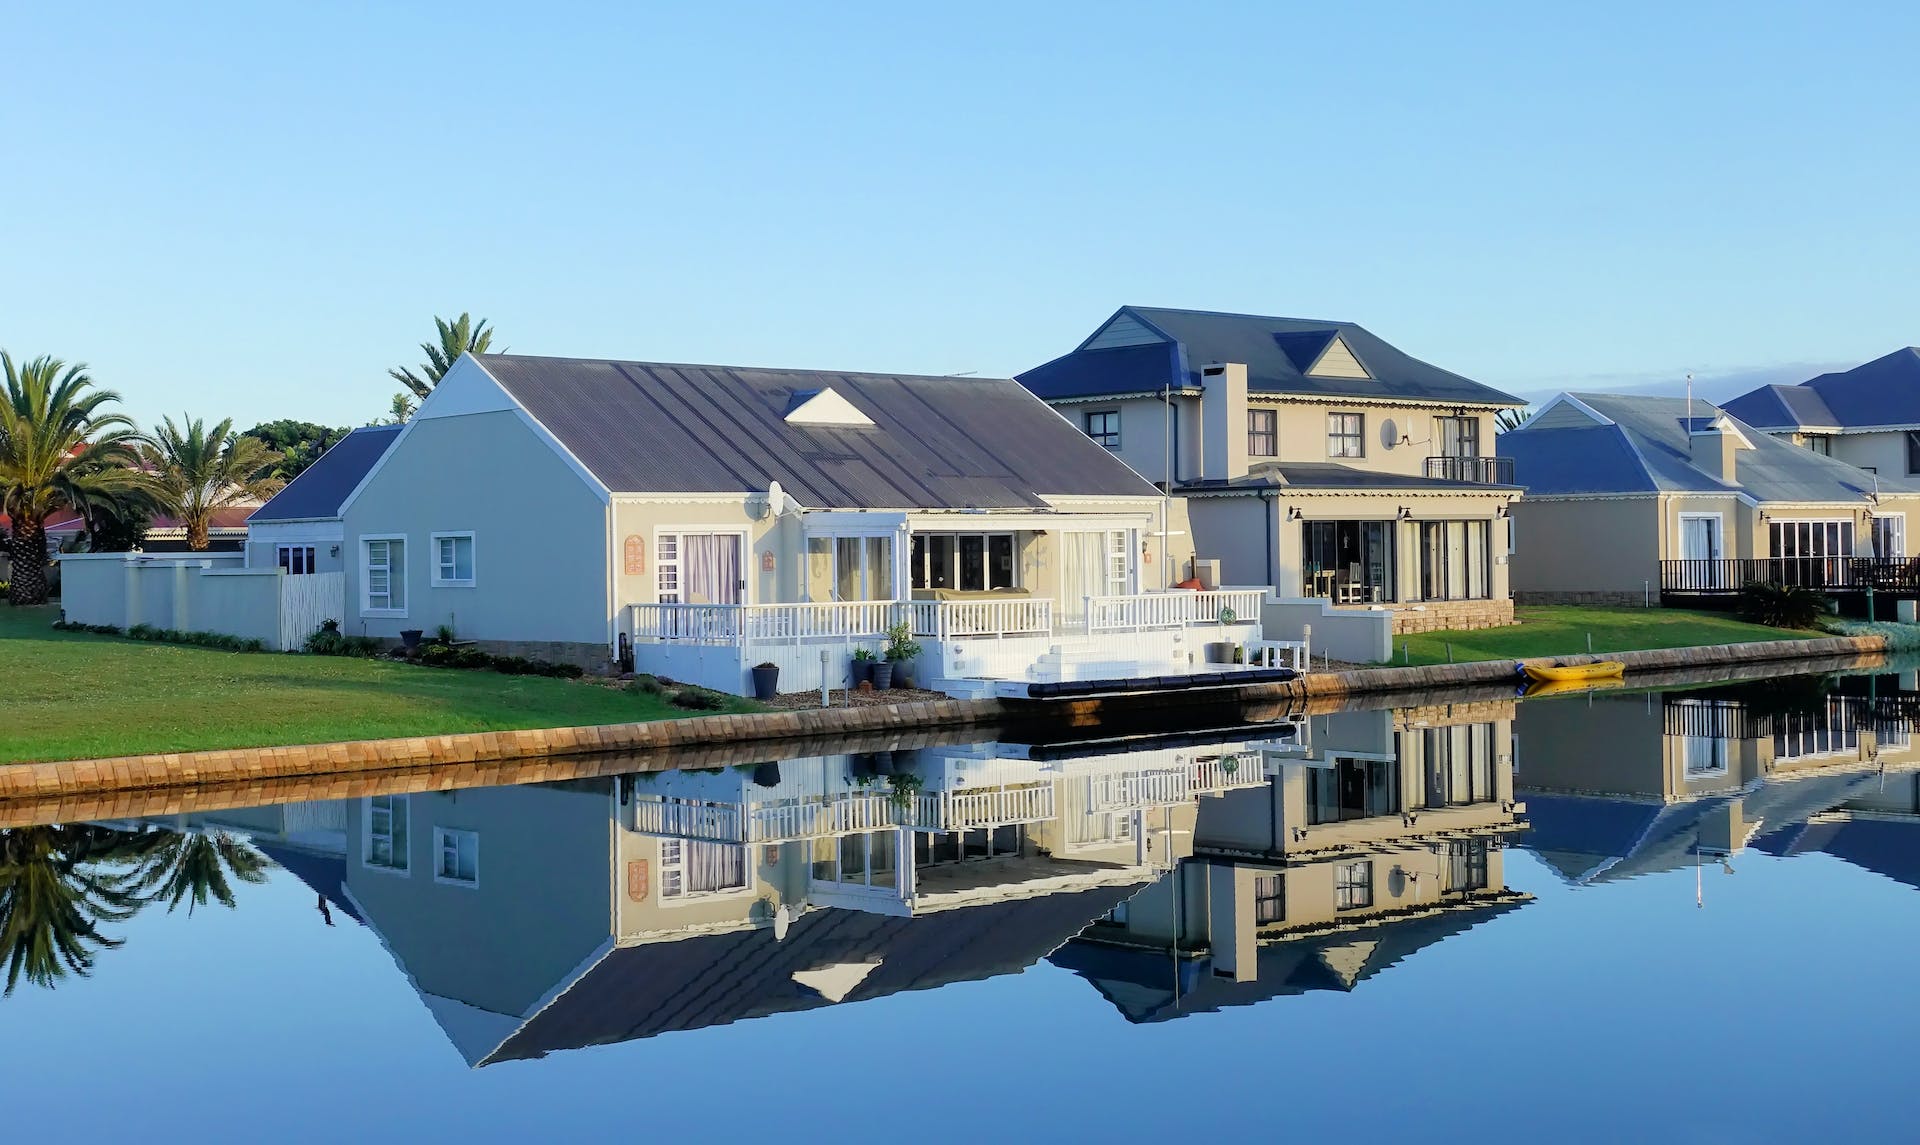
Additionally, aerial photography can be a valuable tool for highlighting the natural beauty and surrounding landscape of a property. Whether it’s a waterfront property with stunning ocean views or a mountain retreat nestled among towering peaks, aerial shots can showcase these unique selling points in a way that ground-level photography simply cannot.
Key Concepts in Aerial Photography
There are some essential concepts to grasp when it comes to aerial photography for real estate. One of these is the concept of composition. Just like traditional photography, composing an aerial photo involves placing the key elements within the frame in a visually appealing way. Utilizing the rule of thirds and leading lines can help create compelling compositions.
Moreover, aerial photography allows for creative framing and unique perspectives. By experimenting with different angles and heights, photographers can capture images that are visually striking and showcase the property in the most favorable light.
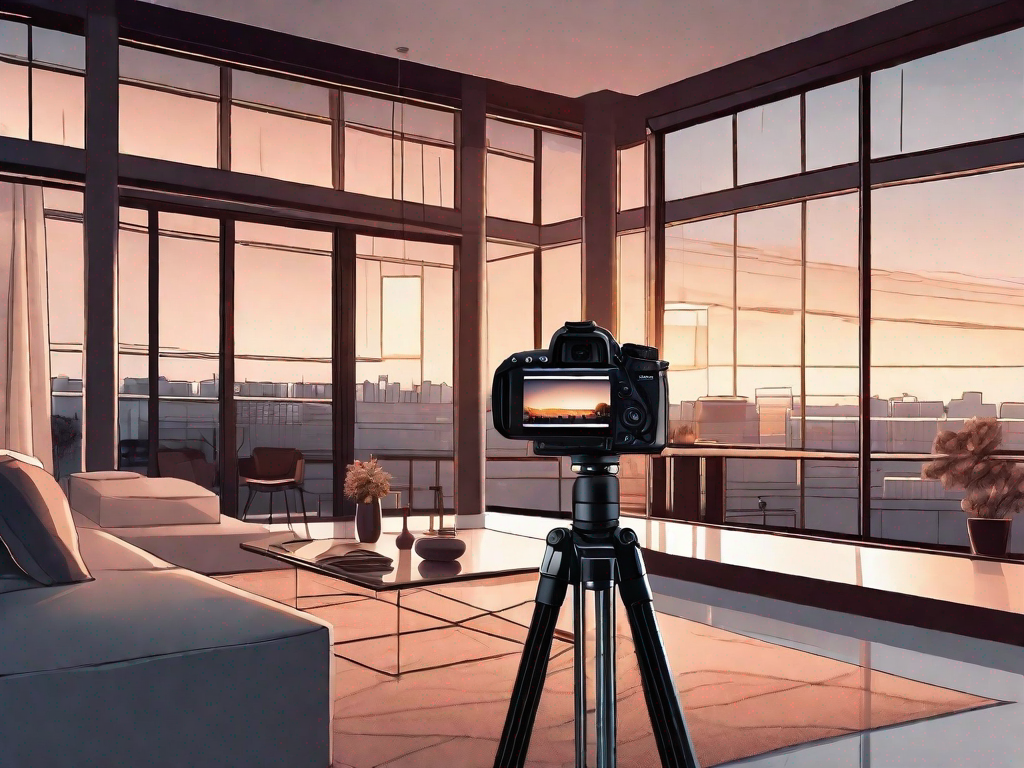
Additionally, understanding the importance of lighting is crucial. The time of day can dramatically affect the quality of the aerial photos. The golden hours, which are the first hour after sunrise and the last hour before sunset, typically offer soft and warm lighting that enhances the beauty of the property. On the other hand, midday shots can be harsh and cast unflattering shadows. Aerial photographers must carefully consider the time of day to capture the property in the most appealing light.
Furthermore, post-processing plays a significant role in enhancing aerial photographs. By adjusting the brightness, contrast, and color saturation, photographers can create images that are vibrant and visually appealing. Additionally, advanced editing techniques such as HDR (High Dynamic Range) imaging can help balance the exposure in challenging lighting conditions, resulting in stunning final images.
In conclusion, aerial real estate photography has revolutionized the way properties are marketed and showcased. It offers a unique perspective that allows potential buyers to fully grasp the layout, size, and features of a property. By utilizing key concepts such as composition, lighting, and post-processing, aerial photographers can capture captivating images that stand out from the competition and create a lasting impression.
Equipment Needed for Aerial Real Estate Photography
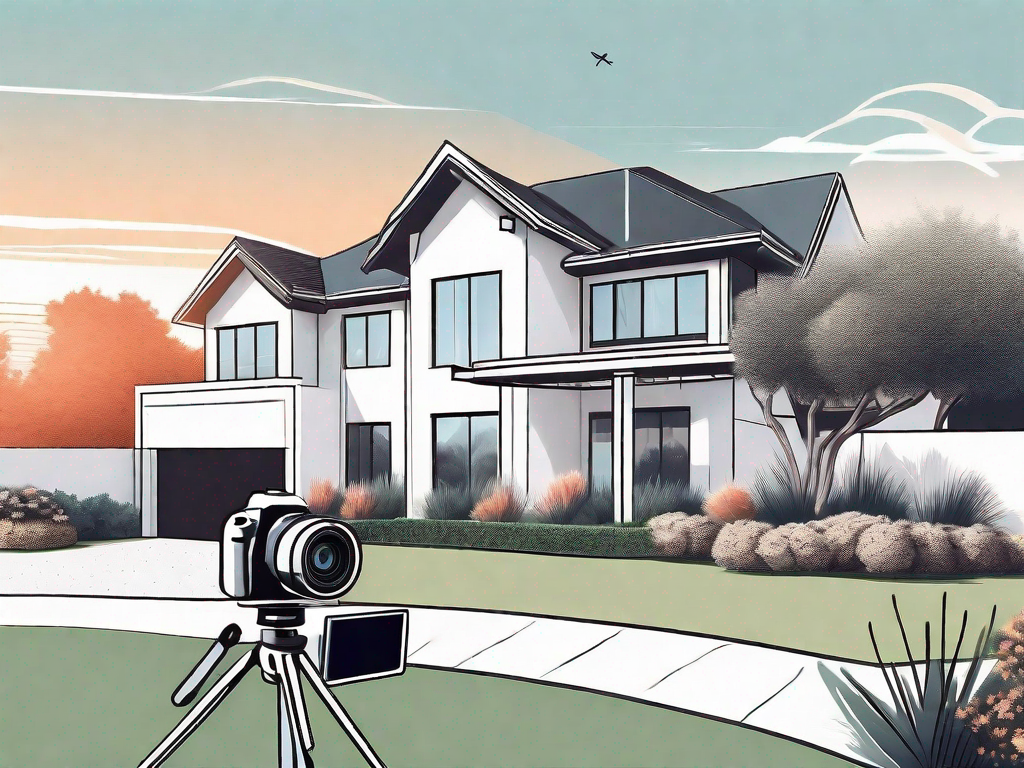
To capture stunning aerial shots, investing in the right equipment is essential. Whether you’re a professional photographer or an enthusiast looking to explore the world of aerial photography, having the right tools can make all the difference in capturing breathtaking images.
When it comes to aerial real estate photography, the equipment you choose plays a crucial role in the quality of your shots. From the drone itself to the camera features, each component contributes to the overall success of your aerial photography endeavors.
Choosing the Right Drone

The heart of aerial photography lies in the drone itself. When selecting a drone for real estate photography, it’s crucial to consider factors such as flight time, camera quality, and stability. Opting for a drone with a gimbal stabilization system ensures smooth shots without any unwanted vibrations.
Additionally, drones with longer flight times allow for extended shooting sessions, giving you more opportunities to capture the perfect shot. Look for drones that offer a flight time of at least 20 minutes or more, as this will provide you with ample time to explore different angles and compositions.
Furthermore, consider the size and weight of the drone. Compact and lightweight drones are easier to maneuver, especially in tight spaces or when flying close to buildings. This flexibility allows you to capture unique perspectives that showcase the property’s features in the best possible way.
Essential Camera Features
While drones often come equipped with built-in cameras, it’s essential to pay attention to their features. The camera is the eye of your drone, and having the right features can significantly enhance the quality of your aerial photographs.
Look for drones with high-resolution cameras, preferably with a minimum of 12 megapixels. Higher resolution cameras allow for more detailed images, enabling you to showcase the property’s features with clarity and precision.
Another crucial camera feature to consider is RAW shooting capabilities. RAW files contain unprocessed data captured by the camera’s sensor, providing you with greater control over the final image during post-processing. This flexibility allows you to adjust various parameters such as exposure, white balance, and sharpness, ensuring that your aerial photographs meet your desired artistic vision.
Furthermore, having adjustable aperture settings on your drone’s camera can greatly enhance your aerial photography. The aperture controls the amount of light entering the camera, affecting the depth of field and overall image quality. Being able to adjust the aperture allows you to capture sharp images with a shallow depth of field, highlighting specific areas of the property while creating a pleasing bokeh effect in the background.
Investing in the right equipment for aerial real estate photography is a worthwhile endeavor. By carefully selecting a drone with the right features and camera capabilities, you can capture stunning aerial shots that showcase properties in their best light. Remember, the equipment is just the beginning; it’s your creativity and vision that will truly bring your aerial photographs to life.
Mastering the Art of Aerial Photography
Now that you have the right equipment, it’s time to master the art of aerial photography and capture breathtaking images that will captivate potential buyers.
Basic Aerial Photography Techniques
Start by familiarizing yourself with basic aerial photography techniques. These include adjusting your camera settings to optimize image quality, utilizing the drone’s flight modes for different perspectives, and exploring various angles and altitudes to add depth and dimension to your photos.
Experiment with different compositions and remember to include key features of the property, such as pools, gardens, or unique architectural elements. By highlighting these details, you can create visually appealing images that attract potential buyers.
Advanced Techniques for Capturing Stunning Images
Once you have mastered the basics, it’s time to take your aerial photography skills to the next level. Consider incorporating advanced techniques such as long exposure photography, which can create mesmerizing shots of nighttime cityscapes or moving water bodies.
Additionally, experimenting with different camera angles and perspectives can help you capture unique and compelling images. Try capturing a property from a low angle to emphasize its size and grandeur or explore aerial panoramic shots to showcase the property’s expansive surroundings.
Legal and Safety Considerations
While aerial photography offers tremendous creative possibilities, it’s important to be aware of the legal and safety considerations that come with flying drones for real estate photography.
Understanding Drone Laws and Regulations
Before taking to the skies, familiarize yourself with the drone laws and regulations in your area. Different countries and regions have specific rules regarding where drones can be flown, altitude restrictions, and permits required for commercial photography. It’s crucial to abide by these regulations to avoid any legal repercussions.
Safety Tips for Aerial Photography
Ensuring safety during aerial photography is paramount. Always conduct a pre-flight check to ensure your drone is in optimal condition. Be mindful of weather conditions, avoid flying near airports or crowded areas, and maintain a safe distance from people and property.
Editing and Presenting Your Aerial Photos
After capturing breathtaking aerial shots, it’s time to enhance them further and present them in a compelling way that captures the attention of potential buyers.
Post-Processing Aerial Photographs
During the post-processing stage, you can fine-tune your images to perfection. Utilize editing software to adjust exposure, enhance colors, and remove any unwanted elements from the frame. However, it’s important to strike a balance and avoid over-editing, as this can make the photos appear unrealistic.
Best Practices for Showcasing Your Photos
Finally, when presenting your aerial photos, consider creating a visually appealing online gallery or slideshow. Organize the images in a logical order to guide potential buyers through the property, utilizing captions to highlight the key features. It’s also worth considering creating video tours that incorporate your aerial shots, providing buyers with an immersive experience.
Conclusion
Aerial real estate photography has the power to transform your property listings and make them stand out in a crowded market. By understanding the importance of aerial photography, investing in the right equipment, and mastering the art of capturing captivating shots, you can generate more interest, entice potential buyers, and ultimately close more deals. However, it remains crucial to prioritize safety, abide by the law, and showcase your images in a visually appealing and informative way.