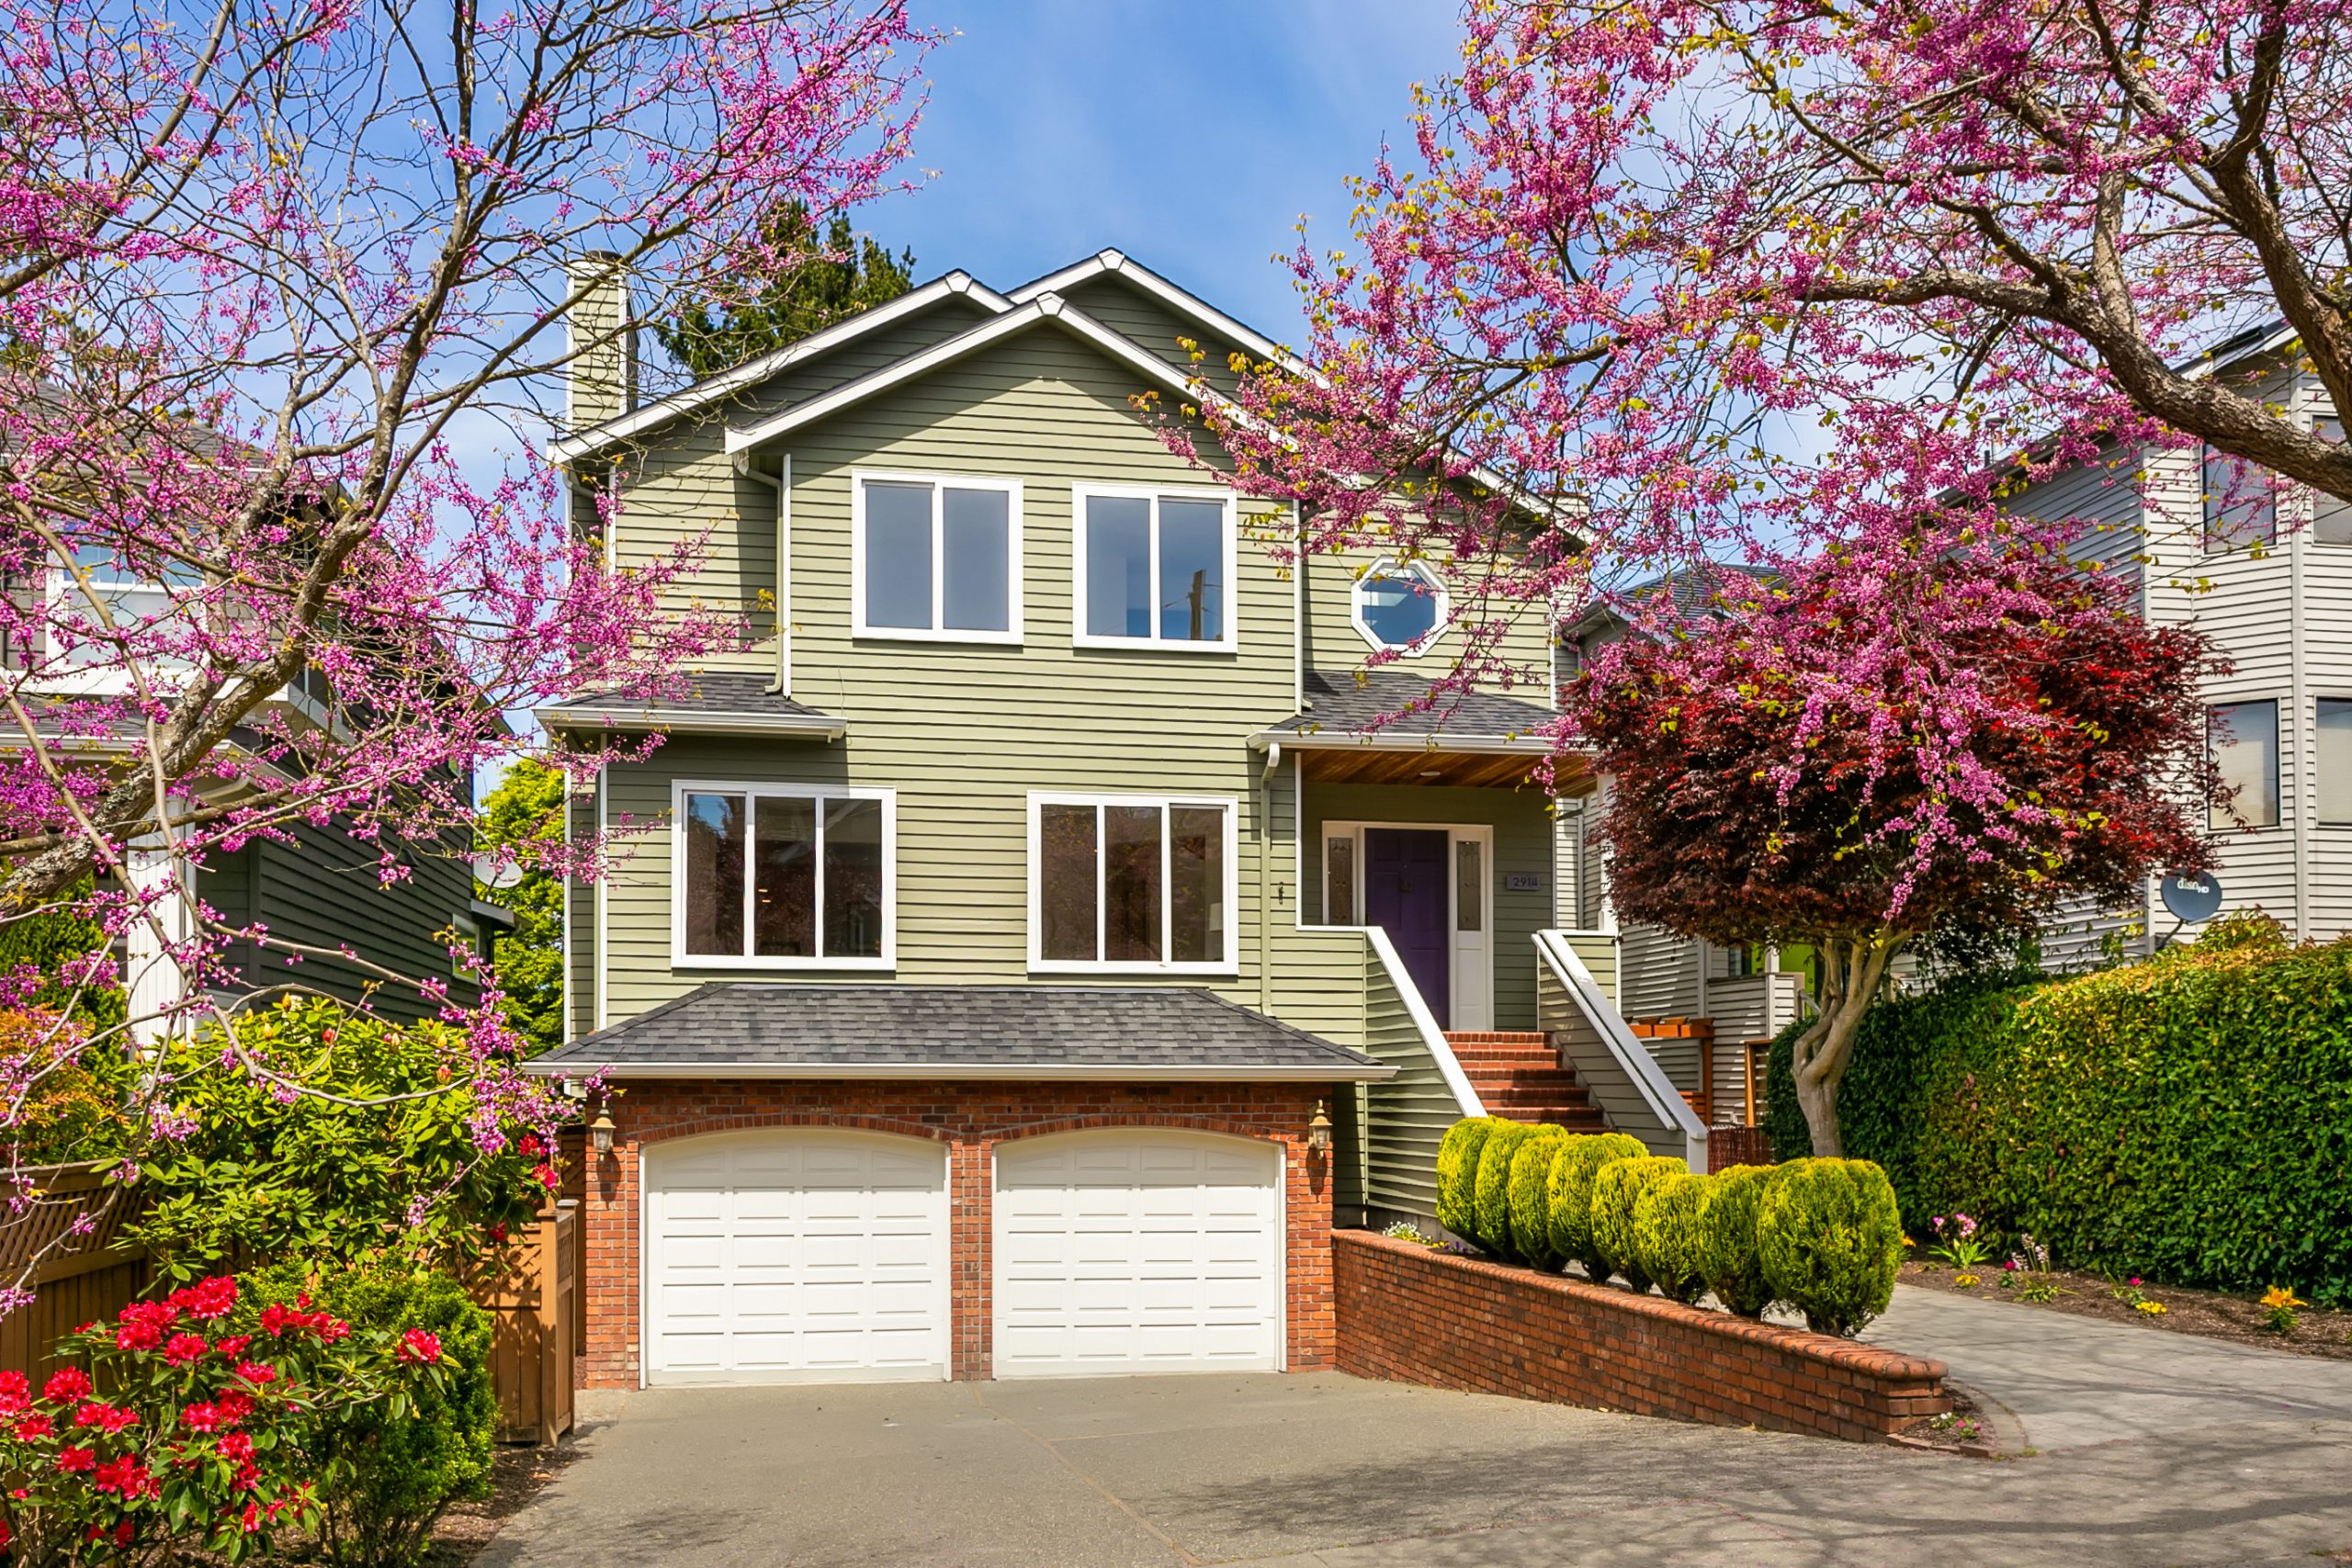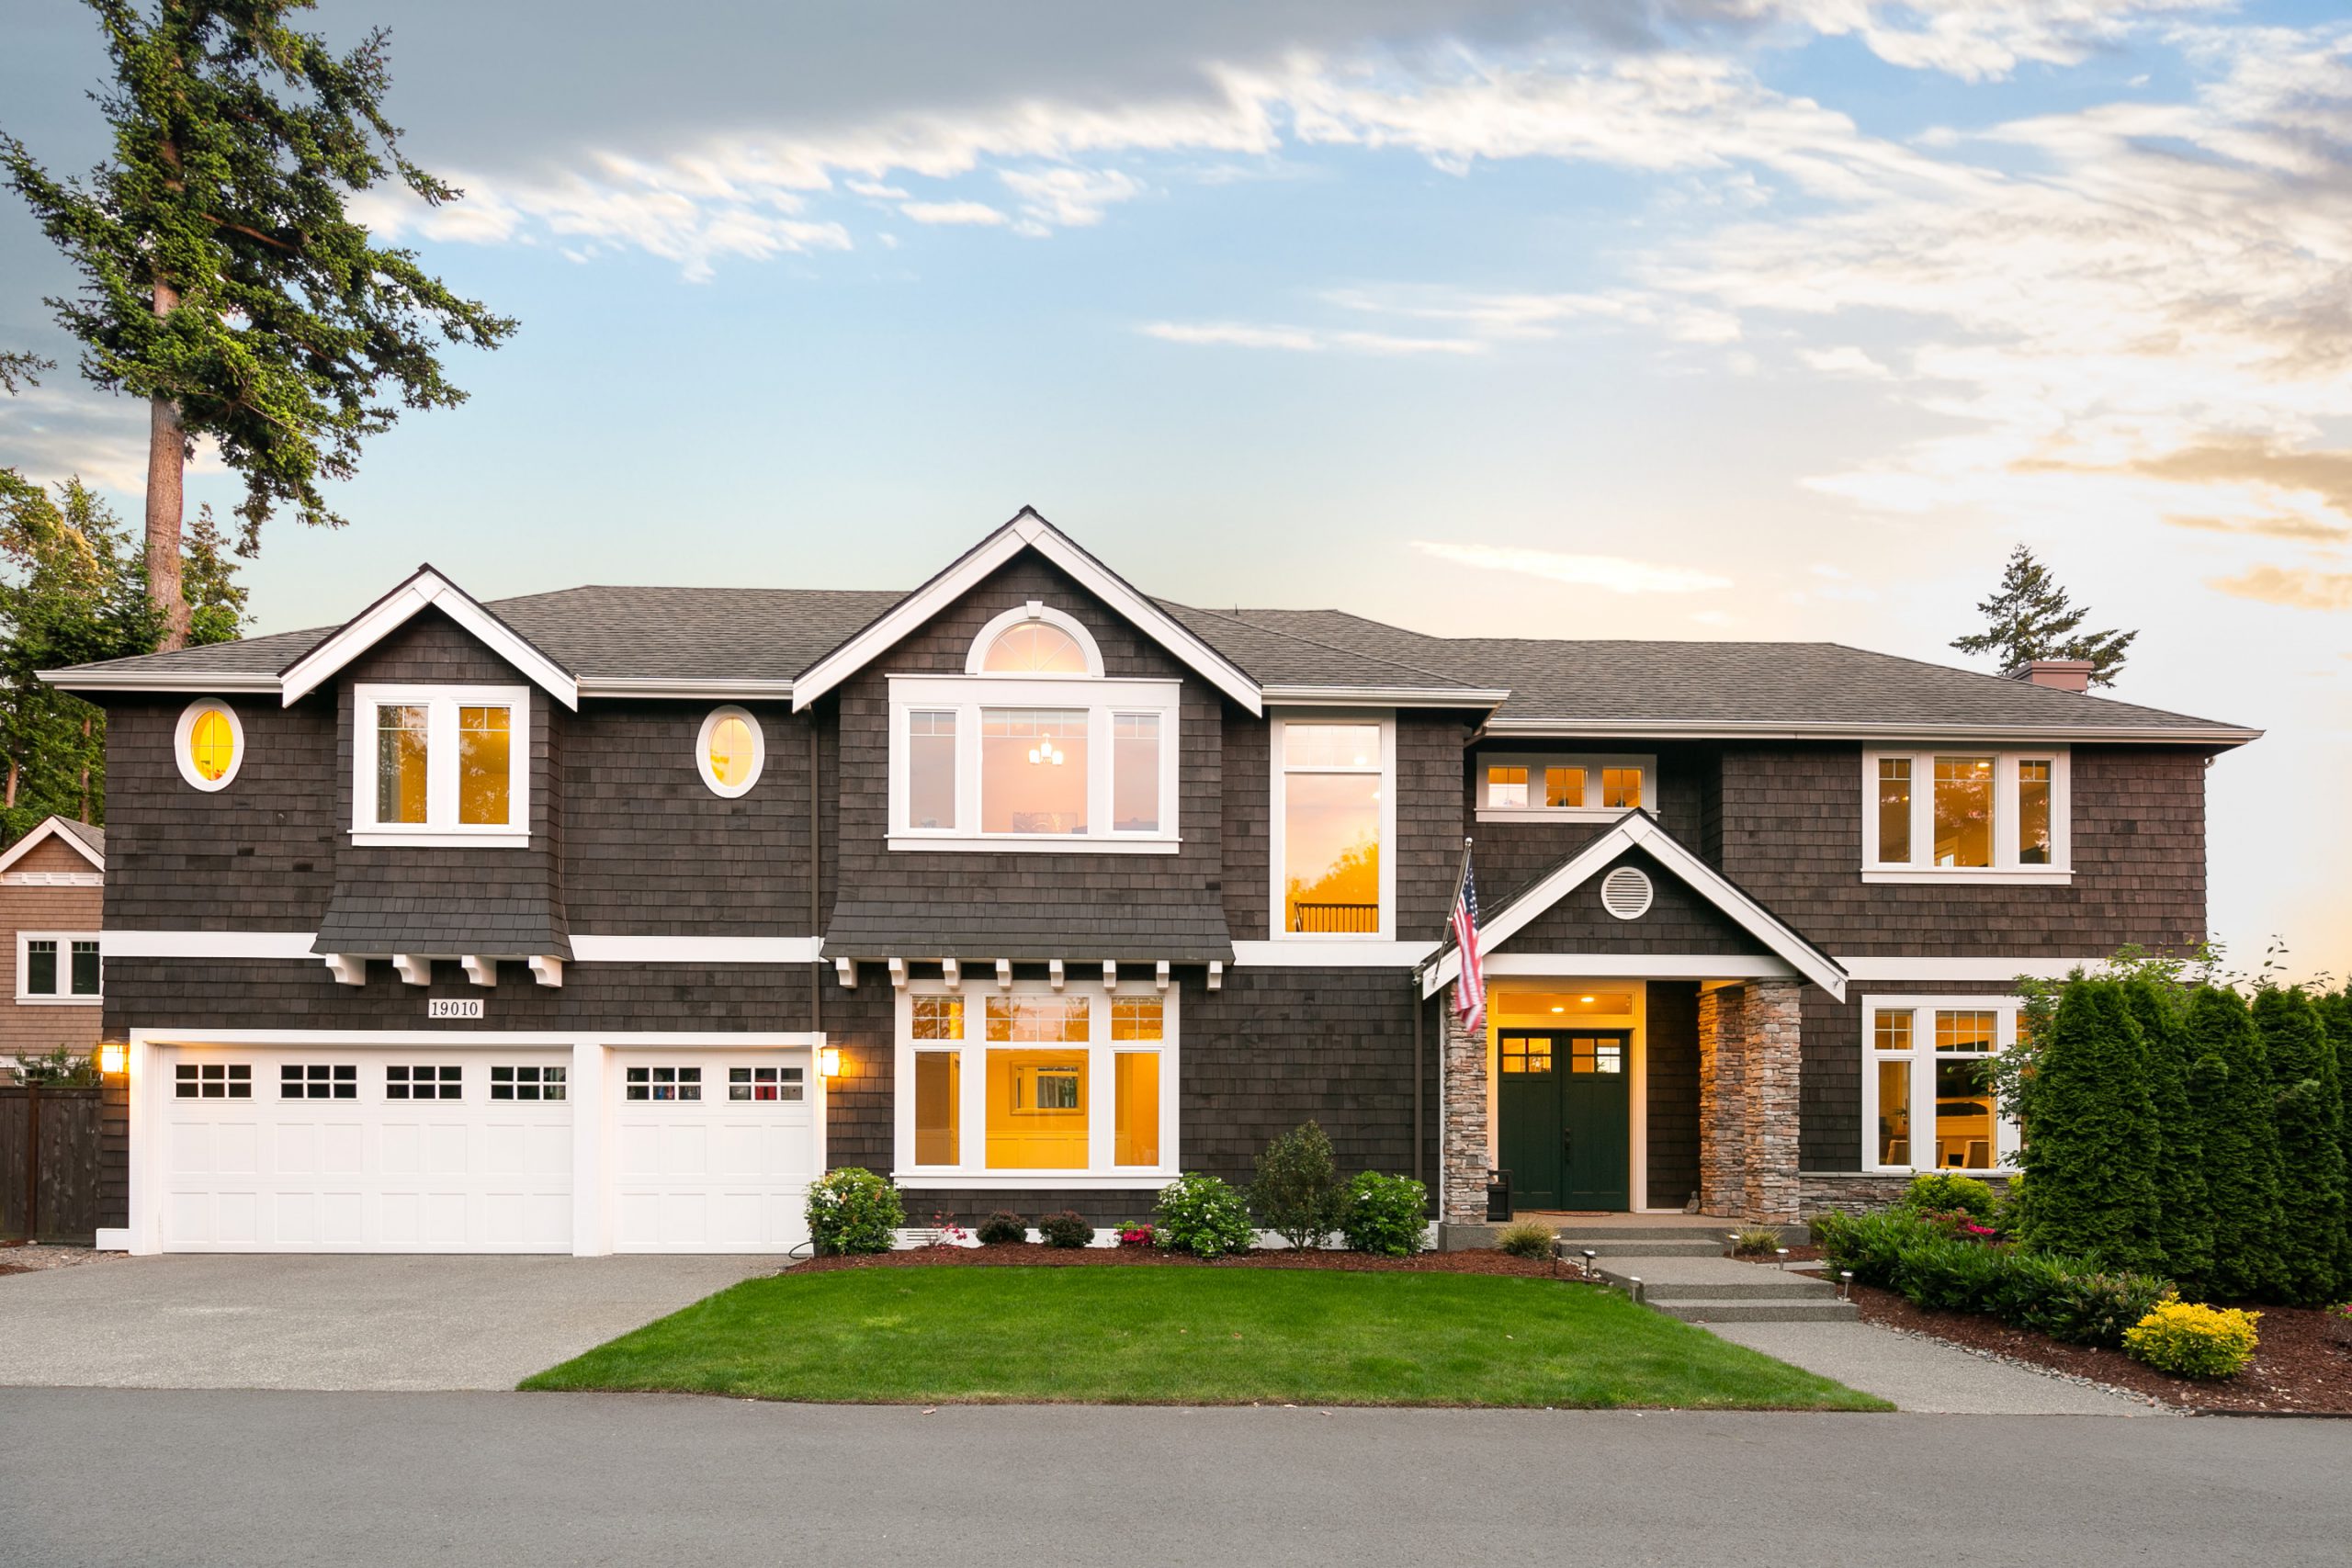
 Lighting plays a massive role in real estate photography. The placement and the type of lighting used should always blend properly with other elements such as color selection, size, and arrangement of furniture to transform a room that is photograph-ready. On the outside, most exterior lightings come naturally with the direct light from the sun.
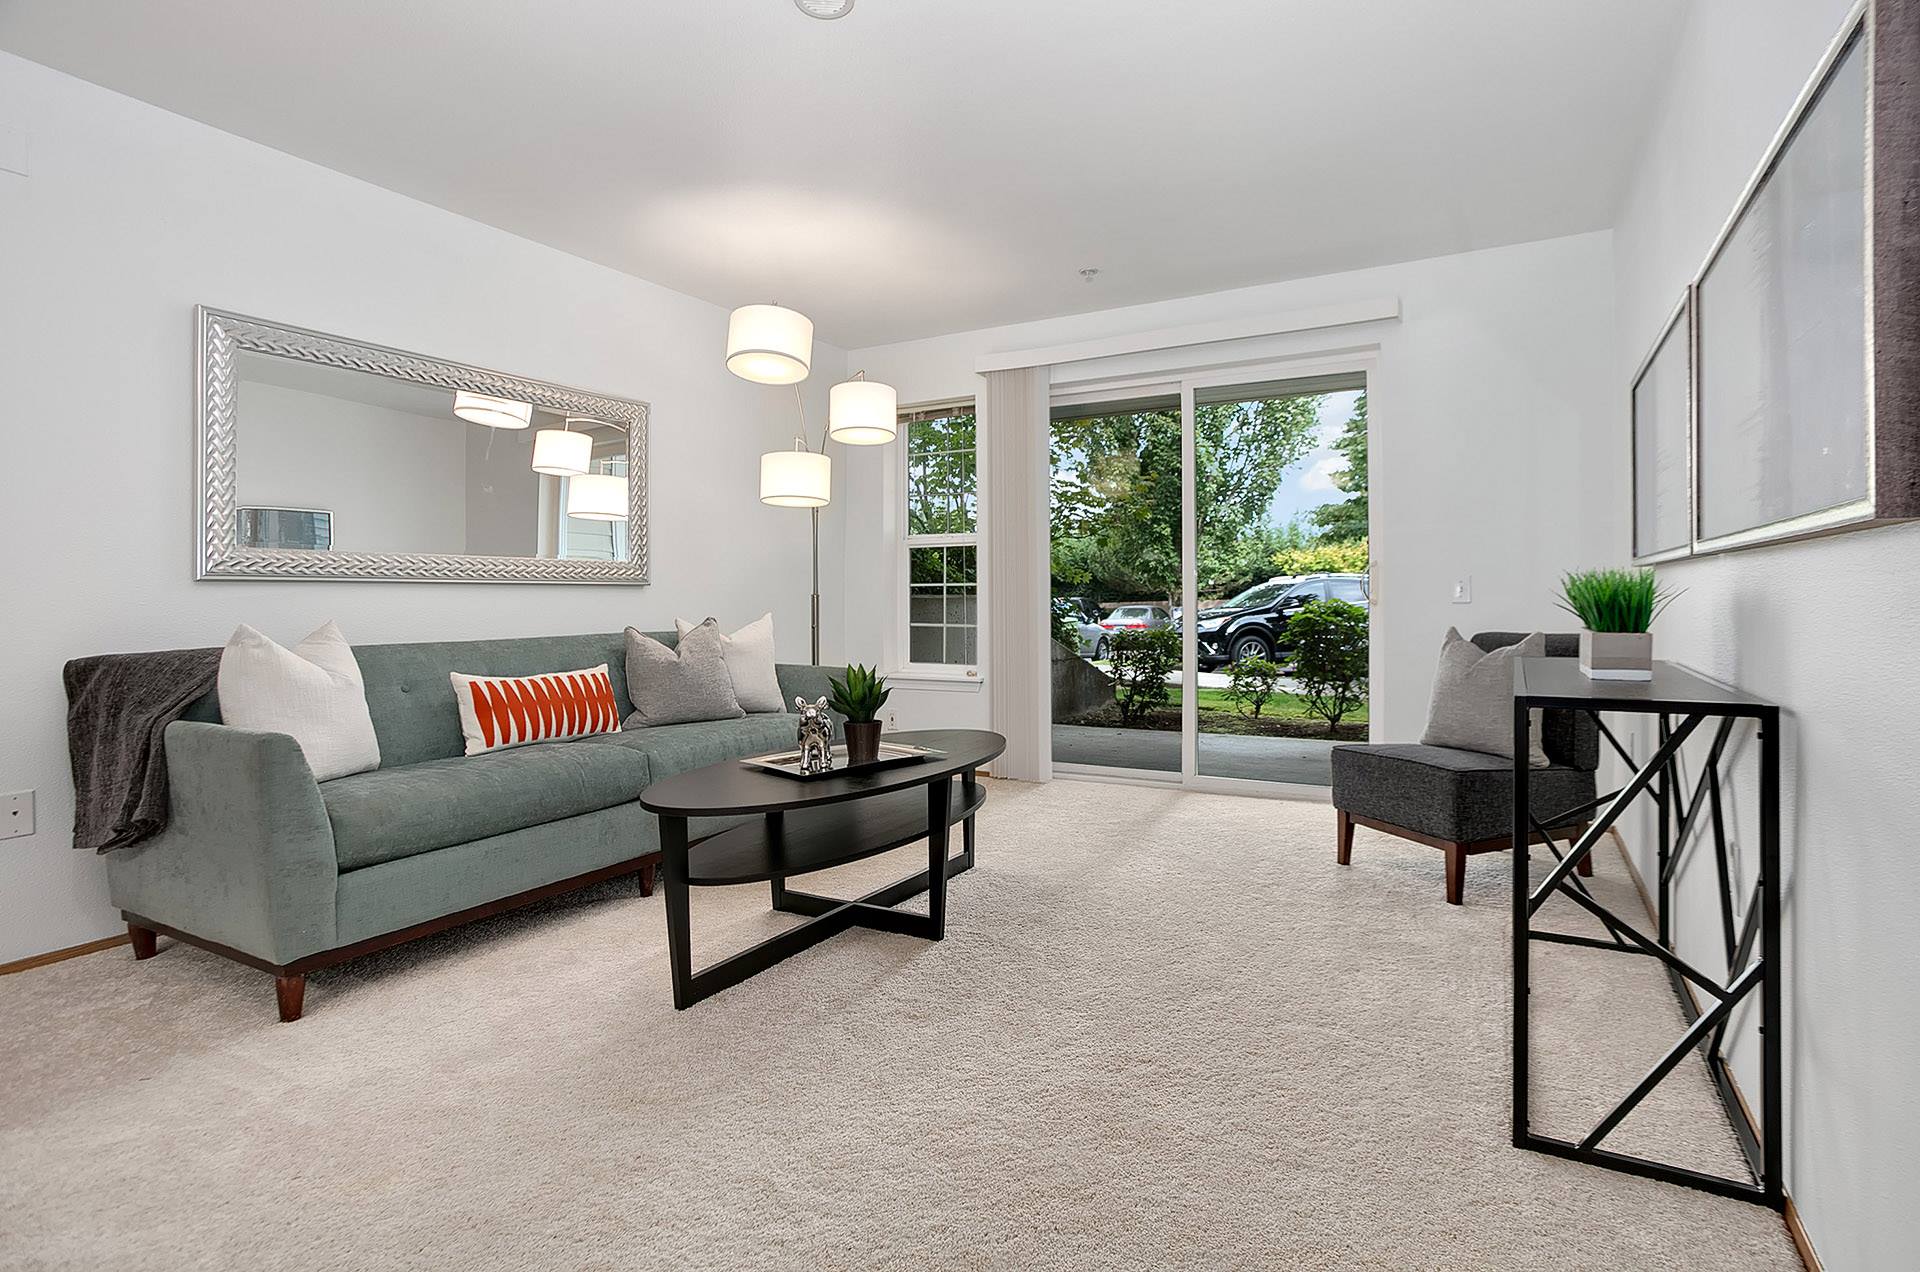
Utilizing the beauty of using sunlight could reveal the real potential of the property for sale. It can elicit positive reactions from potential customers. On the interior end, a bright living area could be a convincing factor to allow buyers to imagine hosting a party or an event there on weekends. For you to attract buyers, you must convince them both visually and emotionally. Presenting your buyers with a well-organized and properly lit home could be the answer.
Ultimate Lighting Tips for Real Estate Photography
Before embarking on the ultimate lighting tips for real estate photography, let us first have a little review on the primary aspects to consider when examining your light. In digital photography, lighting techniques cover a wide variety of considerations. Real estate photography lighting is not only about settings. Many photographers make use of lighting to express emotions. Below are the things to examine before you make your first photoshoot.

1. Examine how strong your light is. This is called intensity.
2. Examine where the light is directed or inclined. This is called angle.
3. Examine the difference between brightness and shadow. This is hardness or softness of light.
4. Examine the color. This is its temperature, its warmth and coolness.
Most people in the real estate business agree that correct lighting can spell the difference between your property flying off the market or simply hanging around for an unspecified period. Proper lighting always captures the best qualities your home can offer. Here are some insights to consider that will help you capture the best features of your house with correct lighting.
1. Manage colors well
• Use of lighting can add or remove overall colors of a room
• Always brighten up those unwanted corners
• Bright colors always stand out

The use of lighting can either increase or decrease the overall colors of a room. Colors could create an illusion in which darker colors can create a feeling that the room is small and cramped. Homes with recessed bright lighting that casts downward illumination is a good combination to the colorful walls surrounding the space. To perfectly showcase the whole house, the brighter its colors, the more it will stand out to buyers.
2. Consider your space
• Create a full-spectrum of natural light for dark-colored rooms
• Maximize the use of natural light for areas with large windows and skylights
• Lighting fixtures like lamps and hanging lights combined with natural light produce promising results

No two houses are the same. Even if the house is a duplex or apartment type, they still have differences. When you consider both natural and artificial lighting, it helps bring out with the illusion of a space in your photo. It is very important for every real estate photographer to do examination of the fixtures first by tuning all the lights in the room. When the furniture is tightly spaced together, consider removing an extra chair to have more breathing room for the remaining furniture. With your creativity, you need to make a full-spectrum of natural light for dark-colored rooms. If the house has a skylight or is built with large windows, make a daytime appointment for your shoot so that you can capitalize on using natural light.
3. Make use of positional lighting
• Highlight important elements
• Lighting changes the perceived size of the room
Making use of positional lighting can provide the much-needed illumination for the whole house. The significance of positional lighting is to highlight important elements of the house. This is done by pointing the necks of the lights at specific elements. There are also lighting fixtures in a real estate property like recessed lighting and mirror frames that have built-in lighting that, when combined together, will help completely change the size perception of the room.
4. Make use of multiple wireless flashes
• Make large rooms well-lit
• Scatter of light is consistent
Professional real estate photographers make use of multiple wireless flashes as their preferred method. Though setting up requires more time and money, it is the only way to make large rooms very well-lit. The use of multiple wireless flashes will help expose the room and window light scattered consistently. This is one of the many ways in exposing the room’s best assets.
5. Make use of the different types of flashes

• Focus the shadow to specific locations
• Direct the light fronting the house
• Highlight the features of the property
In many instances, it’s very usual to bounce a flash when shooting an interior. A single bounced flash will fill in any shadow to focus on specific features of the room. In shooting exteriors, fill flash can also be valuable. You can easily direct the light fronting the property by using a hot shoe flash. This will highlight the structure instead of the landscape.
 Maybe you’re into Adobe Lightroom presets but you don’t know how to import them in the Lightroom or at least put them in a folder. This is a tutorial about the simple ways on how to install presets on Adobe Lightroom or organize them in folders to set little themes and import them into the program for future use.


 Real estate photo retouching is one of the most common tasks to be done when it comes to property image enhancement. To make photo retouching using Adobe Photoshop CC, it is important to have this application downloaded to your PC or Mac. Editing and previewing of Canvas should be done first for the blank page to show up.