The previous year left us with so many overwhelming events. The chains of unforeseen happenings and the impact it has on our lives are beyond words.
Now, 2021 is in its early stage. It is still hard to say if this will be a prosperous year for the real estate industry which obviously, has taken the aftermath of the pandemic last year.
But being optimistic is one key to unlock this year’s likely trends.
The real estate marketing trends give us insightful ideas of what 2021 will likely be, especially in the real estate market and all the businesses related to it, such as real estate photography and videography.
So, if you are also one of those people who are intrigued about 2021’s real estate trends, take a look at this list.
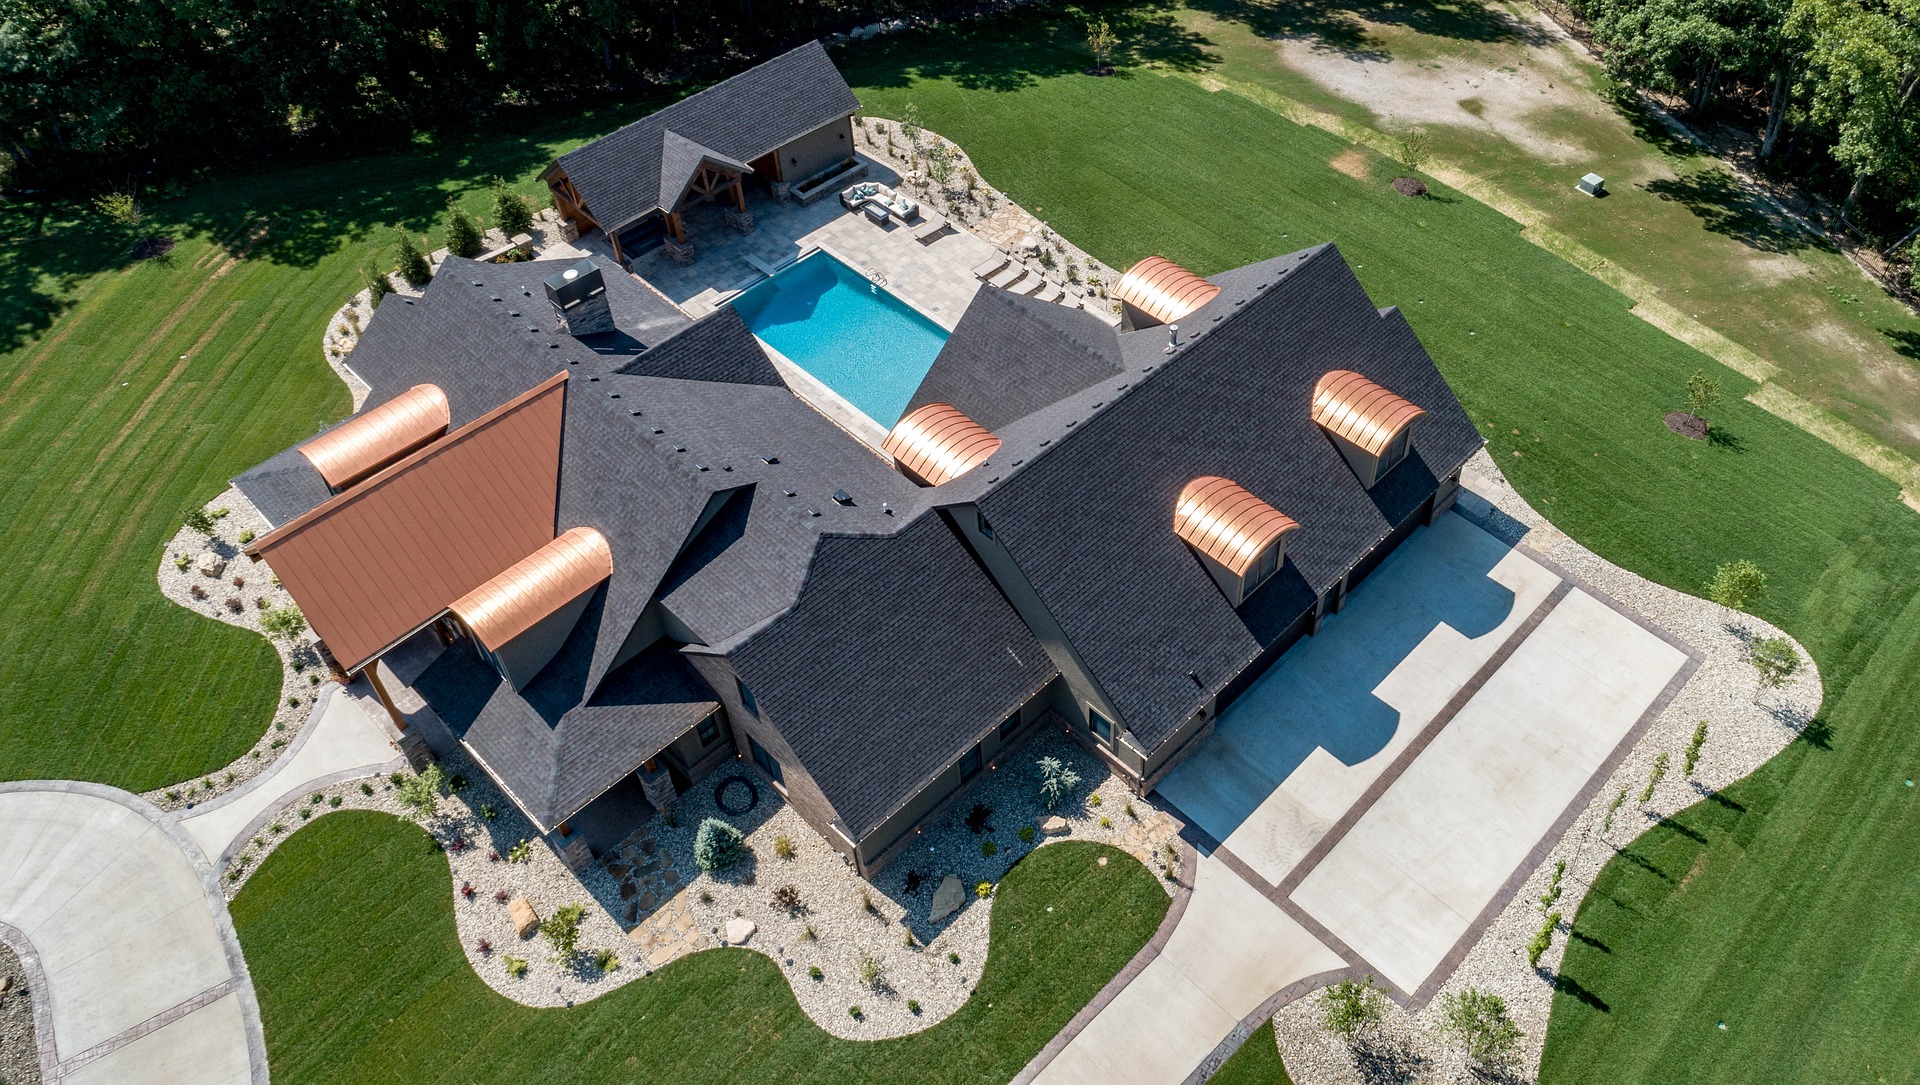
Drone
If you are a gadget geek, you likely know what a drone is.
In 2020, it was one of the most noteworthy trends used for real estate photography and videography.
Moreover, it is used for neighborhood tours, also known as community tours, to highlight the property’s vicinity and entice buyers ultimately.
Stunning aerial photography and drone video are much more appealing to home potential buyers. This makes it a robust marketing material in real estate.
It is expected that drone photography will continue to dominate the real estate market this year because more buyers will want to see a property’s surrounding straightforwardly.
Real Estate Videography
The use of compelling images is essential, but if you can upgrade it into a video, then fantastic – you just nailed it!
Some people prefer to see videos instead of images alone because it is more convincing than plainly looking at pictures.
Hence, video marketing has become a buzzword. Based on forecasts, it is still likely that this niche will even thrive this year.
This is because nearly 80% of real estate marketers use listing videos from last year until now.
Social Media
The use of traditional marketing in today’s real estate industry does not always work.
This is because most marketing activities these days are all done online by utilizing websites and social media accounts.
Social media is powerful. It emerges as a great channel to keep in touch with your followers and allows you to access hundreds of potential guests in just a few clicks.
You can use social media platforms to show your achievement and impress them with informative updates about the real estate market. It can also help you gain a strong social media presence that can boost lead generation.
Given this consumer behavior, this trend is bound to continue in 2021.
3D Tour
In real estate, 3D tours matter – a lot.
It is a creative solution that boosts your digital marketing strategy. One main reason is that it drives more interest and helps your home stand out among other listings.
The purpose of a 3D tour is not to make images and videos obsolete. Instead, it is more of a supplementary material that gives viewers a more accurate feel.
Through a 3D tour, prospective buyers understand the house’s floor plan and flow better and can conveniently do their walkthrough of the property from anywhere and anytime.
Besides, it is the most realistic and immersive way to experience a property online; hence it is highly anticipated that the effectiveness of 3D tours can continue to be one of the emerging real estate marketing trends in 2021.
Single Property Website
If you want to utilize digital marketing magic in the real estate industry fully, you should first consider having a single property website.
A single property website is emerging as a hot trend because it can reduce your need for a vast marketing budget typical in traditional marketing.
You might still be unfamiliar with how this one works, so here is a simplified explanation: it is a solely intended website for one property you want to sell.
Its superior design, catchy photos, and videos keep viewers to stay on the site longer.
It is also the best “storytelling marketing” tool to explain a unique history of the property, if applicable.
A well-done and optimized single property website is certainly powerful enough to dominate the emerging real estate marketing trend this year.
So, what do you think?
Is it likely that all or some of the mentioned trends above still make it until the end of the year?
To be honest, it is still early to say, so you should sit down and observe how these trends can change over time.