Shooting real estate photos is a staple source of income for photographers. Being a powerful marketing tool that has the ability to set a property among others, real estate photography is a skill worth honing. Whether you are pursuing photography for real estate as a new business or as a side hustle to earn extra income, it is important for you to note that in capturing basic images for a simple property listing or for an advertisement campaign of a larger commercial project, high quality photos are worth big bucks in the industry.
In order to learn how to capture high quality real estate photos, here are 7 basic guidelines you have to consider:
1. Pack Your Equipment the Night Before the Shoot
The first and most important thing to remember in real estate photography is to make sure that you have everything you need with you before you go to the location you’ll be shooting. There’s nothing worse than being at a shoot and realizing that you didn’t bring enough equipment that would help make your shoot easier and faster.
Essentially, the basic items that you have to consider packing for every shoot are the following:

- Full-frame camera. This is perfect for shooting real estate but if you haven’t had an opportunity to purchase one yet, any camera with interchangeable lenses will do.
- Tripod. A sturdy tripod can help you avoid camera shake and will ensure a consistent camera positioning across several different shots.
- Off-camera flash units. Since some properties will require you to capture an entire large room that is impossible to light with a single flash, these will prove to be very helpful to you.
- Light stands. This gives you flexibility in choosing your flash placement for you will no longer have to rely on countertops and furniture items, which may not be placed in your desired areas in some houses.
- Wide-angle lens. This helps you fit a lot of space of a particular area in the camera, getting a fuller view in confined spaces.
2. Prepare a Standard Shot List for Each Property
Although it is wrong to assume that all homes are identical, there are typical shots that every real estate photographer will have to keep in mind such as (a) 2 wide angle shots of each bedroom, the kitchen, and the living room; (b) 1 photo of the bathroom, unless it’s especially beautiful or spacious; (c) 1-3 photos of the backyard, unless it has some unique features; (d) 1-2 shots of the front exterior; and (e) 1 shot each of features such as laundry room, garage, and pantry. To have a point of reference to make sure that you’ve captured all your must-have real estate photos, it will come in handy to prepare a standard shot list for each property.
3. Examine Property Beforehand

After arriving at the location and after having met the agent, you can ask them to give you a tour of the property. This is an opportunity for you to know if there are any specific shot ideas, angles and features that the client wants to highlight. It will also give you a sense of your client’s marketing goal as well as the layout of the house to aid you in mentally preparing for the shoot. Moreover, this gives you the chance to determine and to declutter what needs to be hidden to ensure that the property is prepared for shooting.
4. Set Proper Camera Settings
After prepping the house, you can start setting up your camera equipment and dialing in your camera settings. In no particular order, set your file of numbering settings to continuous to ensure that your photos are organized sequentially when you transfer them to your computer, so it would be an easy task to send them to your real estate image editing company. Make sure the photo quality is set to small RAW files ideally at about 5 megapixels for deep and professional editing. Go to live view/movie function settings and make sure you are in stills only or exposure simulation live view. Furthermore, set your lens to manual focus and dial in manual exposure mode to control both shutter speed, which should normally be between 1/60 and ½ a second; and lens aperture that should be set between f/7.1 to f/9. Before every exposure set, set your focal point half the depth of the room, which can be done by using your live view zoom feature for precision focusing. Lastly, set your ISO as low as possible, usually below 400.
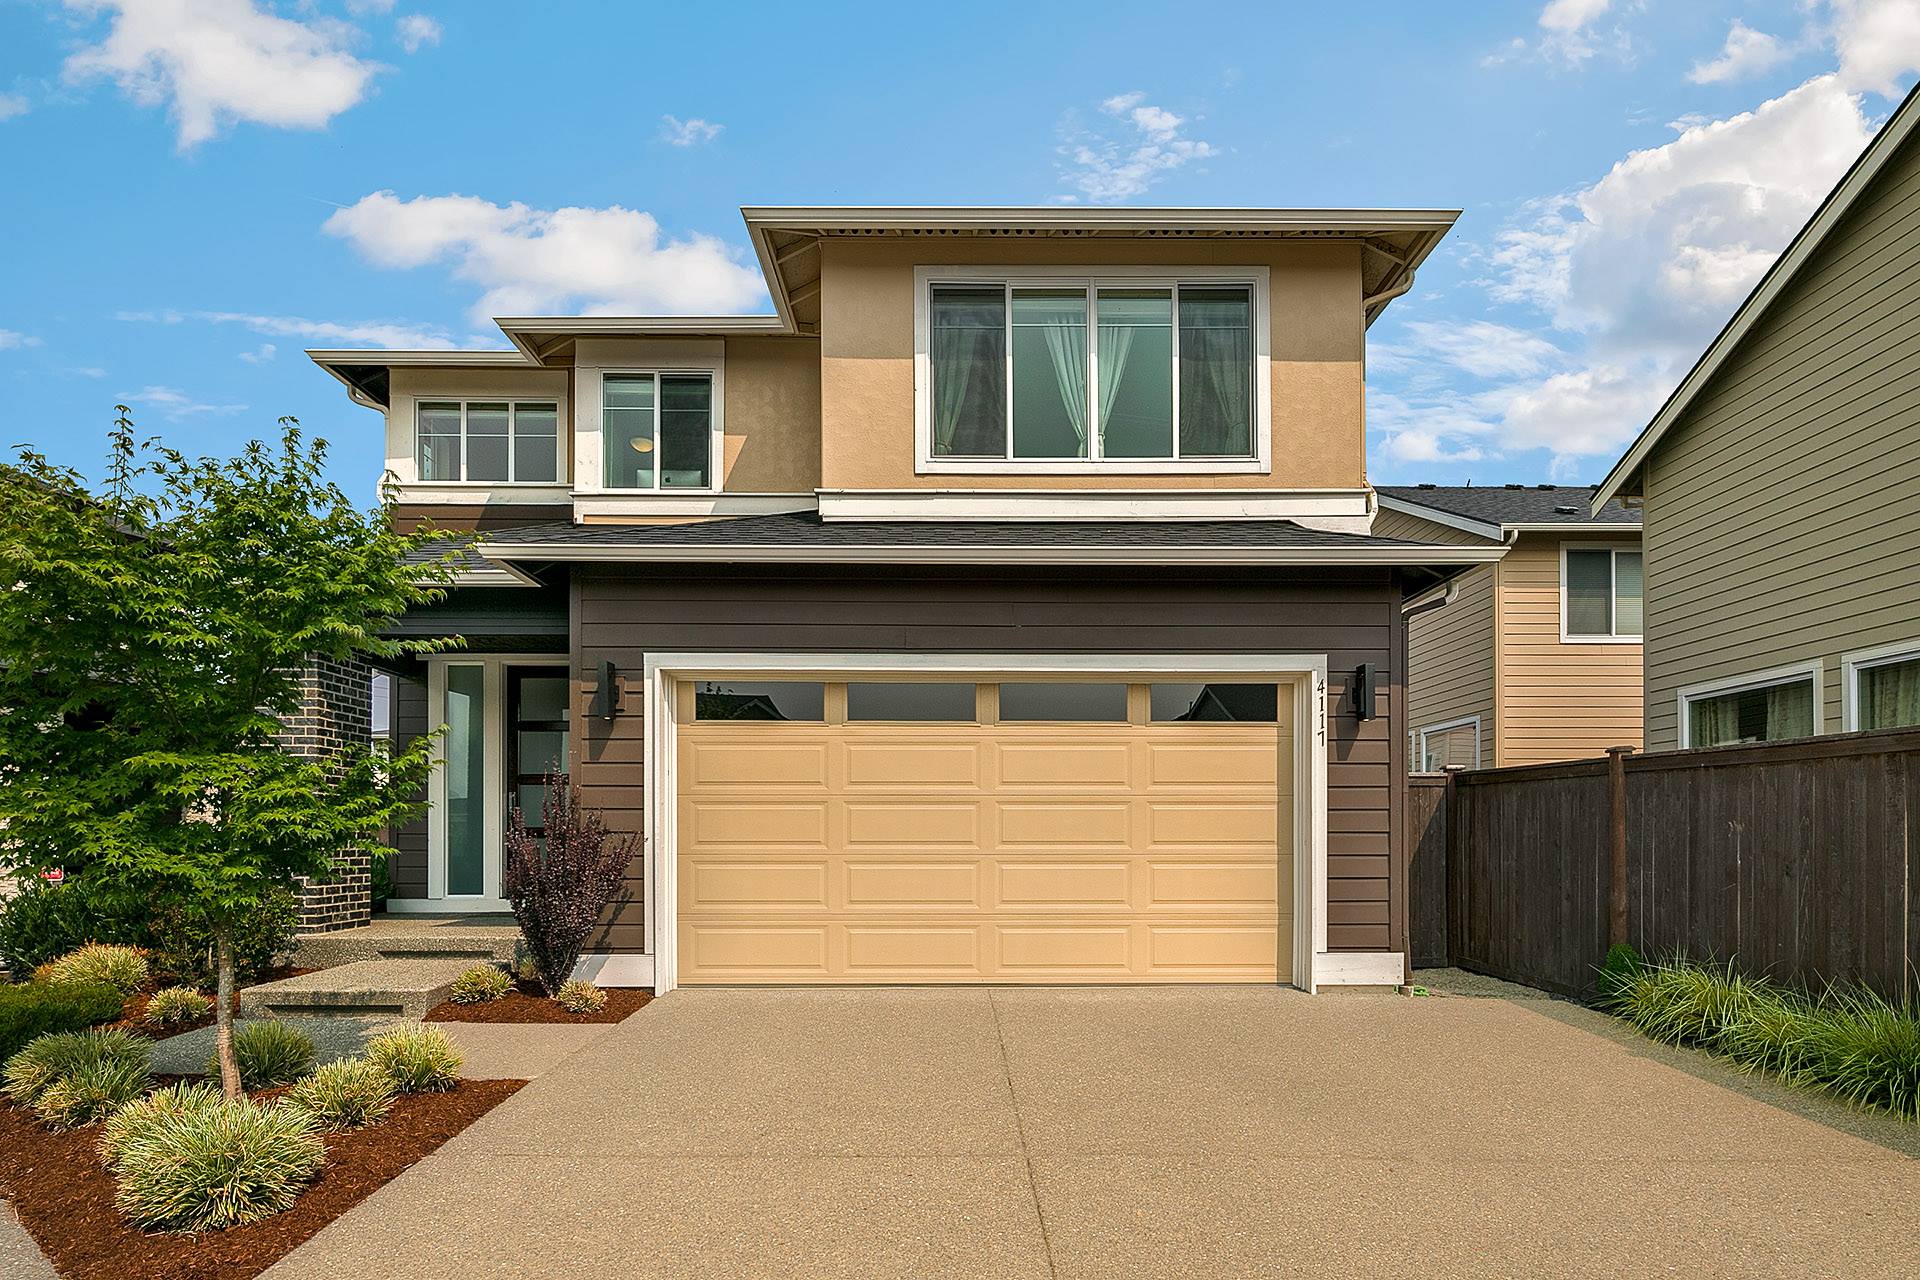
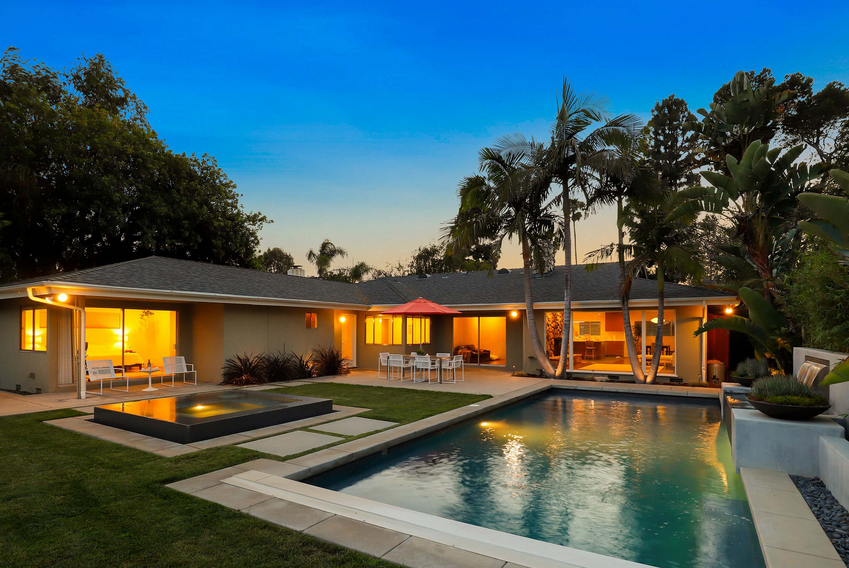
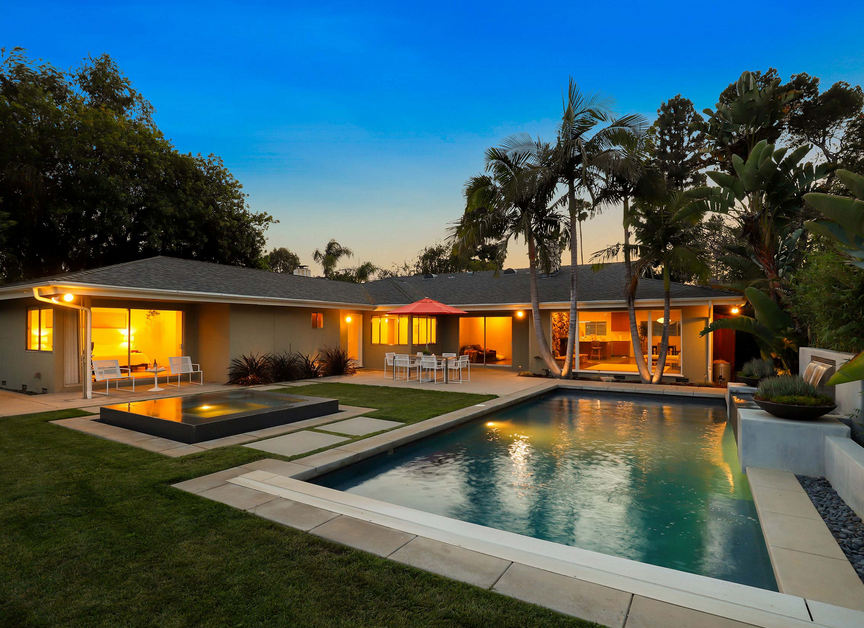
5. Shooting Exteriors

The most important aspect you have to consider in exterior real estate photography is the positioning of the sun, which should generally be behind the structure to avoid sharp shadows on your photos. The right time to shoot exteriors may vary among real estate photographers but it is usually done during daytime, when you can get a lot of natural light and bright, saturated colors in your images. However, shooting beautiful shots of the property also works during sunsets with the interior lights on to get a warmer feel of the house. It mostly depends on your discretion and on how the client wants to project the property.
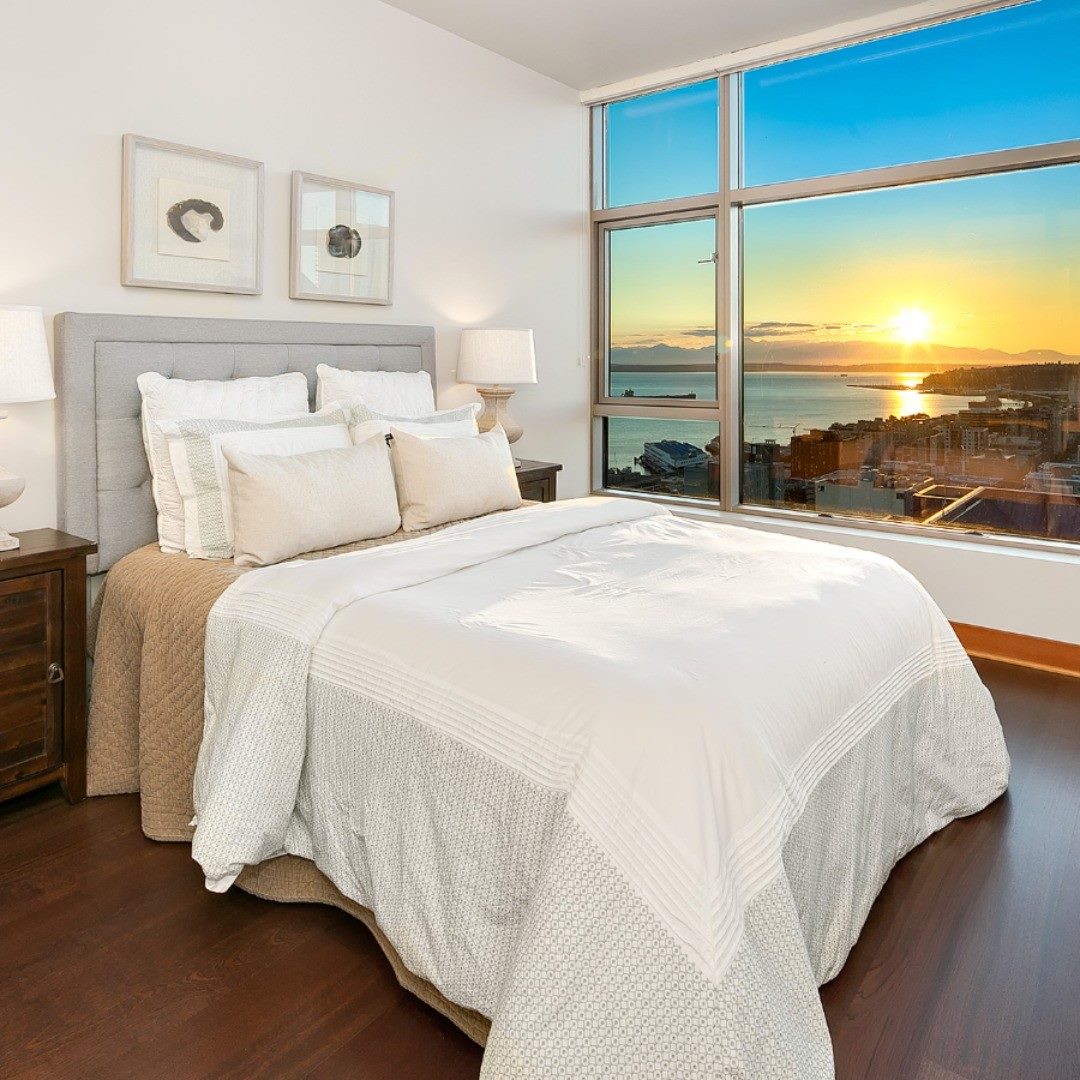
6. Shooting Interiors

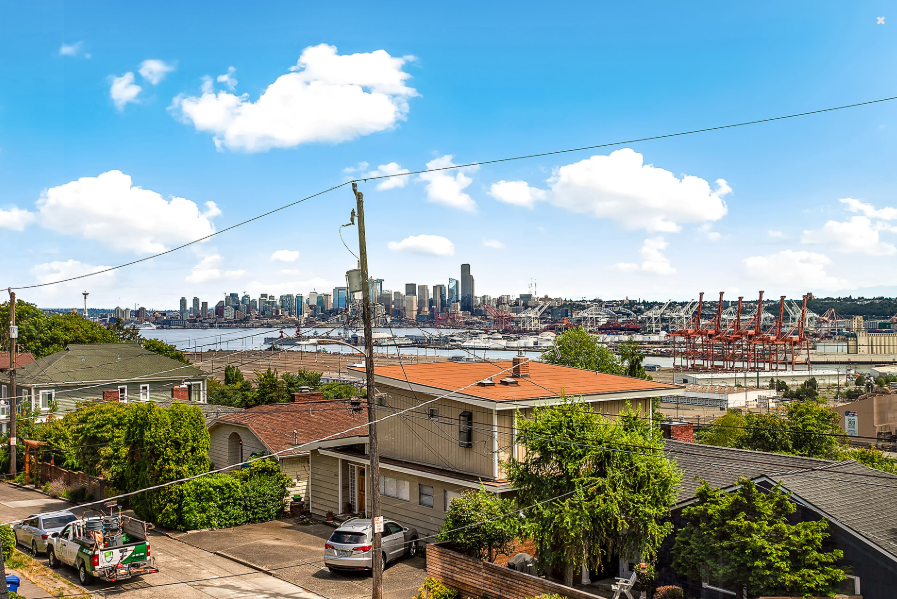
In shooting exteriors, you must first make sure that you have set aside all items that will show poorly in the photos so as not to compromise the marketability of the listing. The general rule is to open windows and pull up window blinds because for real estate photography, natural light is the best option. However, if the view outside is unpleasant, or if the agent insists on leaving them down for whatever reason, or if the blinds are broken or unstable, it would be best to leave them down and to simply twist them open so light can still come through the windows. The challenge of shooting interiors is the mixing of light temperatures—while it is common to turn the lights on to give off a warmer and welcoming feel of the space, it introduces varying light temperatures that need to be balanced in post-processing. On the other hand, you can shoot with all interior lights turned off in which using multiple flashes and long exposures will be necessary to fill in the dark areas in your photos.
For interior real estate photography, you must set out to photograph the main rooms—the living room, kitchen, dining room, bathroom/s, and bedroom/s, and all the property’s features that the client wants to highlight like the porch, office, walk-in closet, staircase and entryways, to name a few. Then, find the best perspective for each room. In photographing interiors, you should keep your camera level, preferably at chest height, by using a hot shoe bubble level, making your edges perfectly straight. To make sure that there is balanced lighting in your real estate photos, you can use HDR photography to help you capture highlights and shadows in an image without clipping either one. In using flash units, make sure to diffuse it to minimize the sharp shadows it can cause by bouncing the flash off a light-colored ceiling or wall, or by using a softbox-type-diffuser, or shooting through a white umbrella.
7. Be Flexible
Since your ultimate goal in shooting high quality real estate photos is to give the agent what they want, you have to be flexible. Don’t just stand in the corner; find the most interesting and unusual angles to capture a specific area of a house. Move around and take multiple photos that can potentially create a scene or a desire to visit or purchase a property. While there are basic guidelines in real estate photography, it also counts a lot to experiment with bizarre ideas if needed.

Now that you are equipped with the basic tips and techniques in photography for real estate, all that’s left for you to do is put them into practice. Start by photographing your own living spaces or those of your family and friends until you finally get a contract with an agent to start your career in real estate photography.