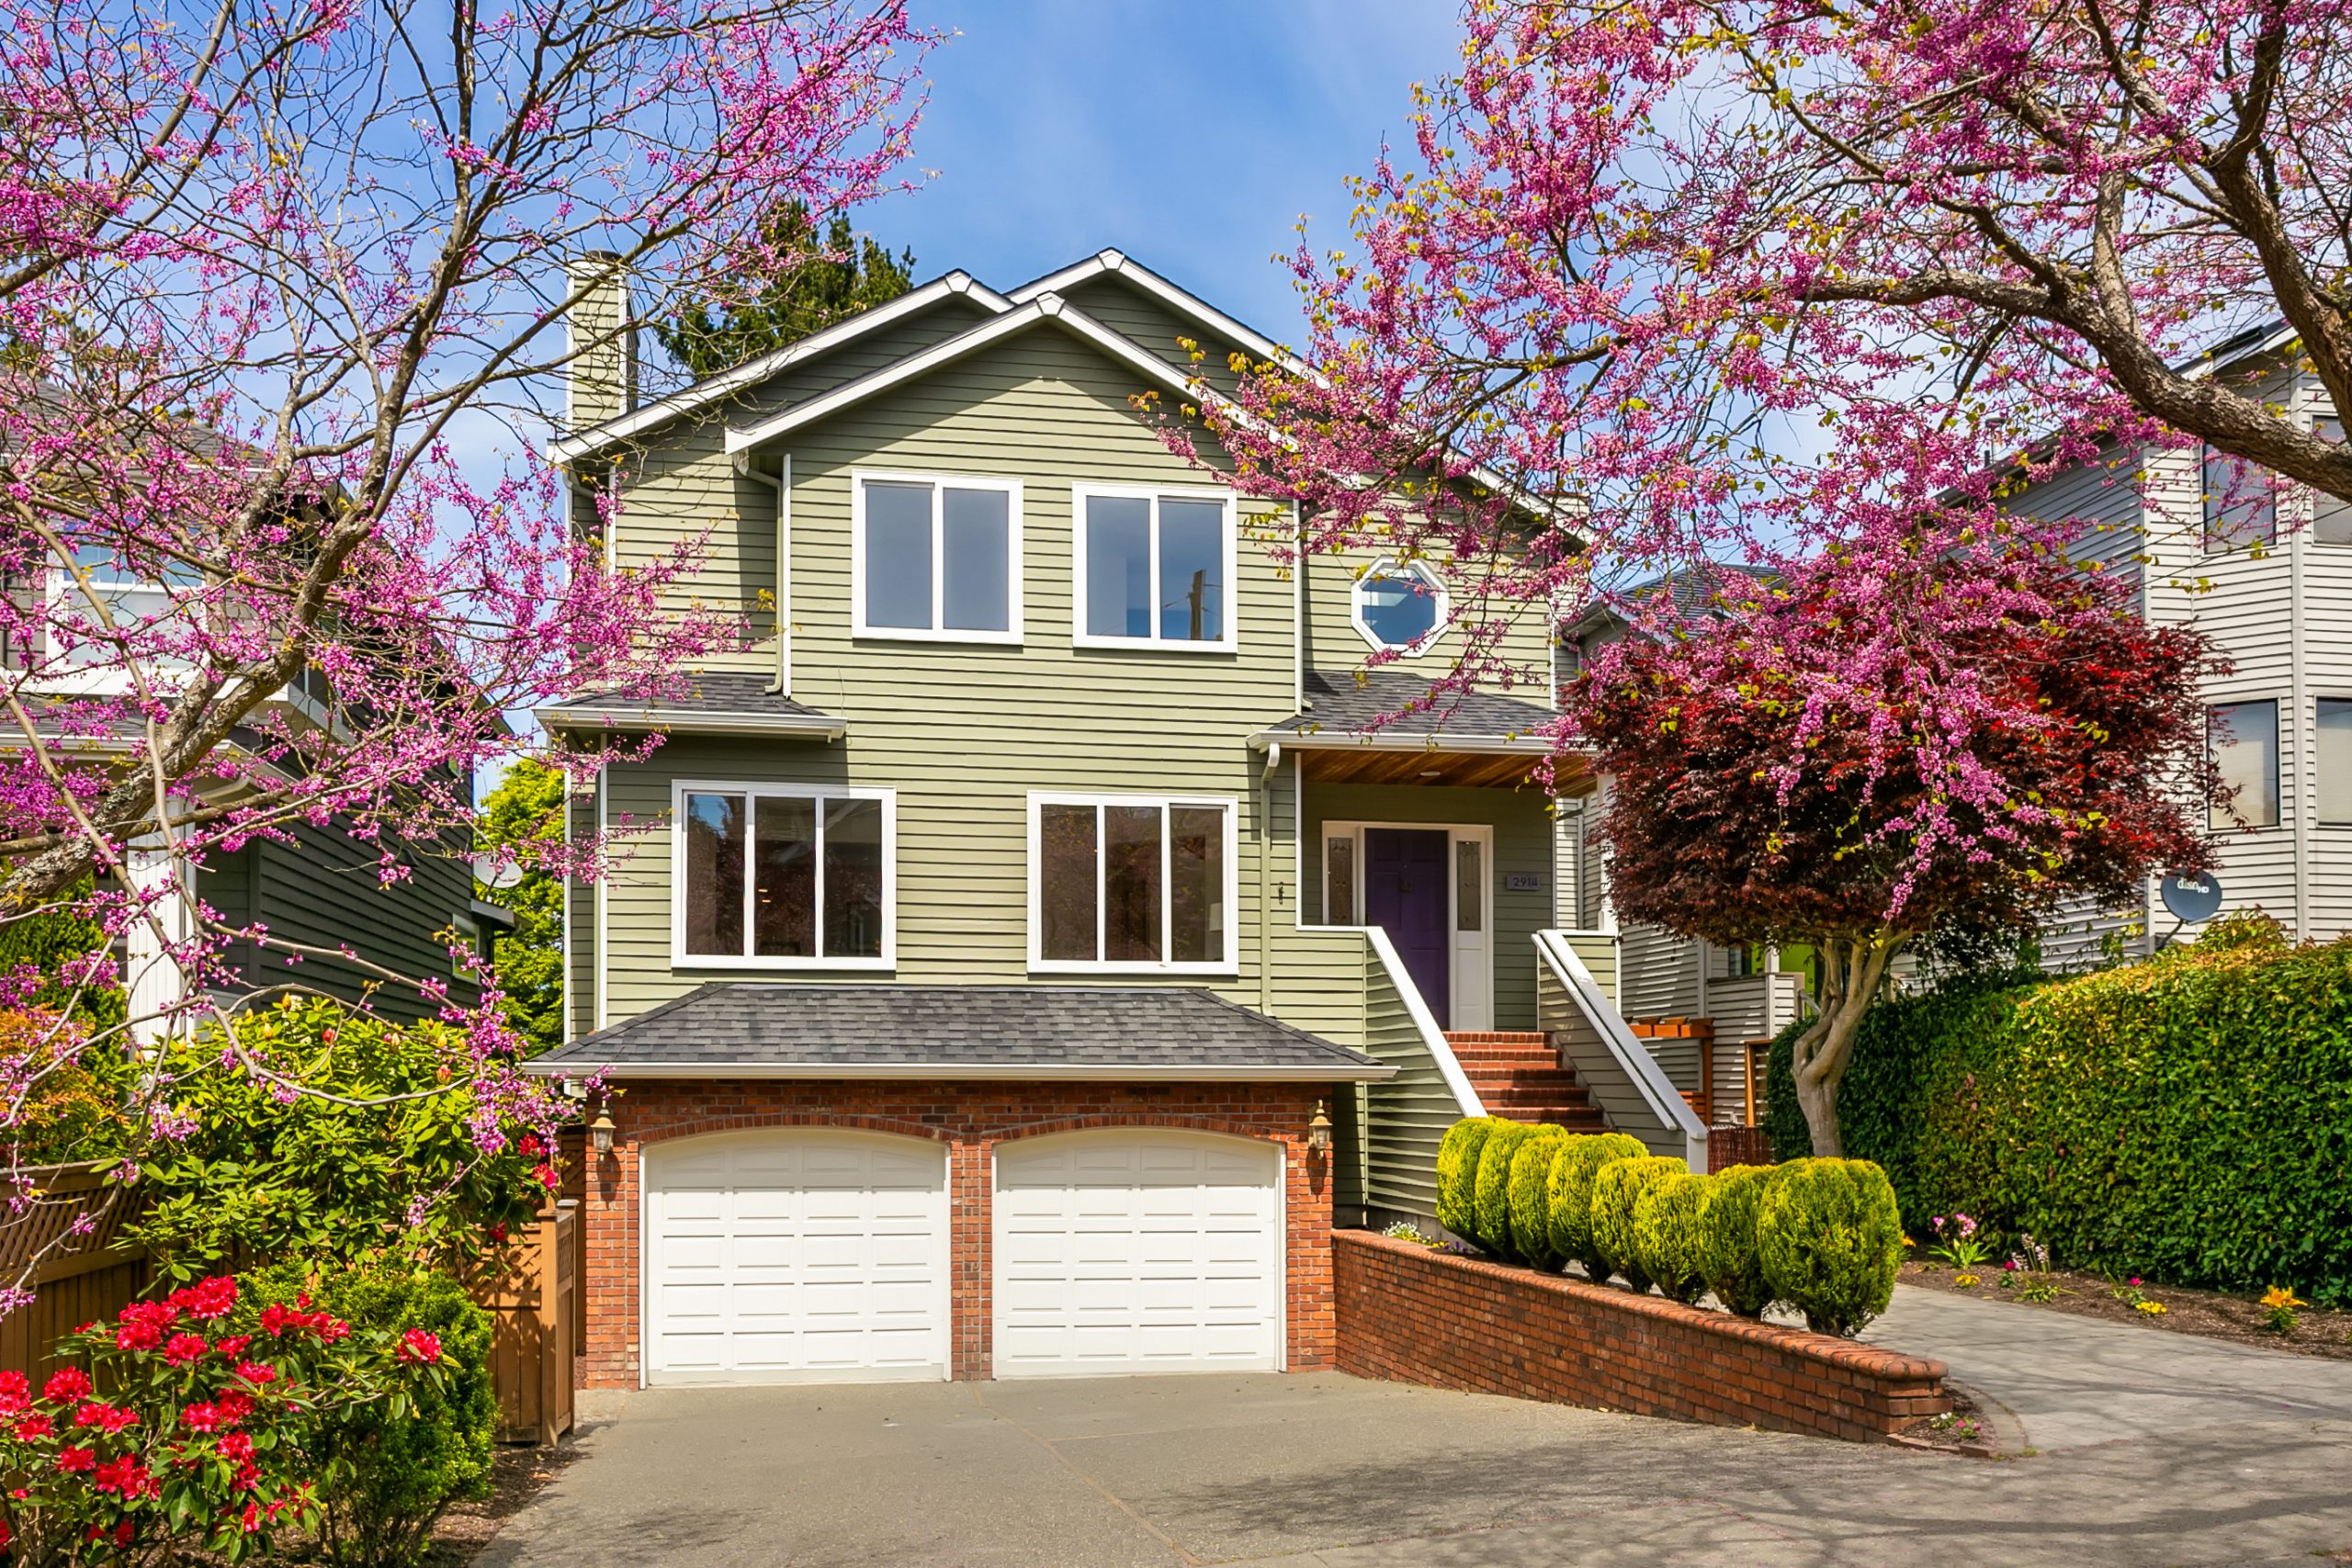
As part of acquiring compelling visuals for your real estate property, it is normal to have photos or videos taken by professional real estate photography and videography company. Hiring an expert photographer and videographer is one reason why good listings stand out in the market and quickly get noticed by potential buyers.
Do you have a scheduled photo or video shoot for your property, but do not have an idea on how to prepare your house? Do not worry! We got you covered. Here are some useful tips to follow when preparing your property (both interior and exterior) for a shoot.

Declutter as much as you can
Put away toys, clothing, dishes, towels, shoes, and other unnecessary things inside the house while making sure that the lawn area is also free from other items such as gardening tools, garage equipment, etc. It will help you save some bucks to keep these things away rather than paying for photoshopping the photos.
Depersonalize all spaces
As the current owner, you are probably immersed in the kind of personalization that reflects your home. However, if you are planning to sell it, you must apply a certain level of depersonalization in the house’s areas to make it more neutral. At most, the photos of young children and any potentially offensive art should be put away.
Clean all the rooms and lawn
It is a necessary step to clean the whole house before doing a photo and video shoot. Ensure there are no visible specks of dust on the windows, tables, and cabinets. Moreover, arrange everything – from the vases and other decorations at the rooms. For the lawn, make sure the grasses are newly trimmed, including leaves raked, and bushes and trees pruned. Also, hide any yard decorations, garbage cans, garden tools, hoses, and shovels.
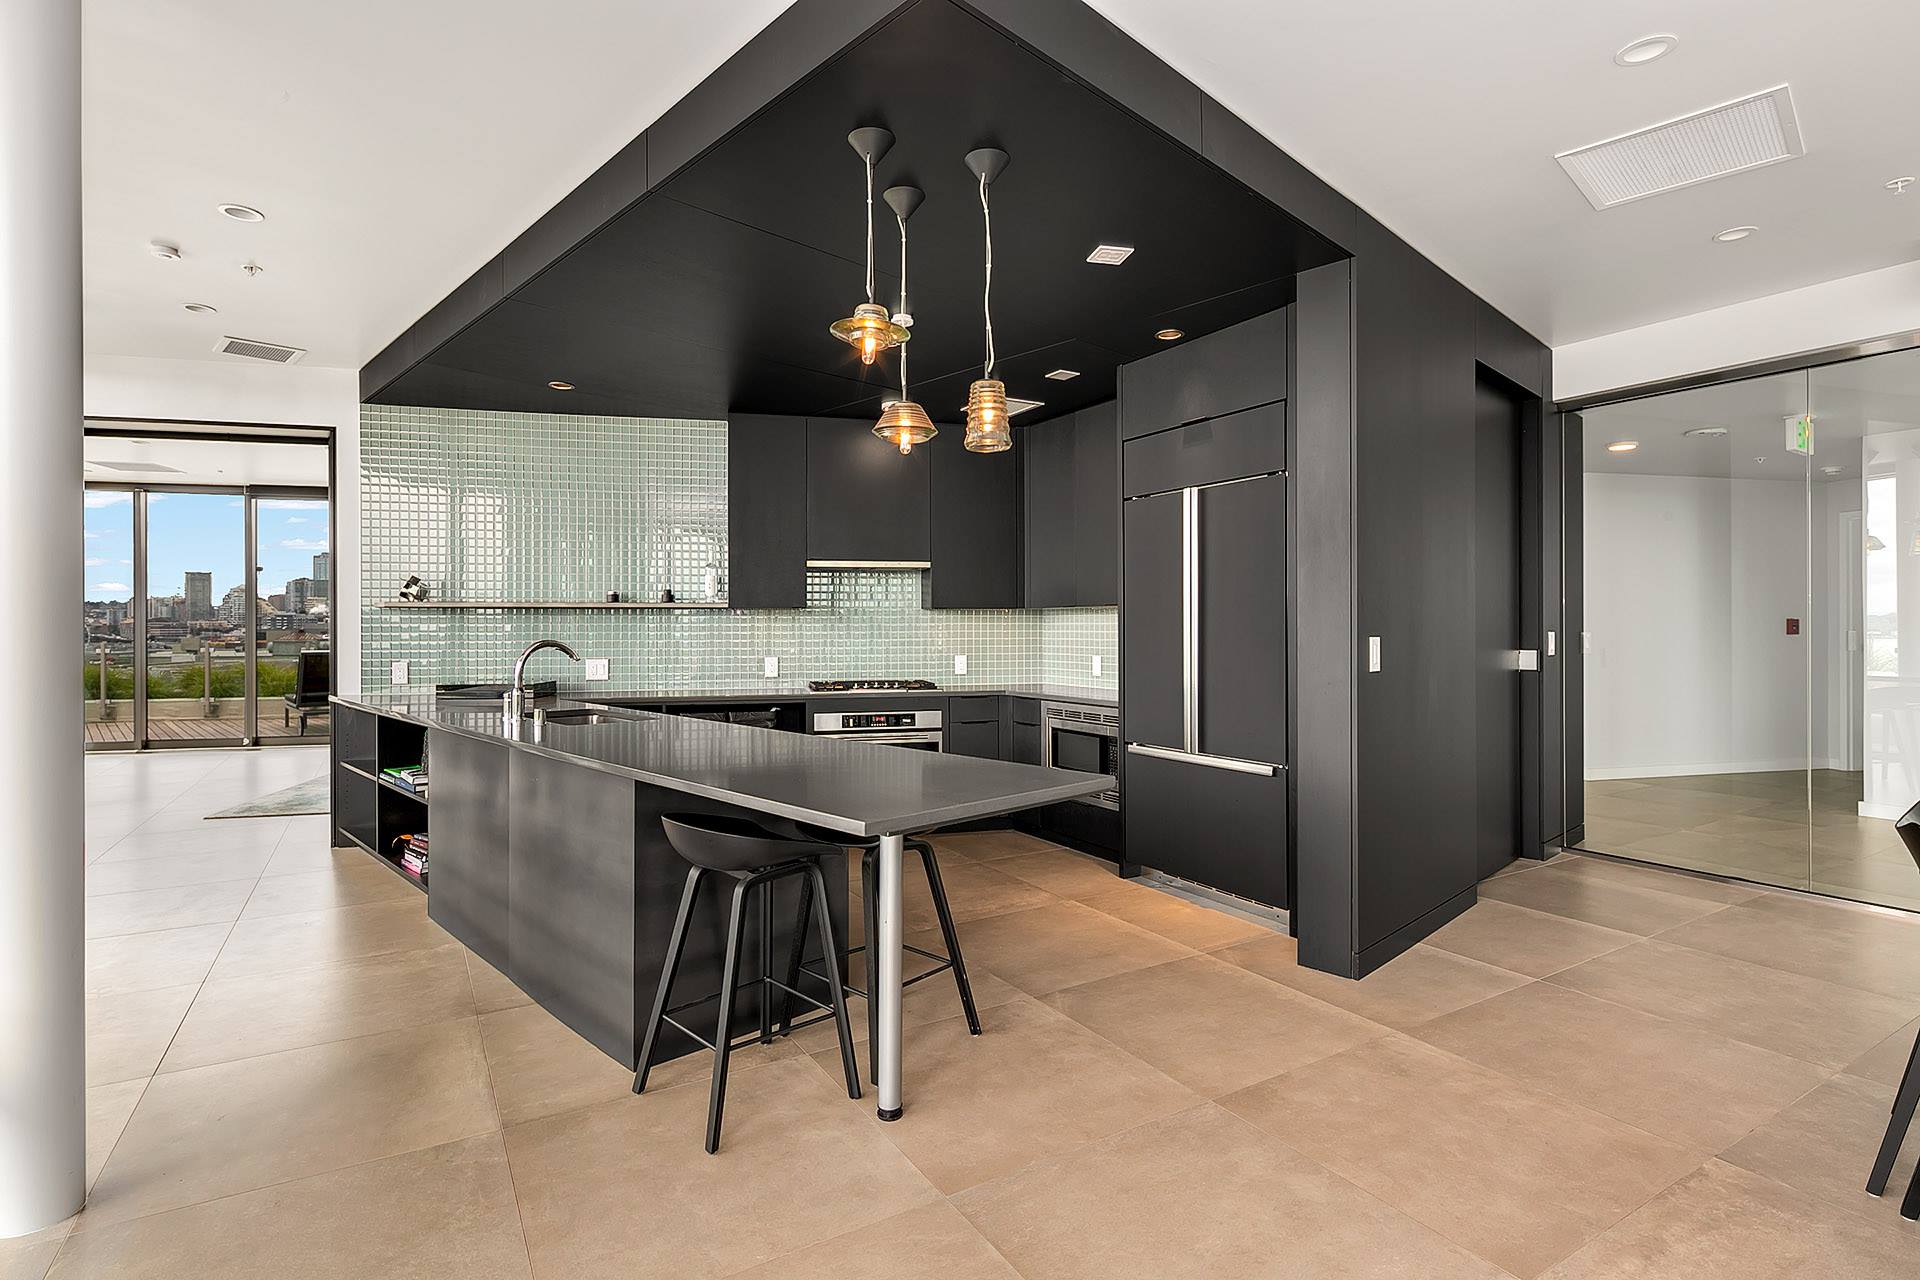
Tidy the kitchen and bathroom
Your kitchen and bathroom need to be pristine. Hide any cleaning products and keep work surfaces clear of clutter. Most importantly, leave the toilet seat down and the bathroom mirror clean. Remove all shampoos, conditioners, body washes, and others. from the shower.
Ensure natural light
At the beginning of the shoot, always open curtains and blinds to let in plenty of natural light. Please get rid of cobwebs that can often be found lurking in ceiling corners, so they will not be captured.
Shine all the areas with mirrors
Clean all reflective surfaces such as the windows, mirrors, glass table-tops. Everything should look shiny and polished, and of course, finger-print free.
Keep your pets away
If you have a dog or a cat, or any other pets, hide them from the meantime since not everyone is an animal lover.
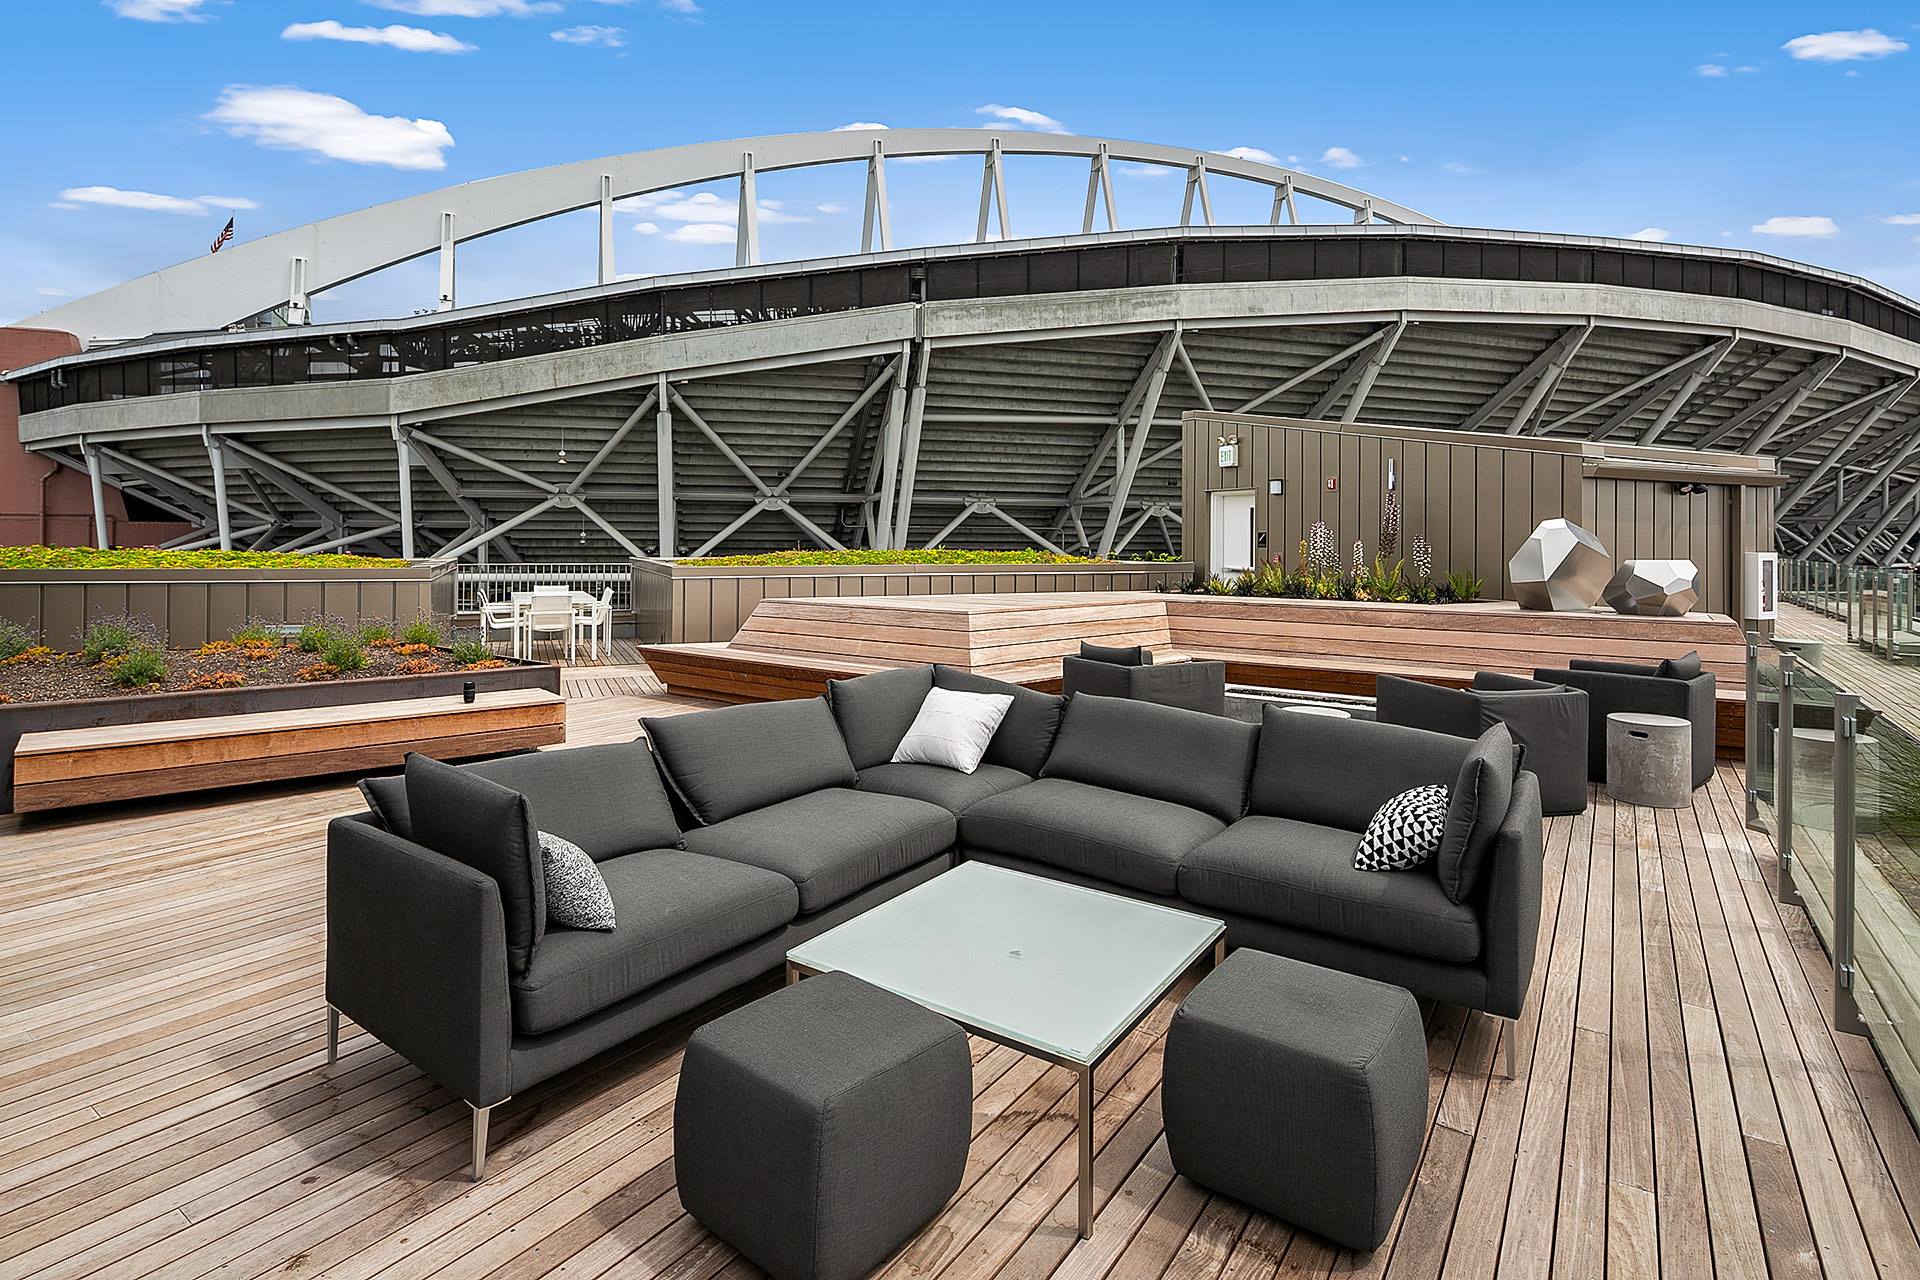
Make sure outdoor amenities are clean
If the property has a pool, hot tub, or spa, clean them to look presentable. Put only necessary furniture near these areas and try to make the surroundings look minimalist.
Indoor lightings should be on
Turn on hall and landing lights to instantly maximize space in areas that are often dark and shadowy. Getting the best lighting possible will yield more quality photos and videos.
Put the necessary accessories only
Think of your home as a stage set and accessorize accordingly. For example, add extra cushions to sofas and bedrooms, or you can add fresh flowers on top of the tables.
No cars, please
If possible, pull vehicles out of the driveway. This will highlight the front of the home and the car park area, giving the buyers a more concise picture of the said areas.
These are some ways to prepare your area for a scheduled photo and video shoot led by professional real estate photography and videography company. Following the tips above can make you feel at ease and confident that you will get the compelling visuals to use for your listing.
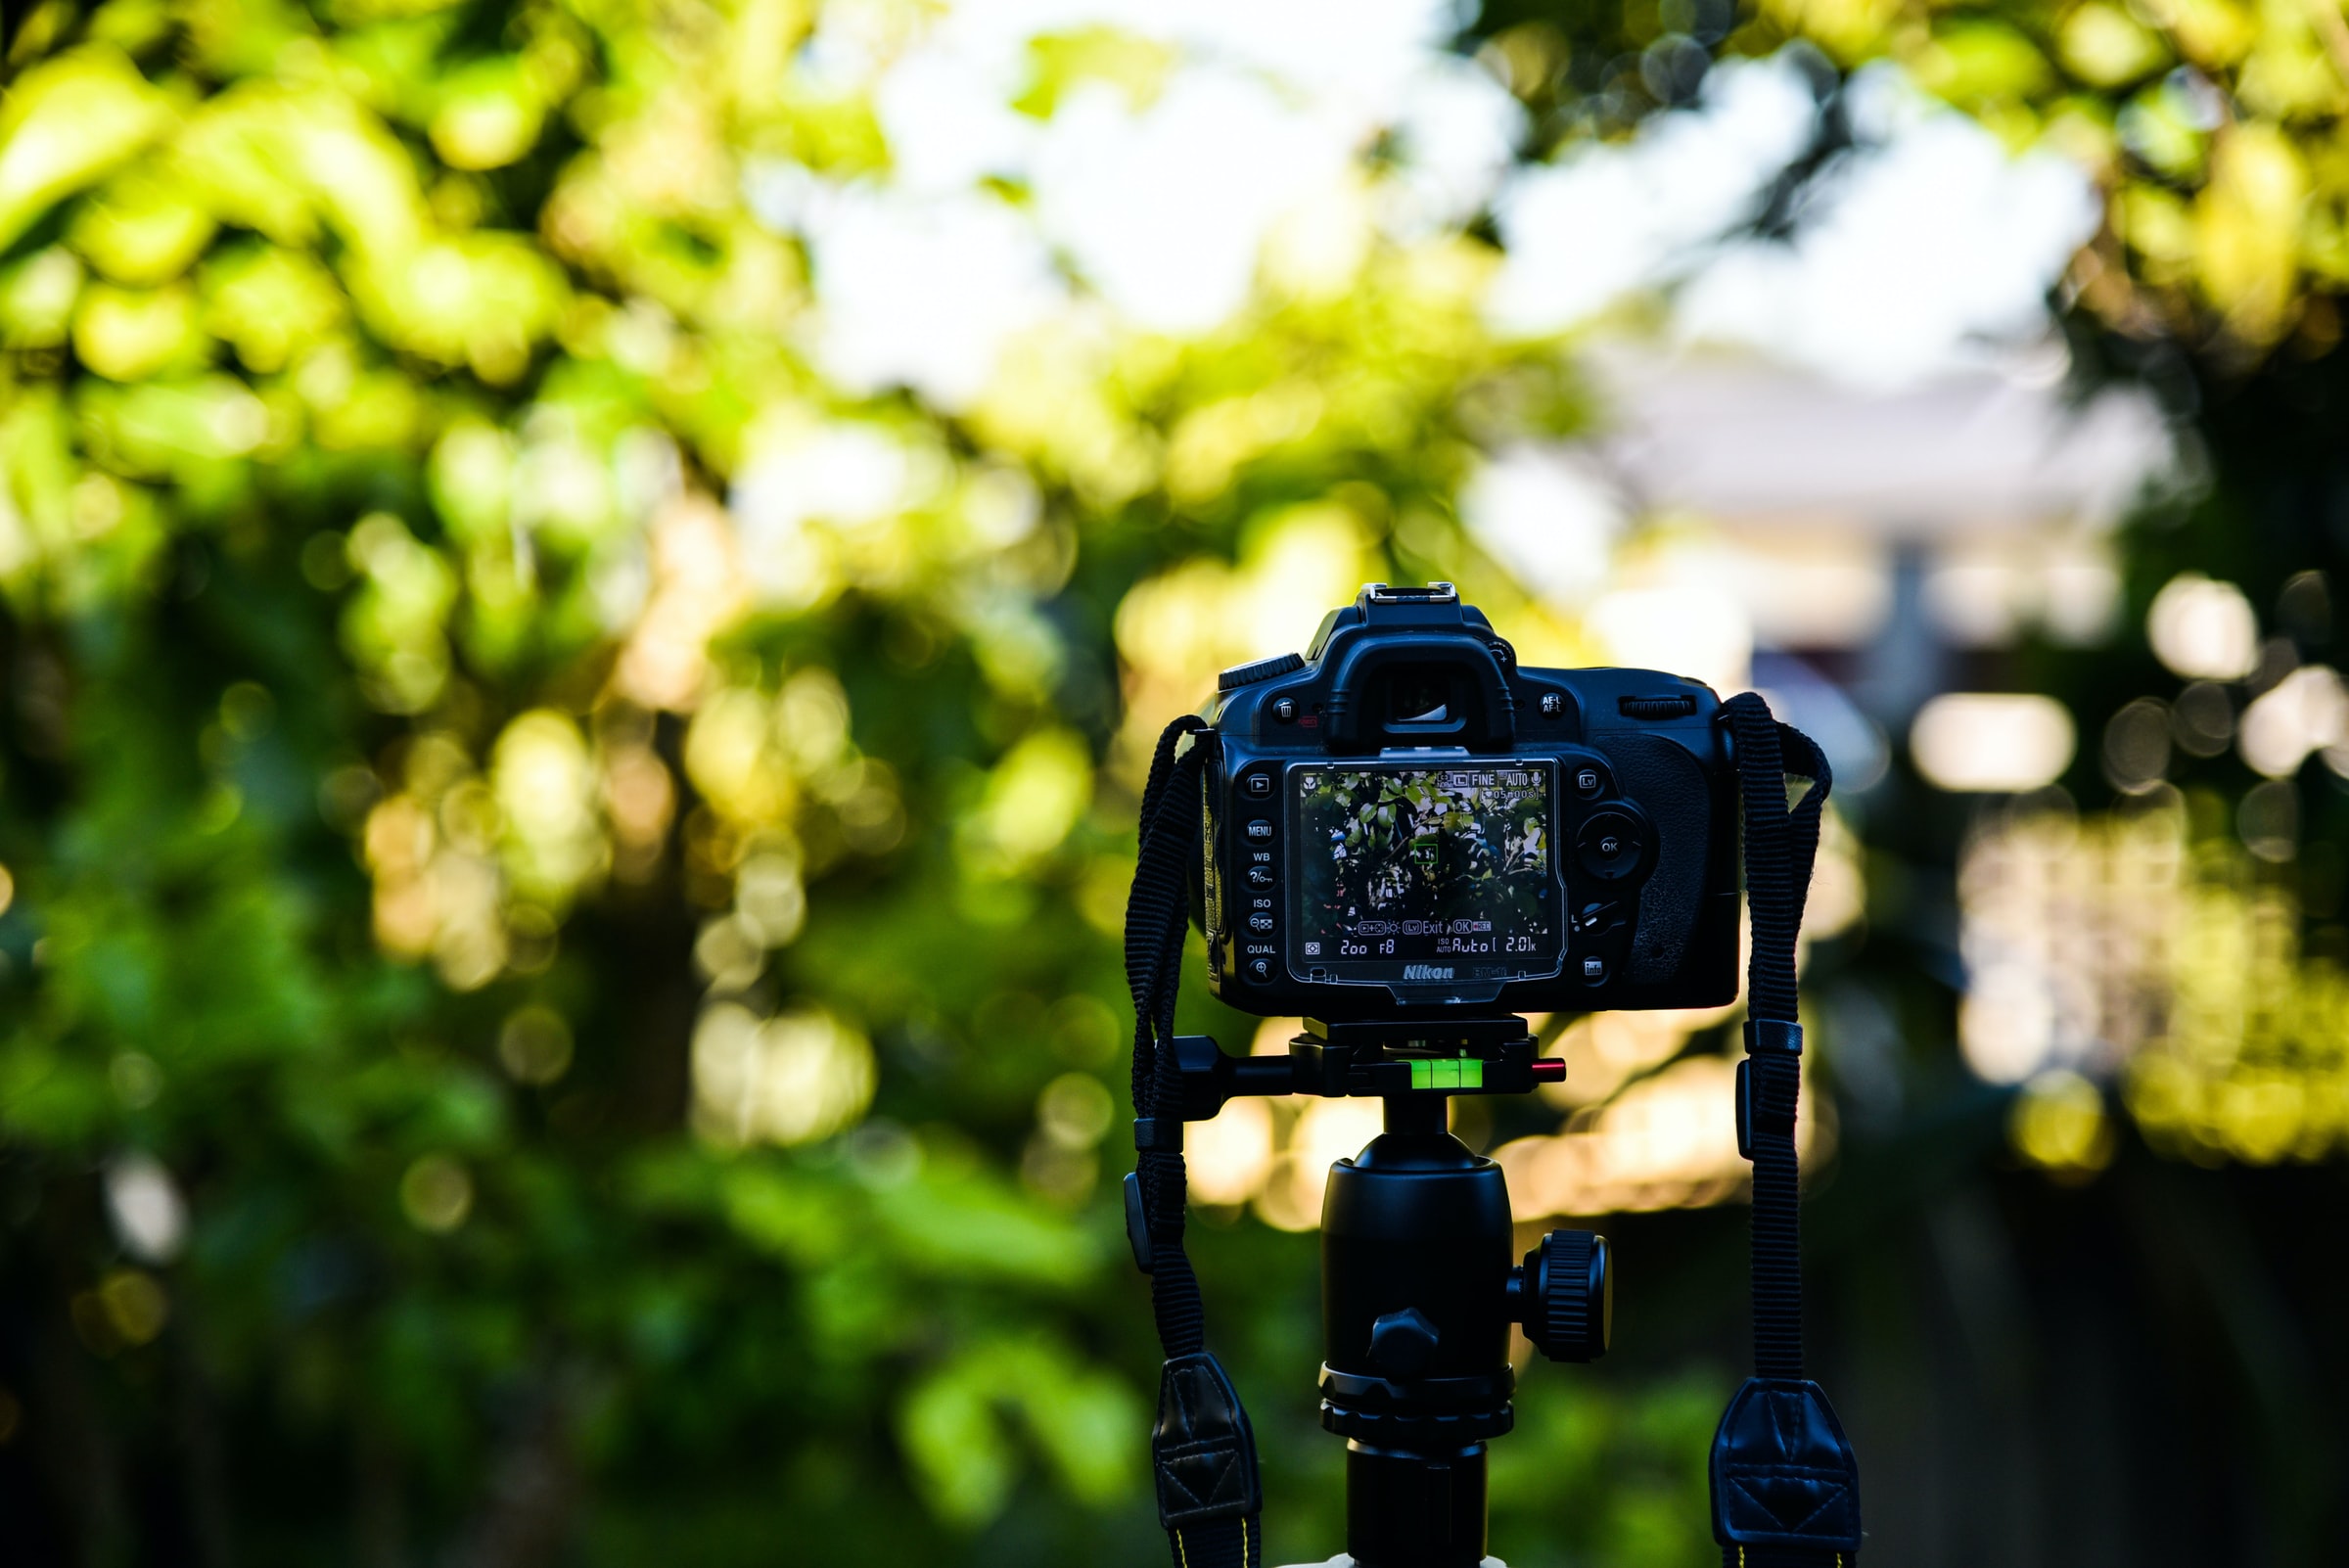
 Exposure bracketing is simply taking a series of identical shots at the same aperture but different shutter speeds. Having a constant aperture keeps the depth of field the same. However, changing the exposure allows you to capture well-exposed pictures for all different lighting levels present in the scene.
 The easiest way to do it is to use the Spot
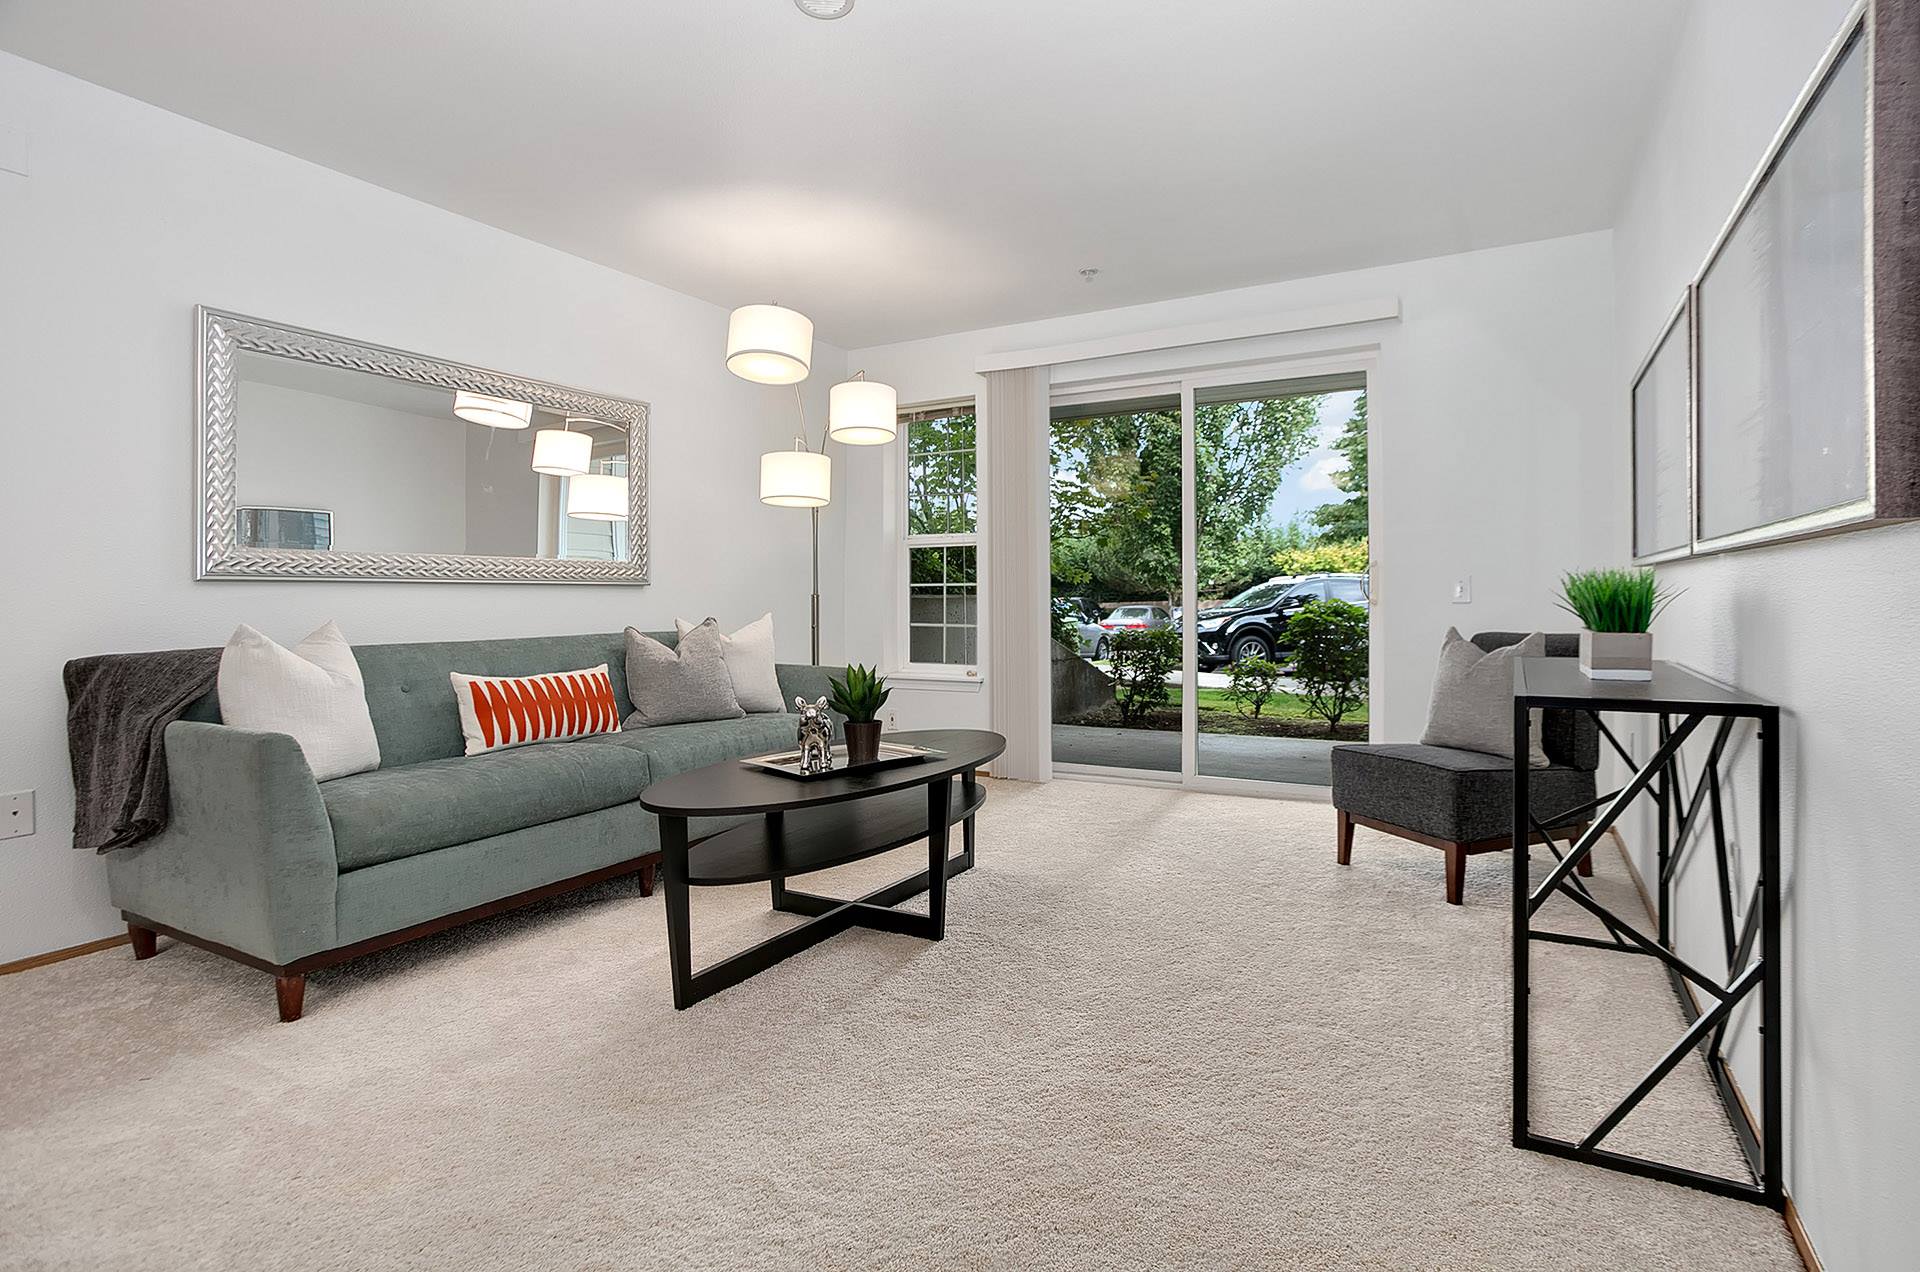
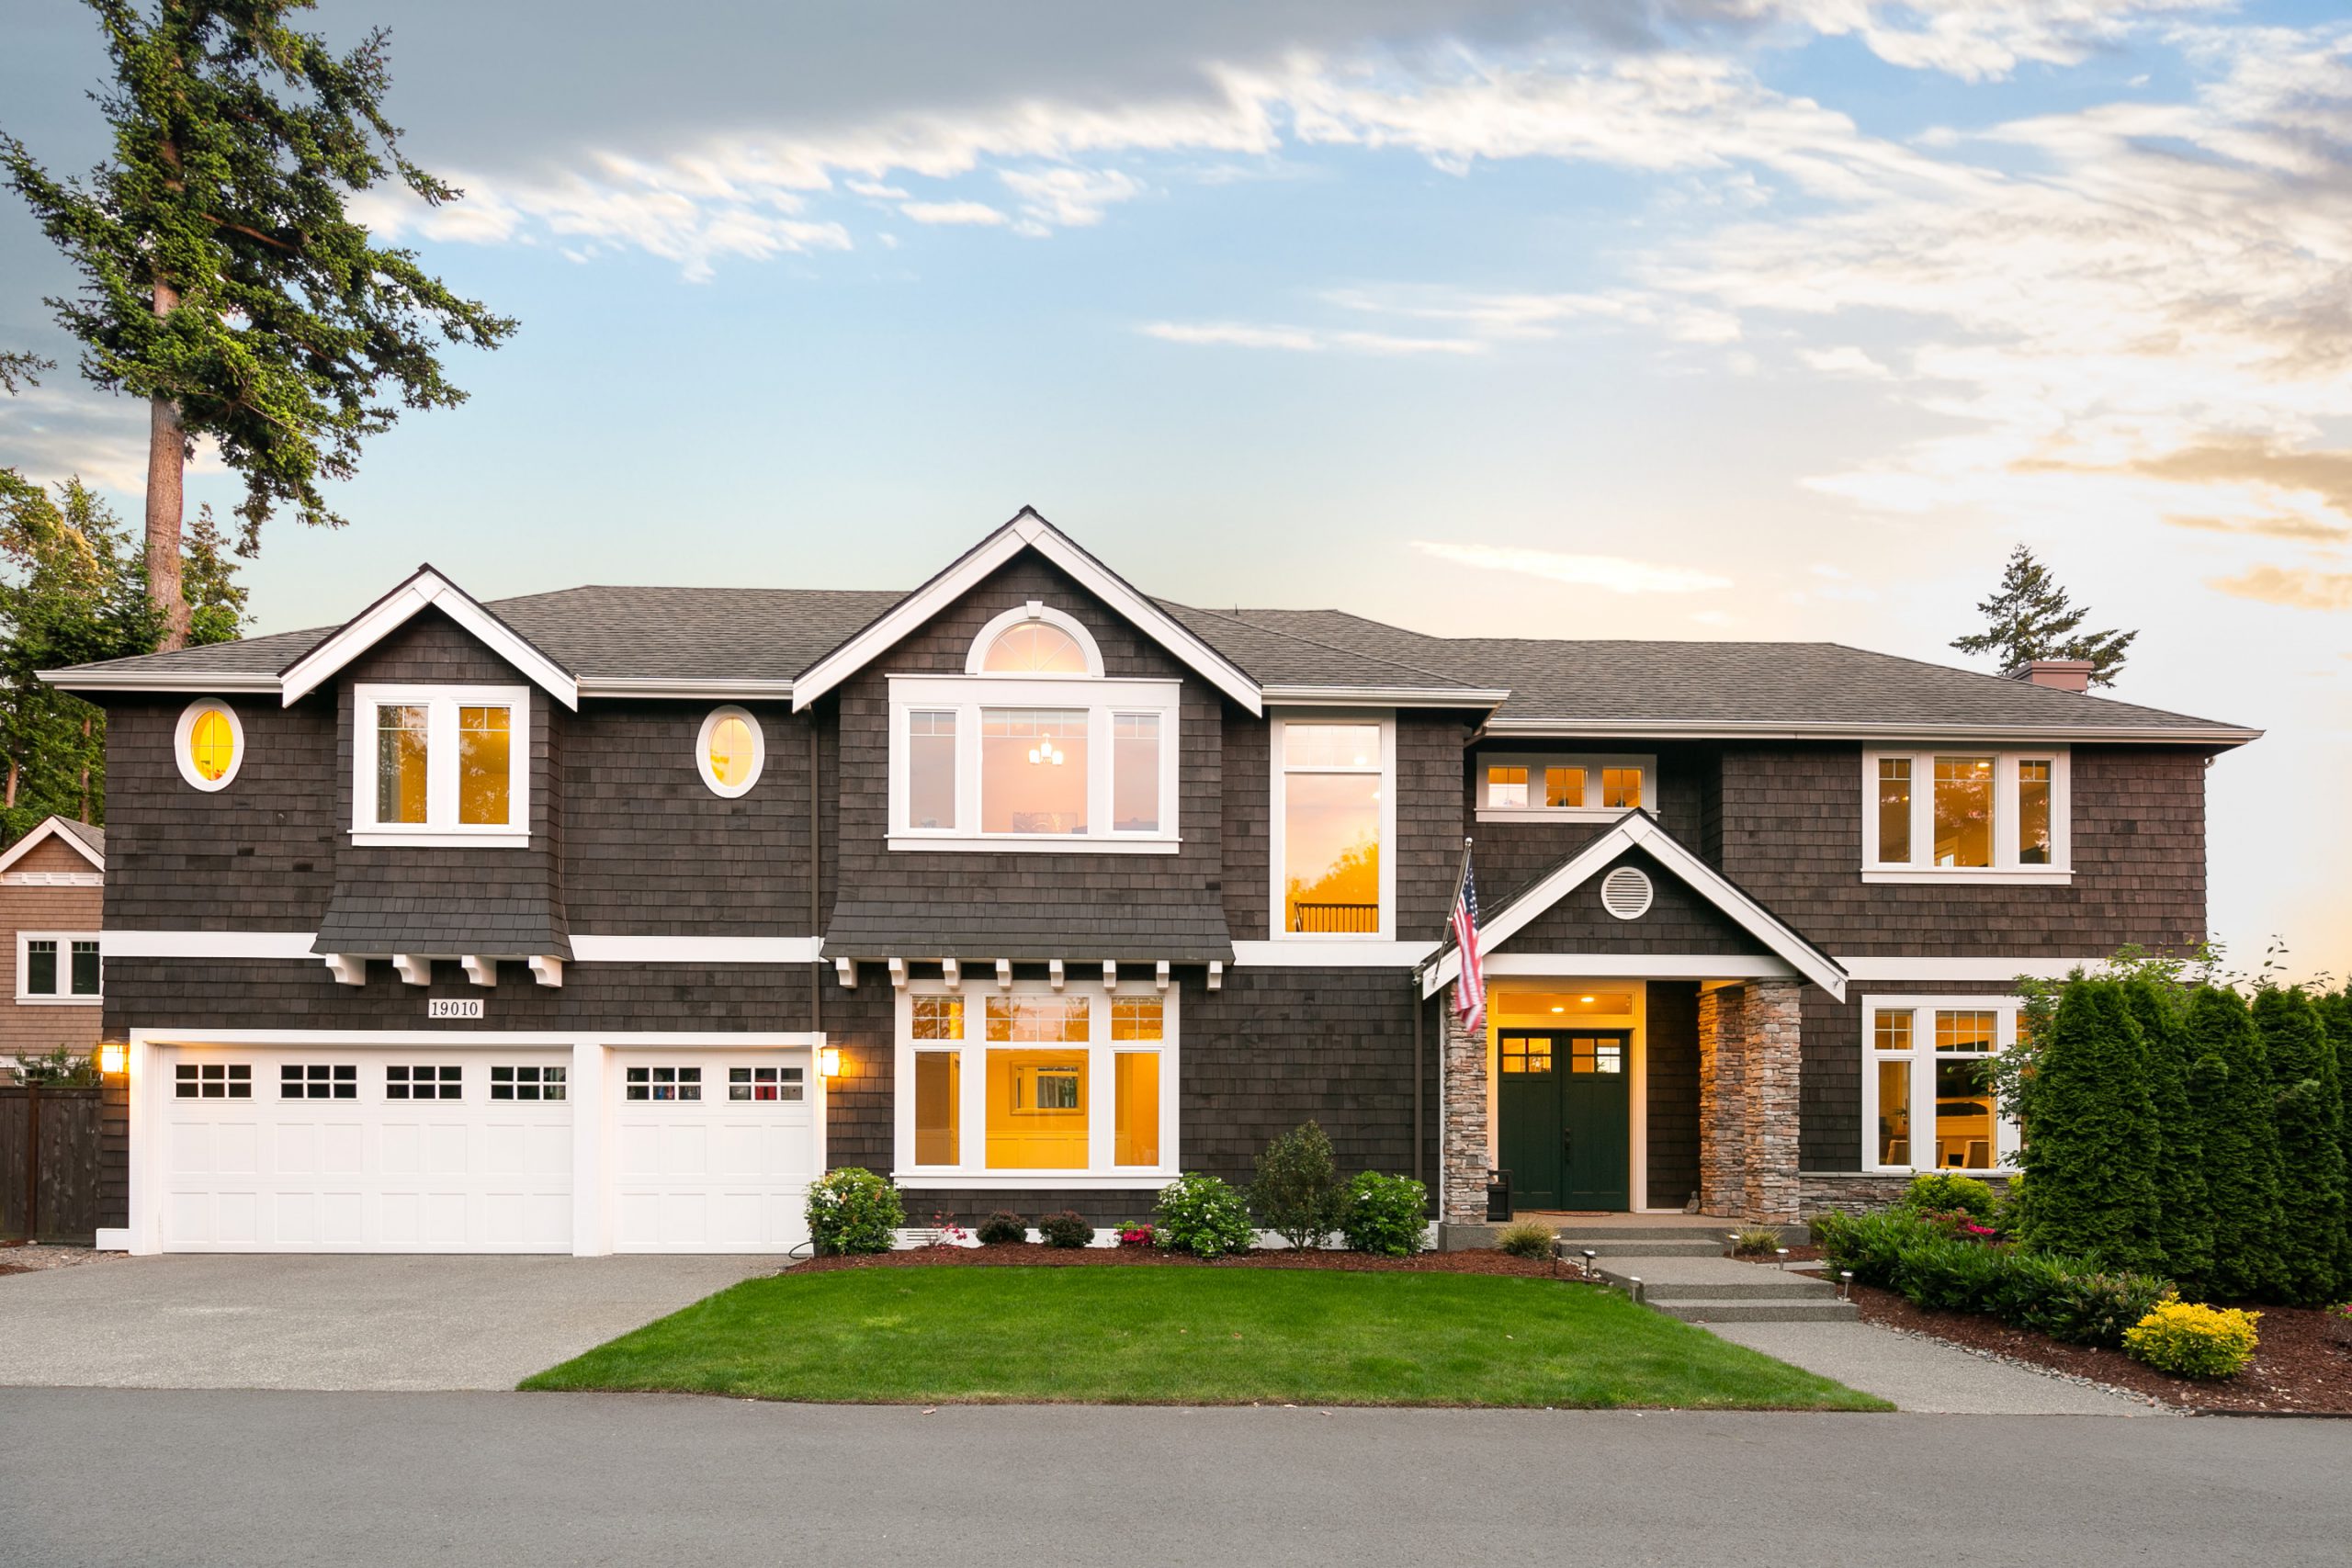
 Lighting plays a massive role in real estate photography. The placement and the type of lighting used should always blend properly with other elements such as color selection, size, and arrangement of furniture to transform a room that is photograph-ready. On the outside, most exterior lightings come naturally with the direct light from the sun.