As a real estate photographer, you follow specific settings that you deem worthy and useful for your craft.
Perhaps, you are still doing the basic settings, but over time and with the ever-changing technology, you would realize that there is so much to learn and understand with your camera settings.
Today, you can use hybrid settings if you want. You just need to follow traditional settings and give it a tweak using expert camera settings recommended by professional photographers.
It won’t hurt to try, so experiment with it while you can!
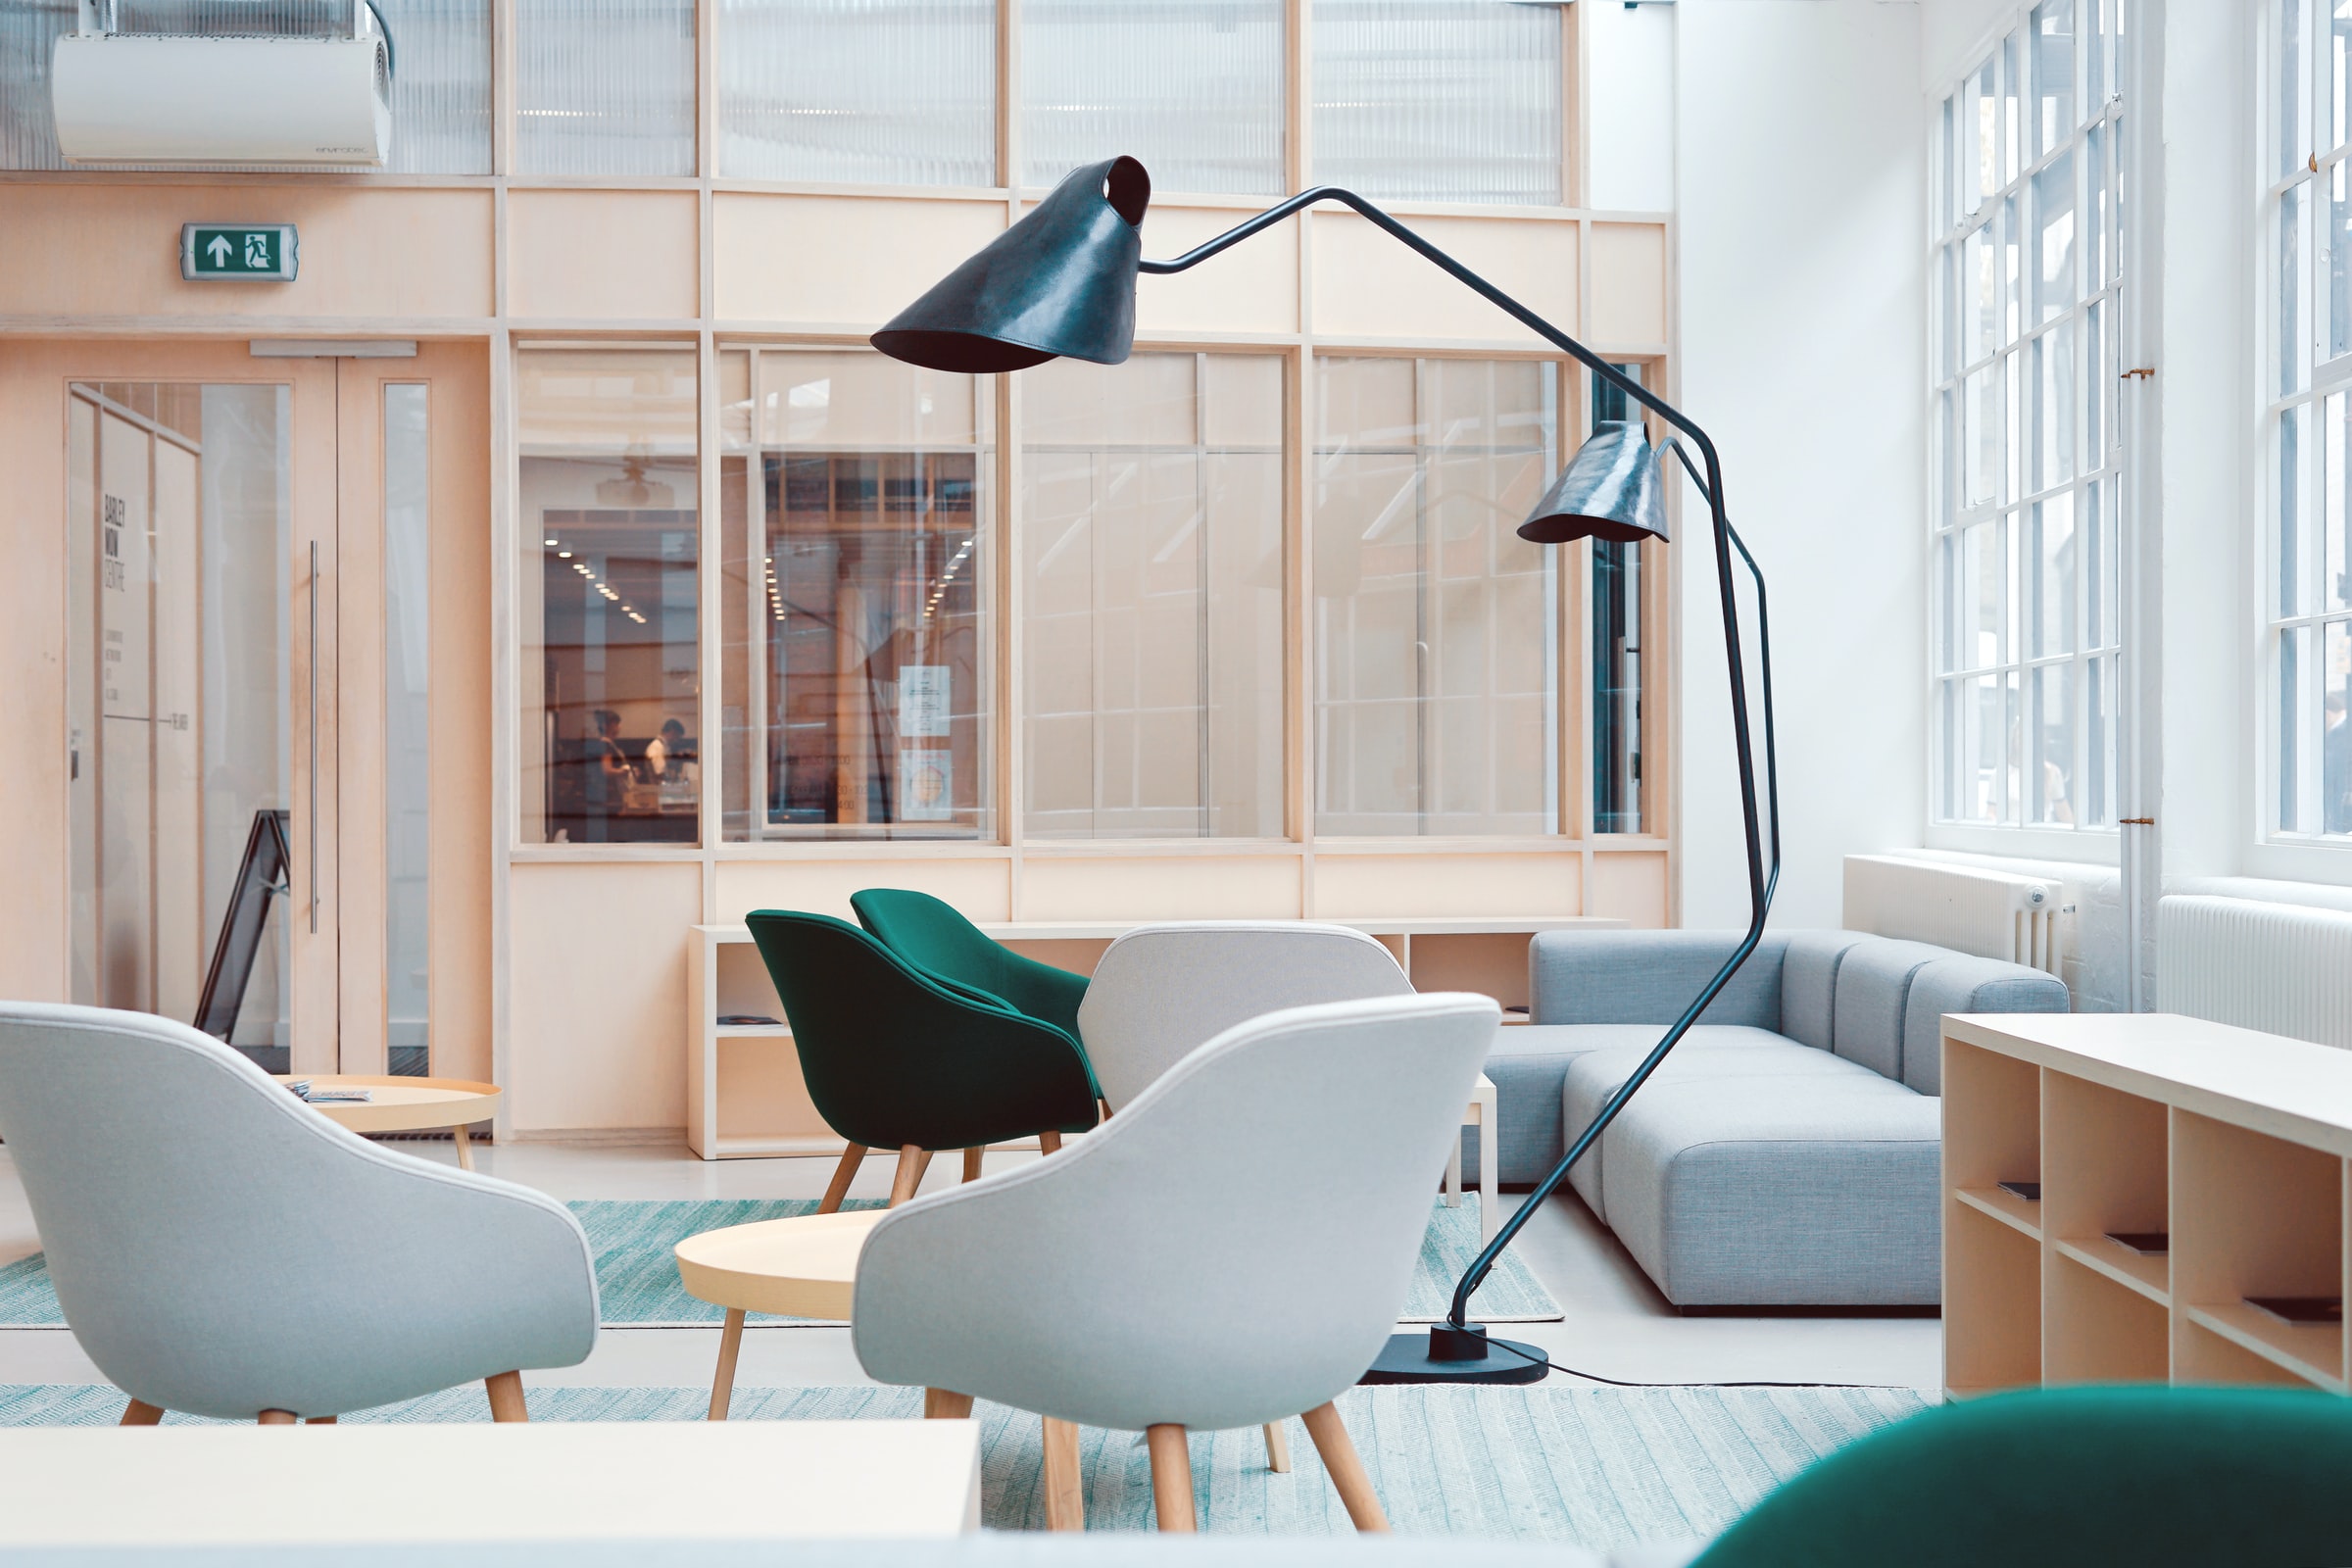
Your settings for indoor real estate photography will depend on the purpose. Hence, it only makes sense that you also ask about it beforehand to prepare what settings to use.
Take a look at the following recommended indoor photography settings.
- Brightness is essential. Adjust the camera’s brightness by changing the ISO. The best value to use is usually between 200 to 400.
- Use a considerable camera aperture value such as F/4 or F/2.8.
- Always use the camera’s manual mode.
- The shutter speed should be 1/60 second but never use a value lower than 1/50 second.
- Make use of external flash.
- Focal length setting also matters, so you should check it out before taking any shots.
- Ensure you have the correct values for exposure mode, focus mode, image format, and white balance because these settings do wonders for your images.
Take note that the recommended settings above are only suggestions. You always have the freedom to work with backgrounds that work for you.
Besides the settings, we also want to share some tips that can help you capture incredible images of real estate properties.
Specifically, these tips are more applicable for an indoor photo shoot, so, likely, you cannot use them when doing outdoor shots.
Here are five things to remember:
Understand what ISO is
The thought is simple: ISO is related to brightness.
So, if you want images that look stunning and not dim, you should know the perfect ISO setting to use.
It helps to be aware of the ISO limits and capabilities you can use depending on the day’s time (e.g., daytime or nighttime).
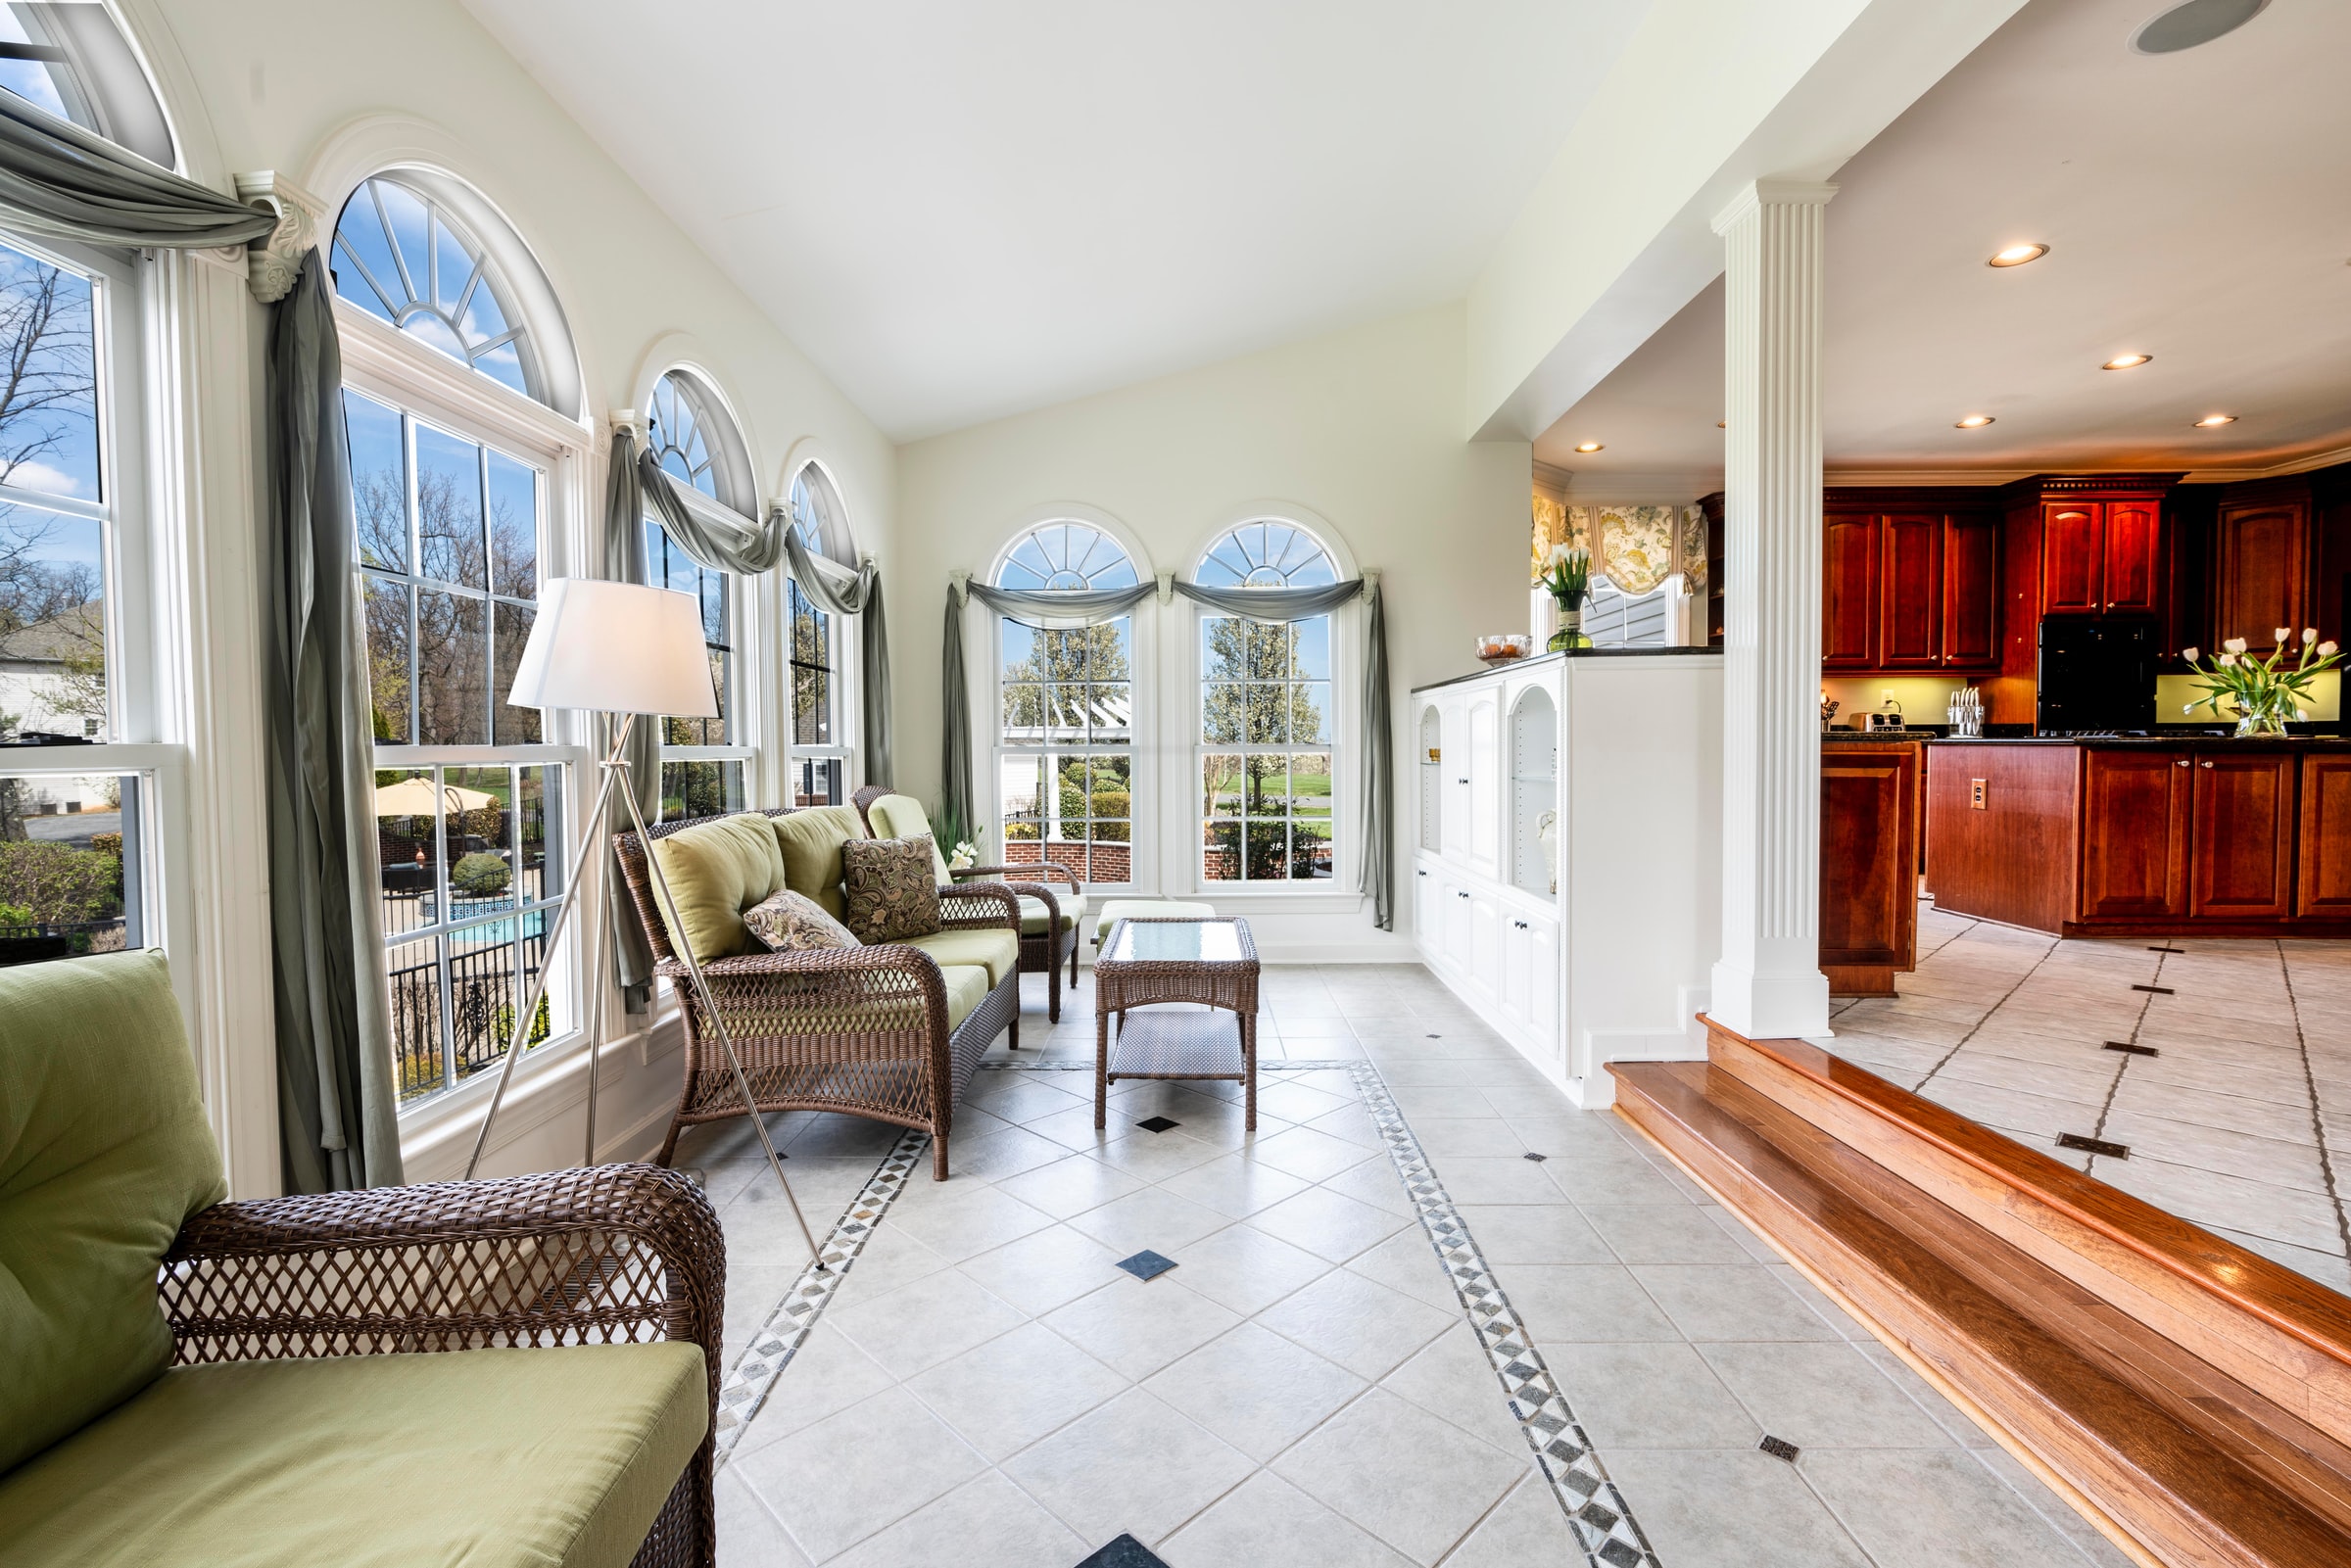
Use natural lighting
Natural lighting such as the one from the sun is more advantageous than using artificial lighting.
Most expert photographers would tell you the same because daylight looks natural and brighter than whatever flashes or artificial lights you use.
Moreover, it yields beautiful soft light that makes the images look attractive.
Hence, if the property has got large windows, then be thankful – you have plenty of ways to let that natural light come in.
Familiarize manual mode
Most cameras today have automatic and manual modes available.
There is nothing wrong with using the automatic mode, but it is better to know how the manual function works since not all automatic settings yield the best shots.
Moreover, the manual mode lets you control all basic settings such as shutter speed, ISO, EV, and aperture.
Use a reflector
The reflector is an expensive piece of equipment but great for daytime or nighttime. It provides the best powerful lighting anytime and anywhere.
Do not use overhead lighting
Avoid overhead lighting because it casts unwanted shadows.
Although these shadows can be edited later on, the process is quite tedious, so it is best not to have shades in images beforehand.
Conclusion
In the end, we hope that you make use of the suggestions in this article.
Remember that the perfect camera settings are subjective and what may work for others may not work for you.
In this case, it is best to discover the settings that will work for you one step at a time.