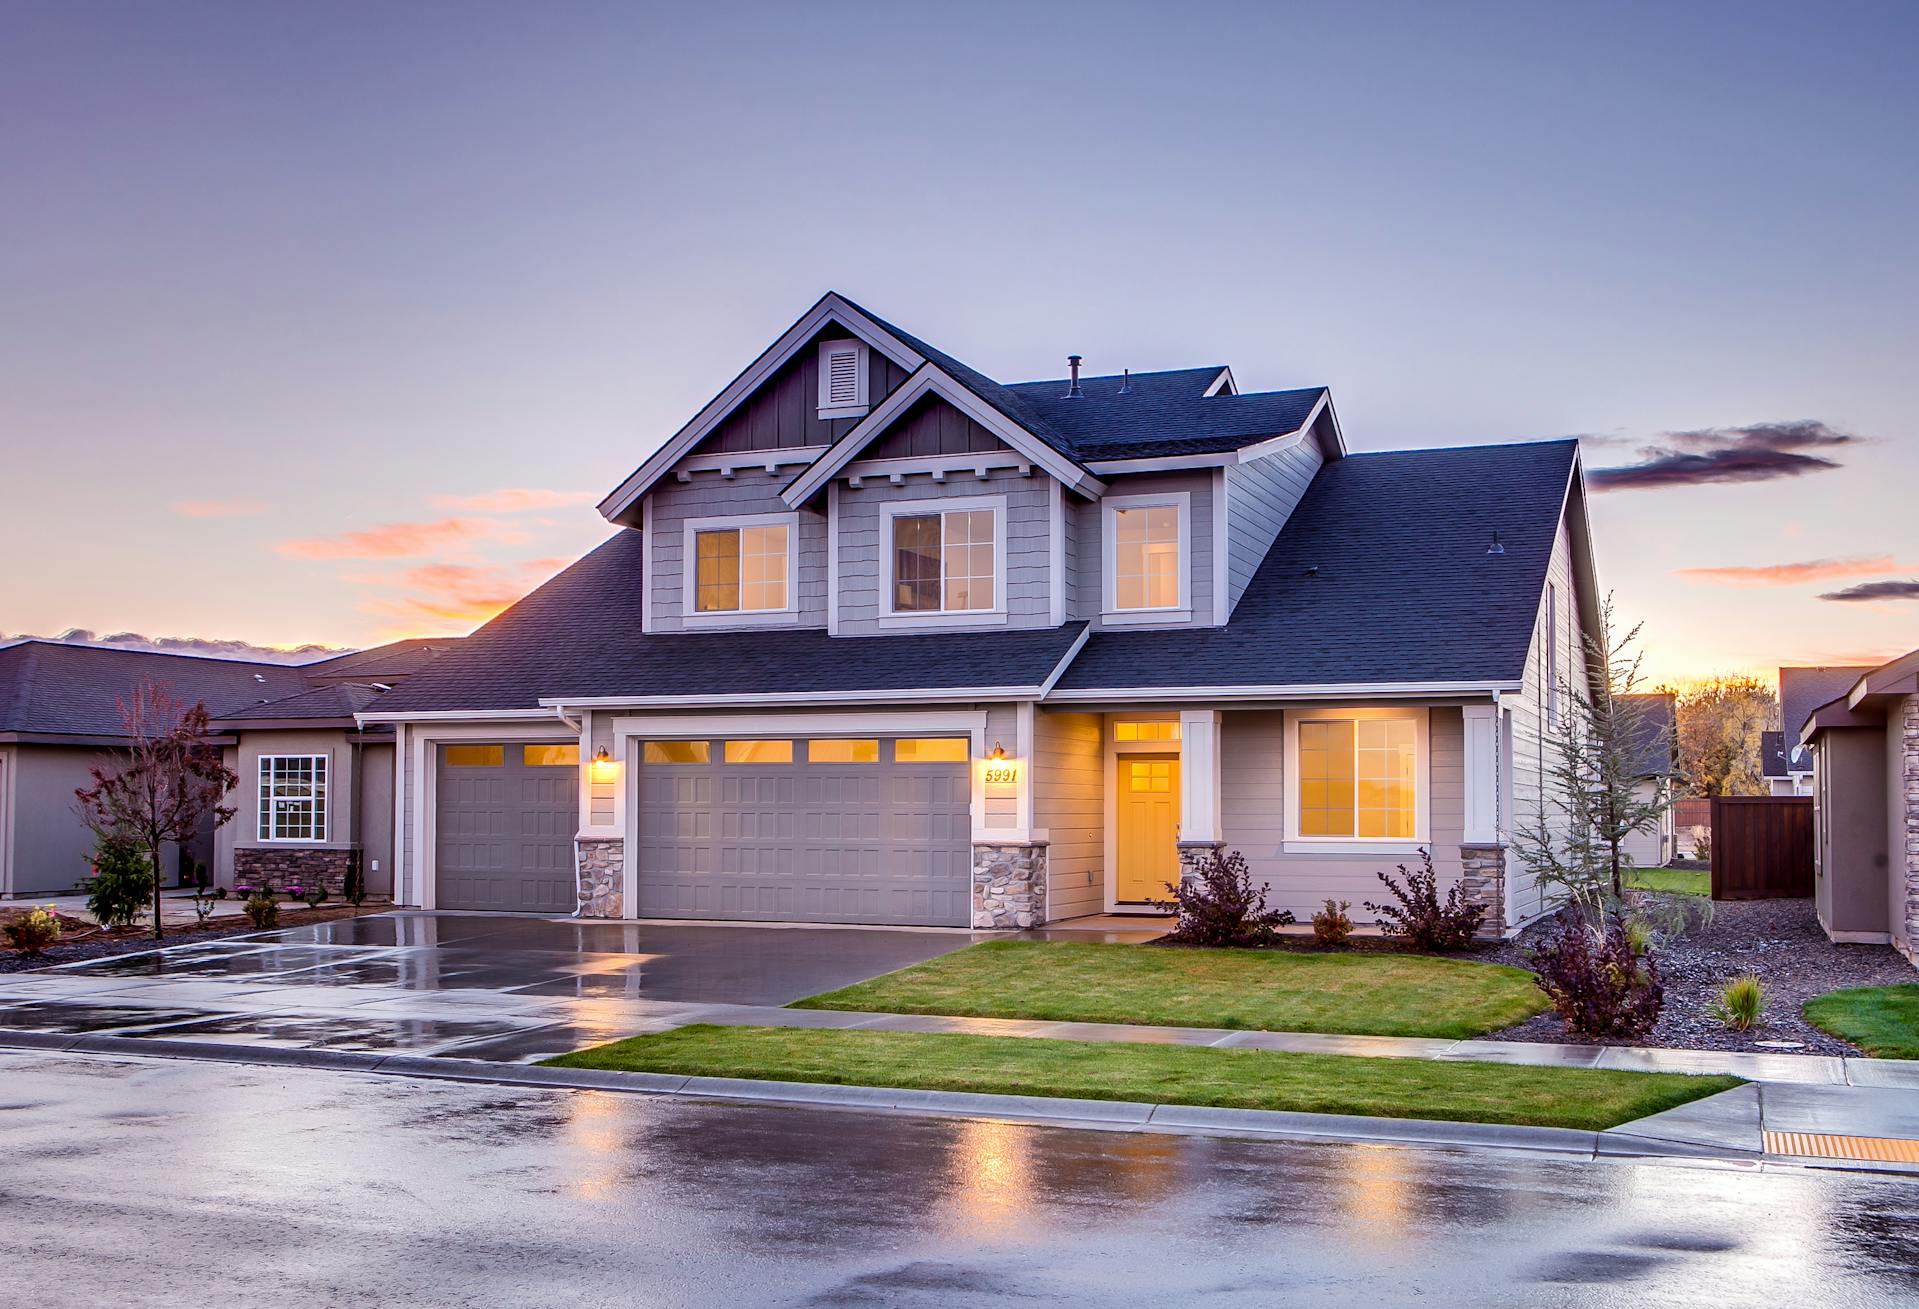
Imagine you are looking to buy real estate and you are scrolling through dozens of listings. Most of them probably won’t stand out to you, and, naturally, you pass them by. However, there may be a couple of photos that really catch your eye and spark your imagination.
This is what you are trying to achieve whenever you post real estate photos online. The goal is not just to show the house. The objective is to trigger an emotional cascade so that buyers fall in love with the property and keep scrolling.
This subtle change in emphasis is what separates successful real estate agents from those who struggle to make sales. Buyers want you to present them with the most compelling images so as to encourage them to explore a property further.
In general, you have around ten seconds to convince buyers to take the next step. If your imagery isn’t up to scratch, then they will pass on by.
In this post, we explore why real estate photos matter and what buyer psychology entails. Then we provide key elements that trigger buyers to consider a property, as well as information on how to optimize your photos. Read on to learn more.
Why Real Estate Photos Matter
Real estate photos matter for buying a home. According to data, 97% of buyers start their search for properties online, and photos are the first impression they get.
For many, photos create a sort of emotional ownership. Just seeing a property makes a lot of buyers imagine it’s already theirs. Furthermore, most get an instinctive feel about a property before they even read any text, convincing them that it’s the right option for them.
Data suggests that listings with multiple high-quality photos receive 200-300% more views and inquiries than those with standard or low-quality photos. Researchers believe that this is because of higher perceived value. Properties that look good digitally are assumed to be better in real life, even if that’s not the case.
It’s worth remembering that most buyers shop with their heart, not their heads. While there are a few real estate investors who think logically, the vast majority of people feel attached to their future home before they’ve even lived in it. Great real estate photography accepts this and harnesses this power.
Buyer Psychology

Buyer psychology is, of course, a critical reason why people respond so strongly to real estate photos. According to neuroscience, the limbic system reacts in milliseconds to property pictures before rational thought can kick in. When this happens, many buyers feel primal emotions like safety, urgency, and excitement. Photos can also invoke a sense of status or even nostalgia if a property is well presented.
When creating a photo album for a property, try to tell a story and give buyers the impression that it will fit into their lives somehow. For example, you could market it as:
- a place they can be productive when working from home
- a location where they can raise a family and have more children
- a quality property designed for entertaining guests
Keep the feel of the home neutral. Allow buyers to project their imaginations onto the property so they can see themselves living there.
Take advantage of psychological biases when appealing to buyer psychology. For example, the “halo effect” means that one stunning photo can make the rest of the house seem better.
You could also use anchoring, which is where the first photo sets the emotional tone for the listing. Loss aversion makes buyers fear hidden problems, so if photos look dark or poor quality, then it can put them off even if the property is high quality.
Key Elements That Trigger Buyers
In this section, we look at key triggers that make buyers want to explore a specific property further.
Angles and perspectives
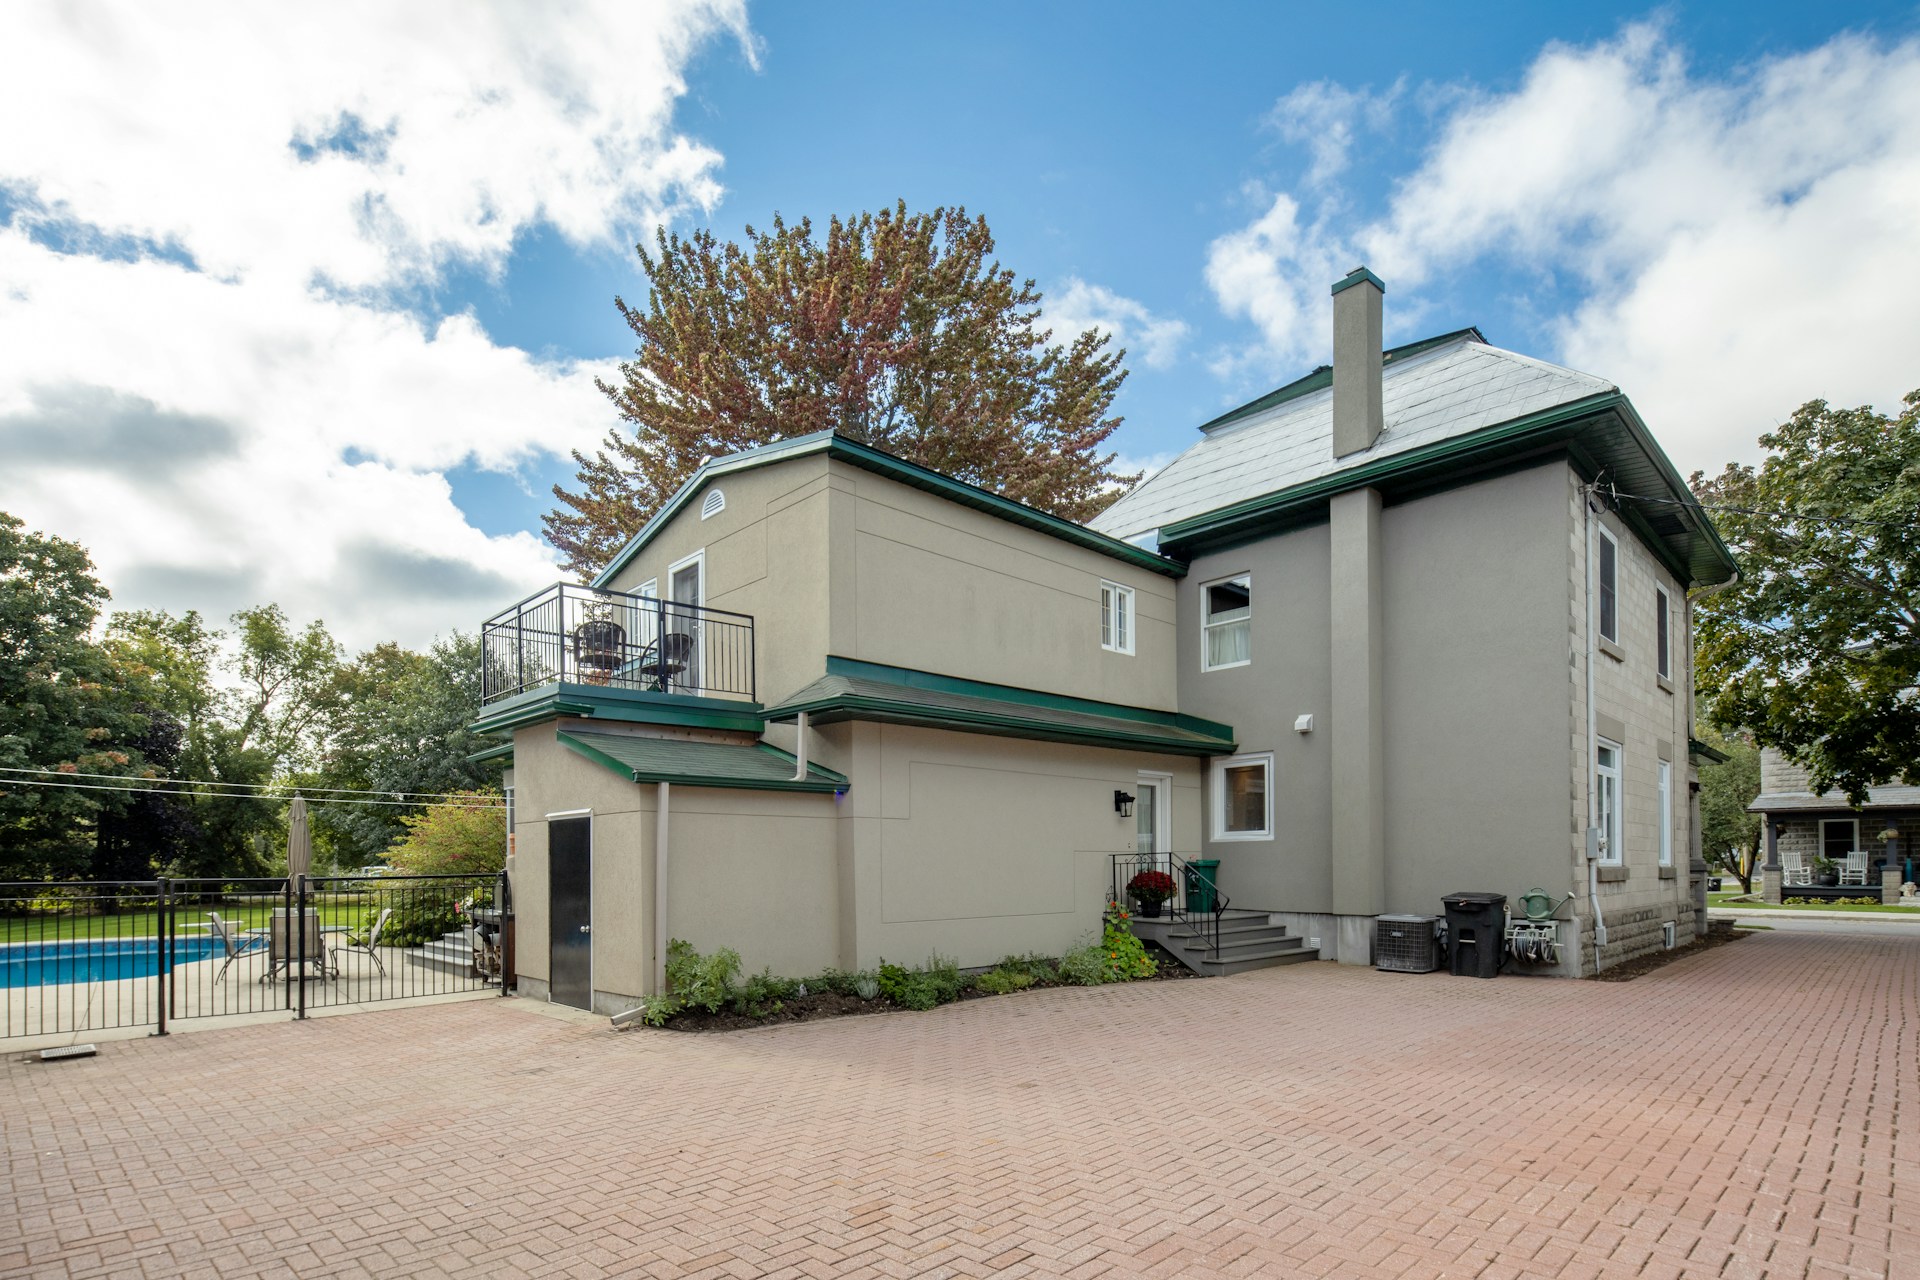
One of the powerful triggers is angles and perspectives. Drone shots of entire lots, roofs or gardens, for instance, are quite novel and immediately get buyers interested. Wide-angle shots have a similarly powerful effect by making large rooms, like entertainment spaces, look more expansive.
Color and texture
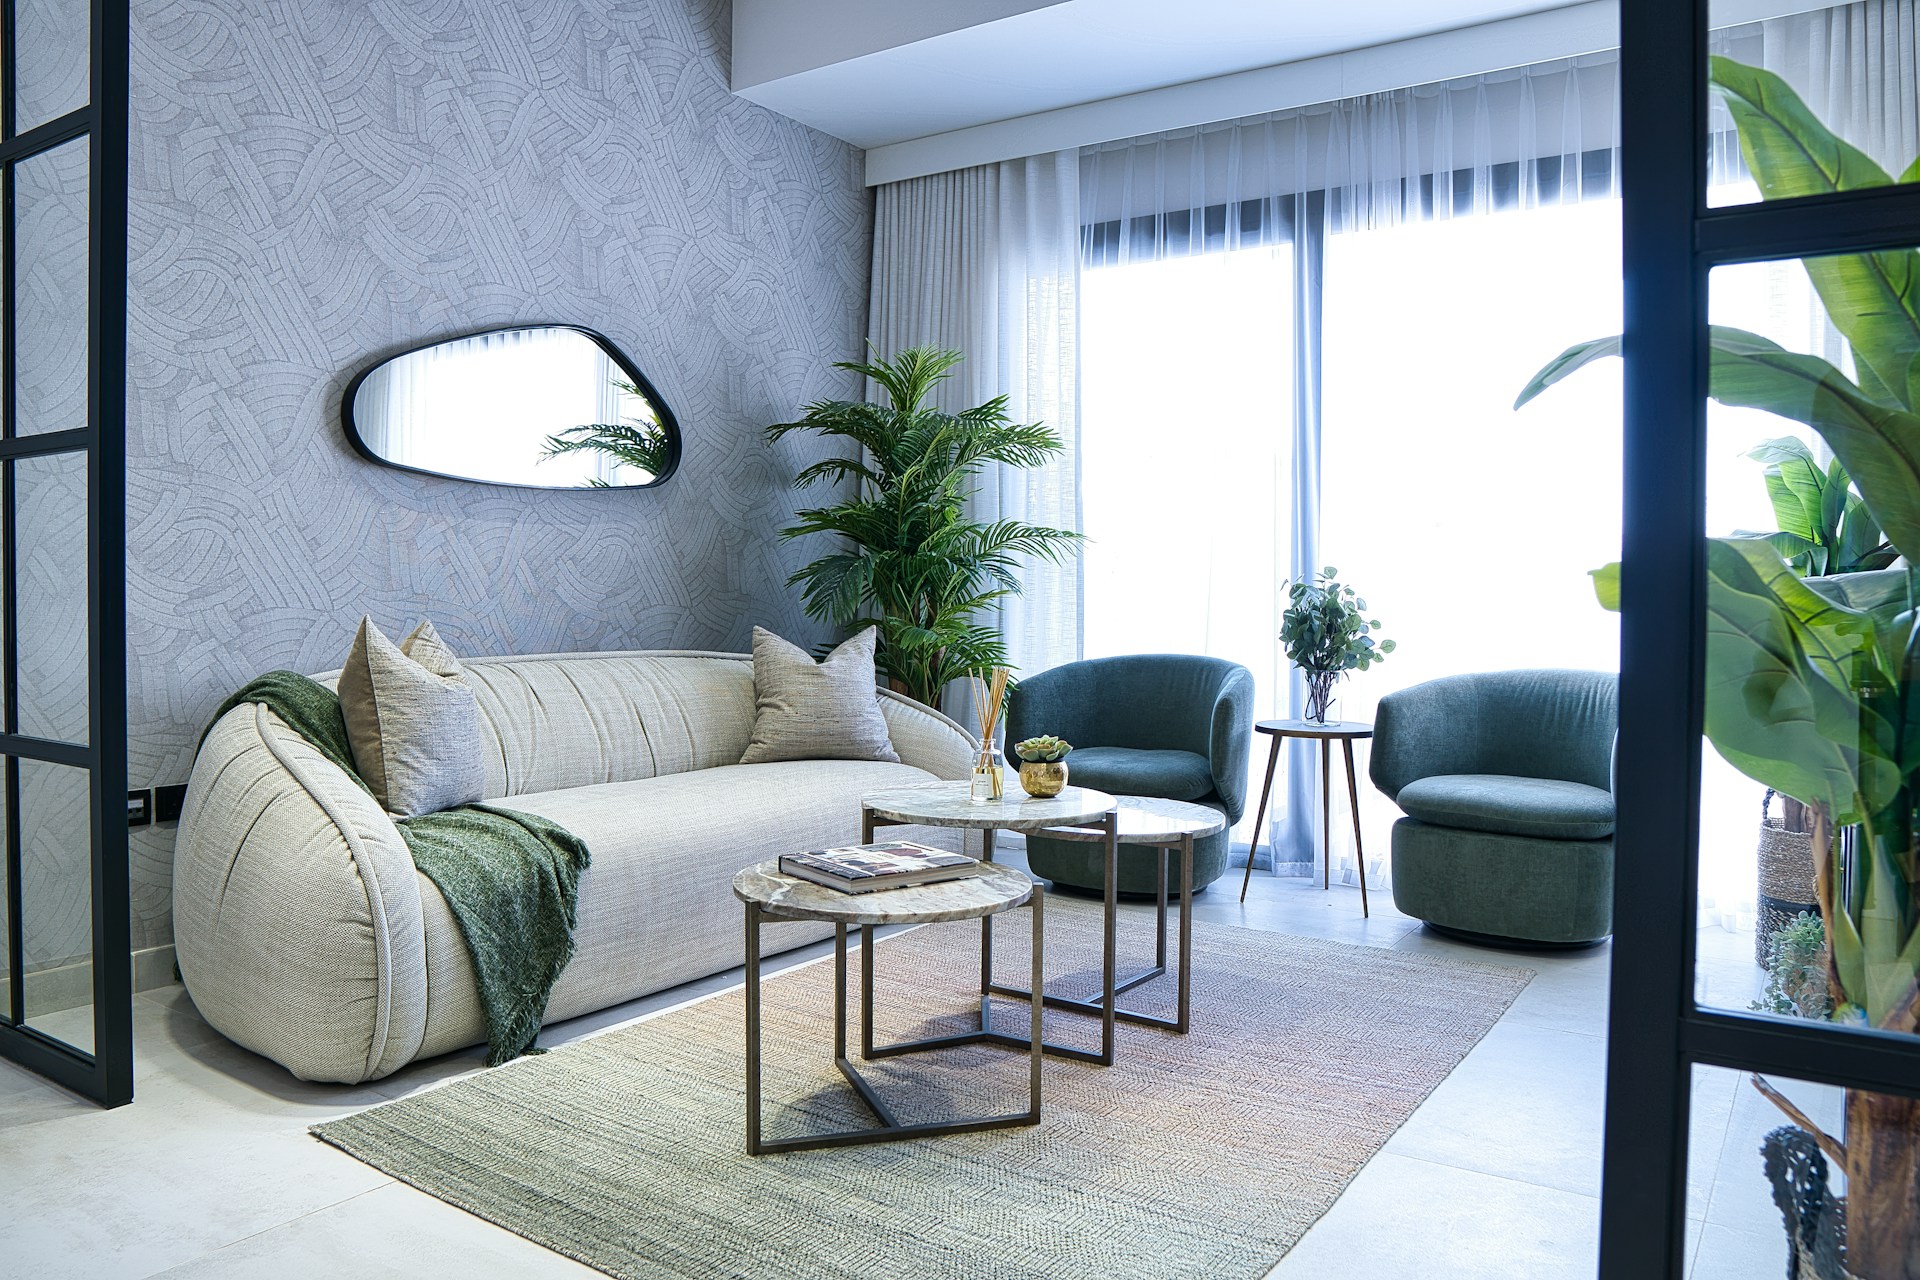
Another trigger is colour/texture. Most buyers prefer warm neutrals to cool tones, so opt for beiges, creams and whites. Use soft furnishings as well to create a sense of texture and depth in all of your photos. Buyers love the idea of feeling cosy in a prospective property, even if it feels slightly alien to them when viewed online.
Lifestyle cues
You can also use lifestyle cues to make your real estate photos more appealing to potential buyers. Showing what their future life could look like with all of the furniture in place, open books, cozy throws and fresh flowers on the mantelpiece all spark aspiration. You could even include scenic views of home offices if you are selling to young professionals, or children’s outdoor play equipment for families.
Lighting
Finally, make sure you leverage lighting. It is the number one driver of emotional response in online property buyers. Warm, natural light evokes a sense of comfort and happiness. By contrast, dark and harsh shadows lead to a sense of unease and foreboding, the opposite of the impression that you want to create.
Common Mistakes

There are some common mistakes that real estate photographers sometimes make. However, all of these are avoidable if you know what they are.
Dark and underexposed shots
Dark and underexposed shots can make buyers feel insecure or even depressed. They typically occur when you have a source of bright light in an interior photo such as an open window during the day time. If this is the case, take two exposures: one of the bright windows and one of the rest of the interior to make sure that the illumination levels are right.
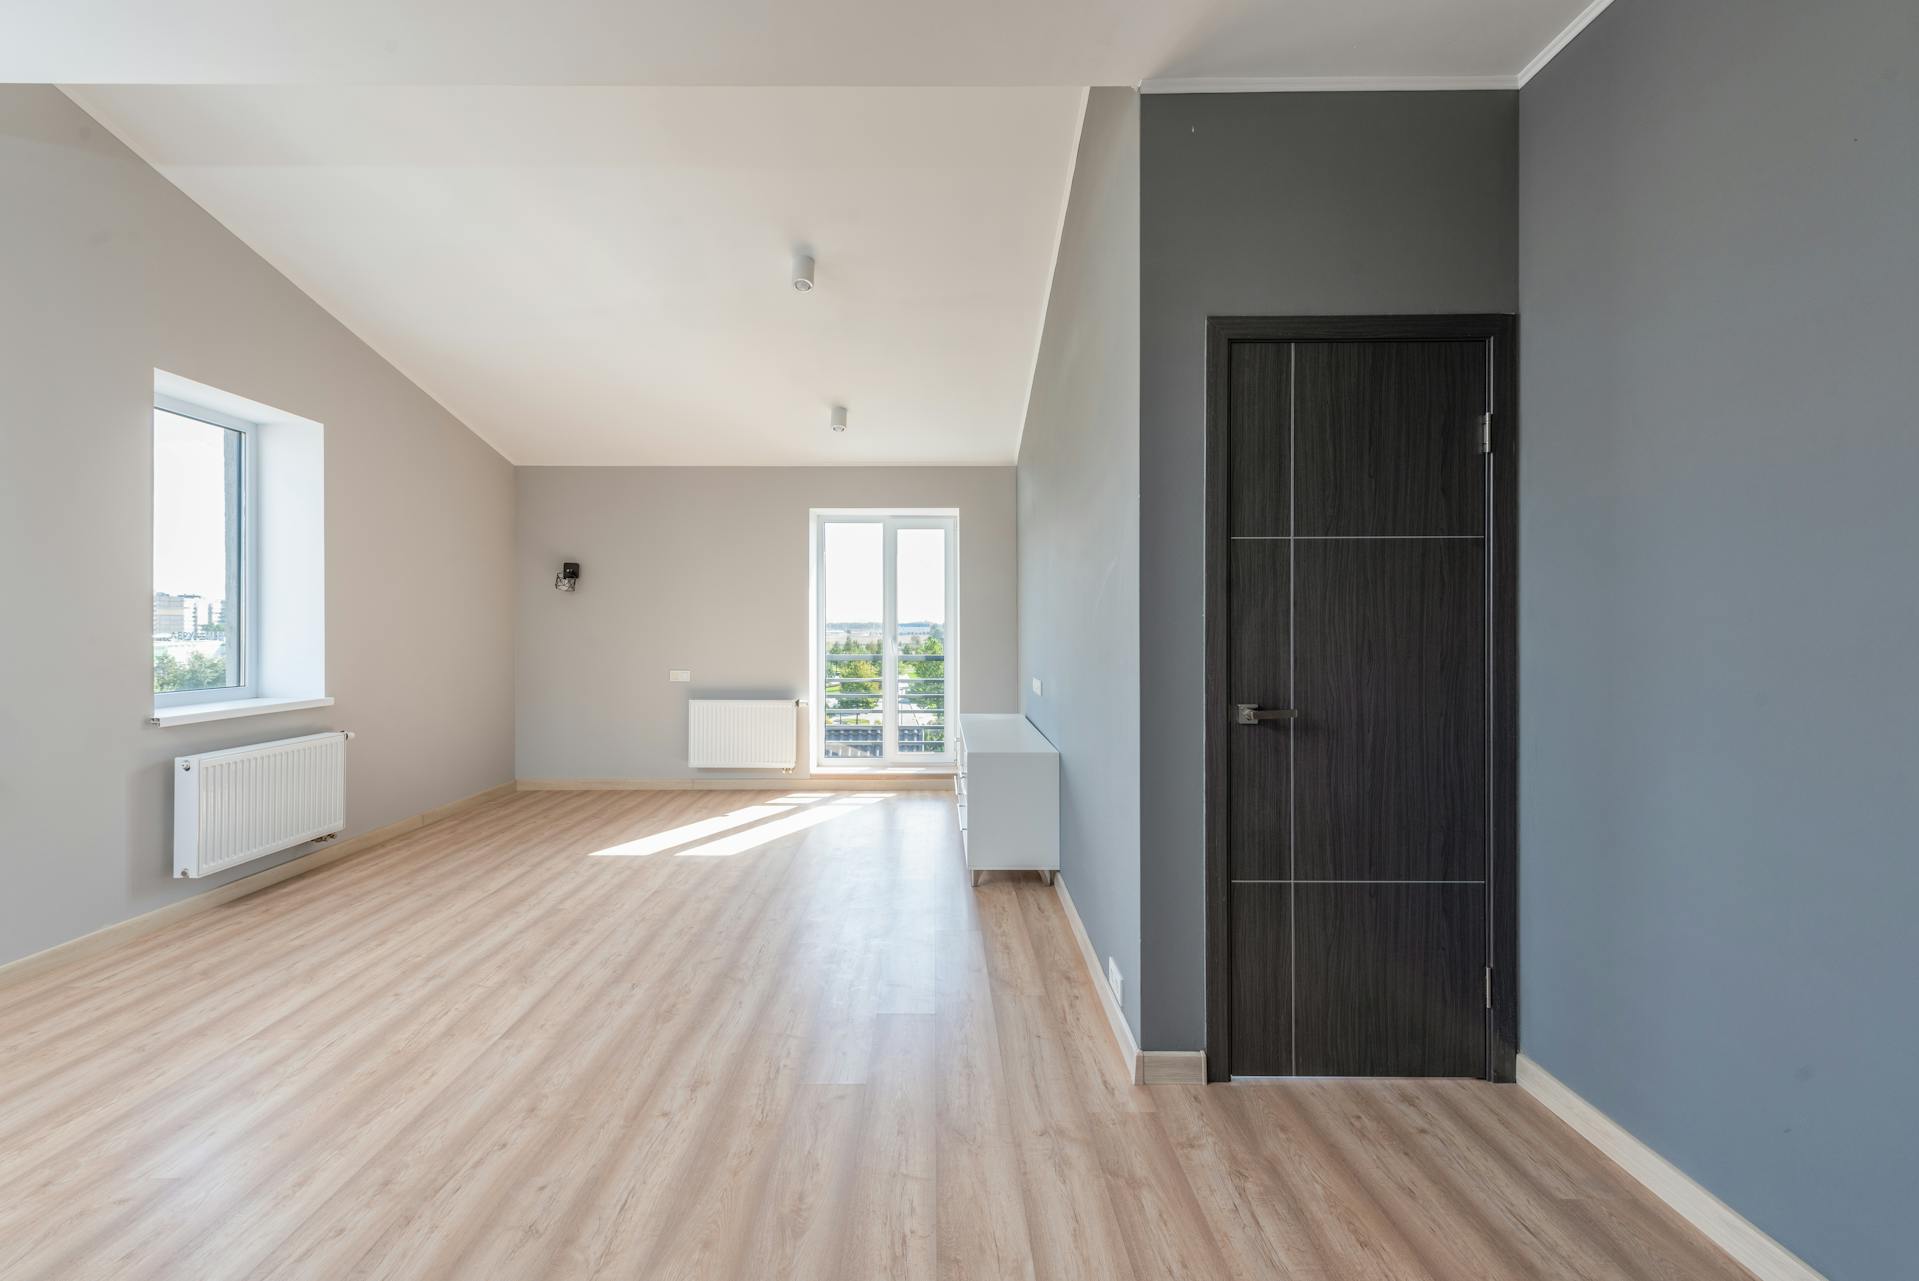
Cluttered rooms filled with personal items
Cluttered rooms filled with personal items are another faux pas when it comes to real estate photography. Not only does it look messy, but it also breaks the fantasy. Potential buyers find it more challenging to imagine themselves living at the property when mess is everywhere.
Bad angles and distortion
Another mistake to avoid is bad angles and distortion. These can trigger distrust by making rooms feel unrealistic. Online buyers want a genuine representation of what any potential future property of theirs will look like. Avoid fisheye effects.
No lifestyle cues or emotional storytelling
On a similar note, don’t make the mistake of omitting lifestyle cues and emotional storytelling. Buyers want to be able to imagine what their lives could feel like if they moved into the property. They need a sense of significantly upgrading if they take the time and effort to move home.
Low-resolution photos
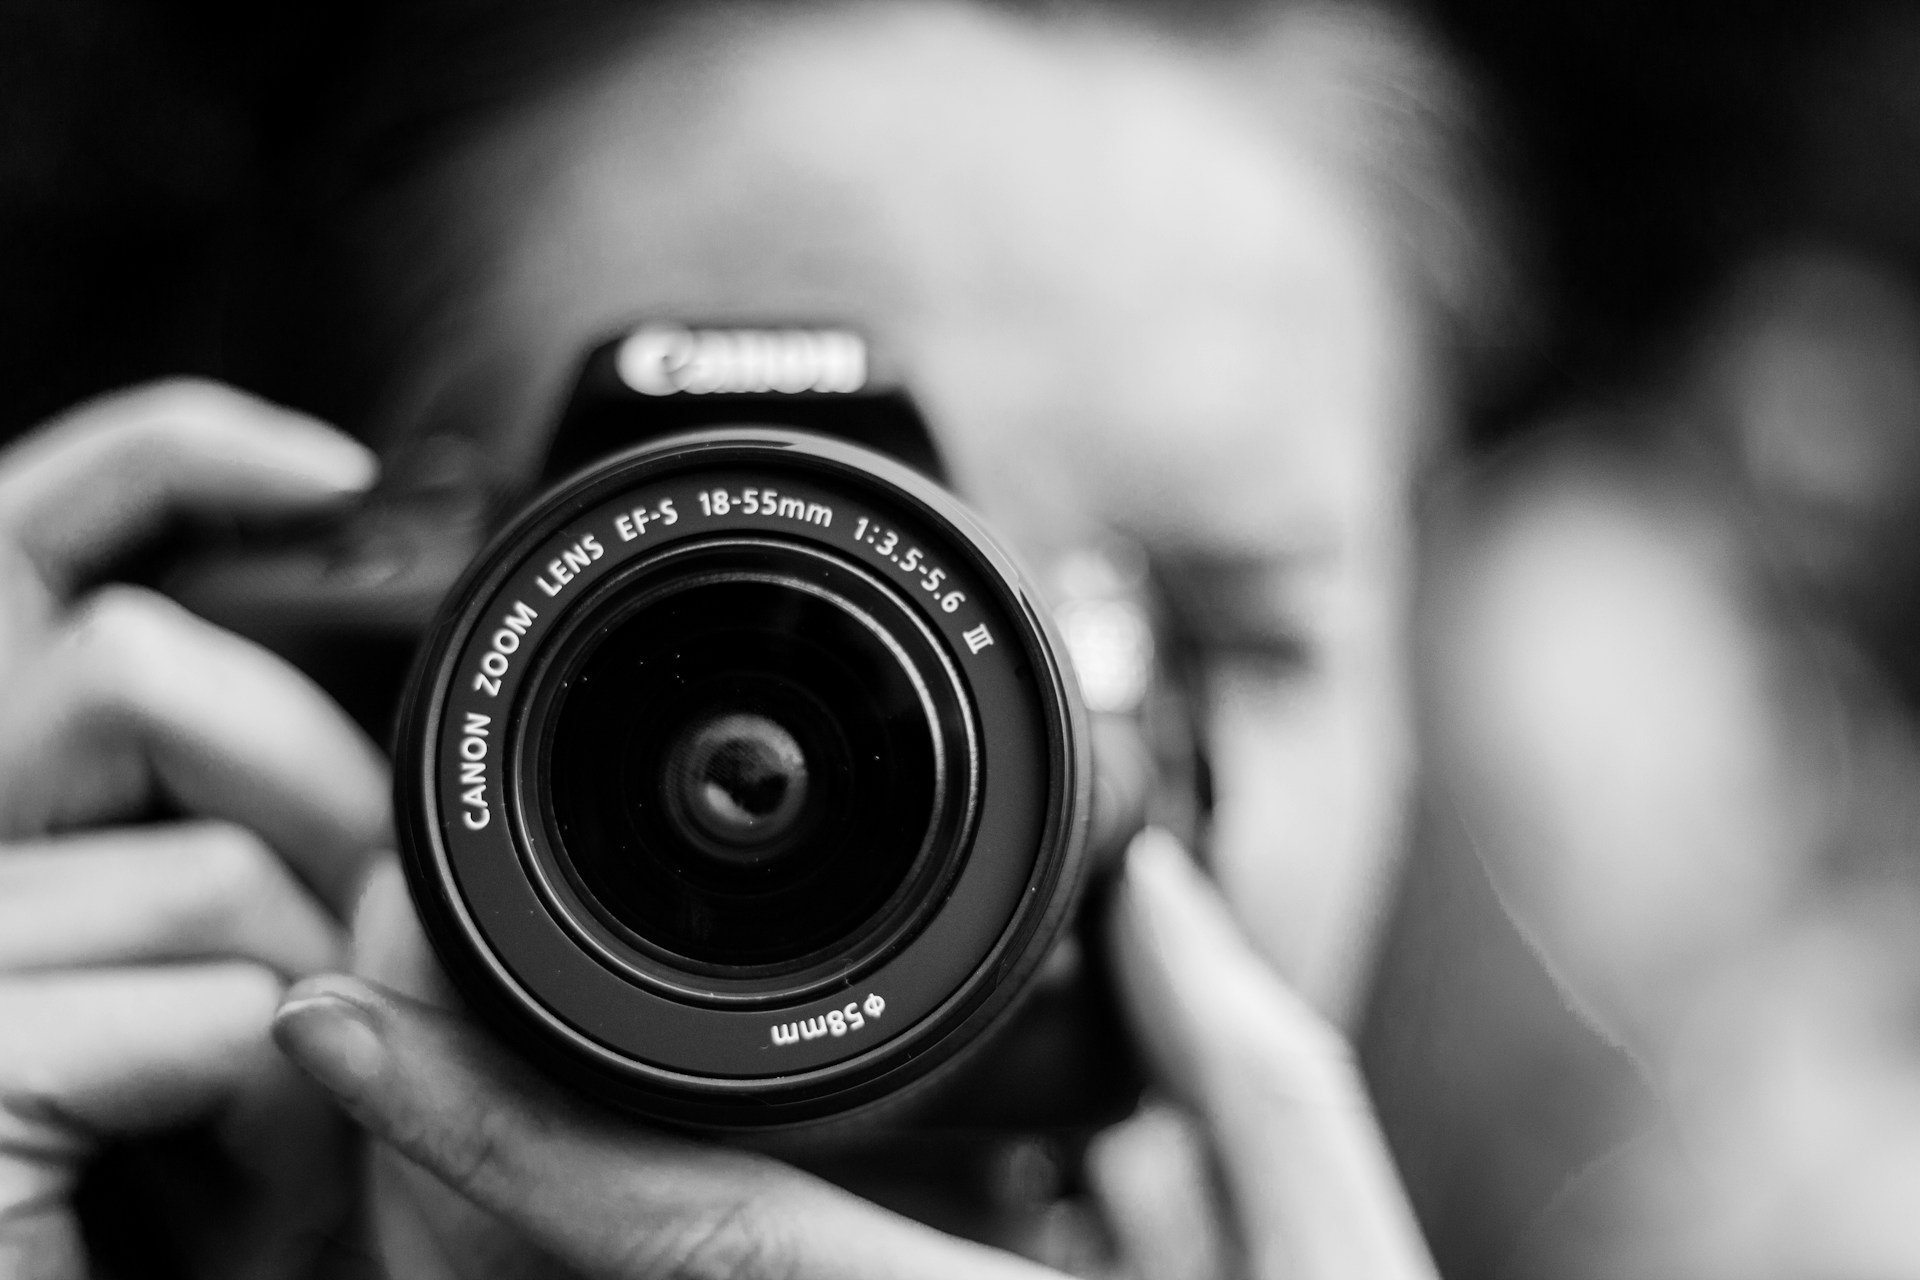
Finally, avoid low-resolution photos or poor picture quality. If you’re taking photos on a smartphone, switch to a mirrorless camera or DSLR. Avoid flash photography that leaves harsh shadows, and use masking and blending techniques on photo editing software to correct light levels.
How to Optimize Photos
Here are some real estate photography tips to help you optimize your photos if you run a real estate agency:
- Stage the property to drive emotion. Ensure you clear away clutter and add lifestyle elements that evoke a response in potential buyers.
- Time photos for the golden hour. Interior shots with open windows look best when taken in the early morning or late evening because of lower exterior light levels.
- Use post-production tools. Editing software can help you correct images, remove unwanted items from background scenery, and even add sky and lighting effects.
- Hire a pro or use virtual staging if necessary. Modern tools allow you to provide online users with a 360-degree tour of a property, even if the existing owner’s clutter is still there.
Do Photos Help Sell Homes Faster?
Photos help sell homes faster in most cases. That’s why it’s so critical to follow proper property listing photos tips.
Research shows that homes with professional photos sell 32% faster or more. Sometimes homes can sell in less than a few weeks if they are successful in beating out the competition.
FAQs
Why do real estate photos matter to buyers?
Real estate photos matter to buyers because they evoke strong emotions. Great photos enable prospects to tell themselves a story about what it will be like to live in the property in the future.
What makes a good property listing photo?
A good property listing photo combines high-quality photography with emotional storytelling. The best images tell buyers more than just what a house looks like.
How do you get buyer psychology real estate photos?
You can get real estate photos that take advantage of buyer psychology by hiring professionals and using editing tools.
Conclusion
Reading this guide to the end, you should now have all the information you need to create high-converting real estate images. Hiring a pro who understands real estate buyer psychology is usually a good idea. Experts can take the right types of photos that are going to attract the most lucrative buyers.