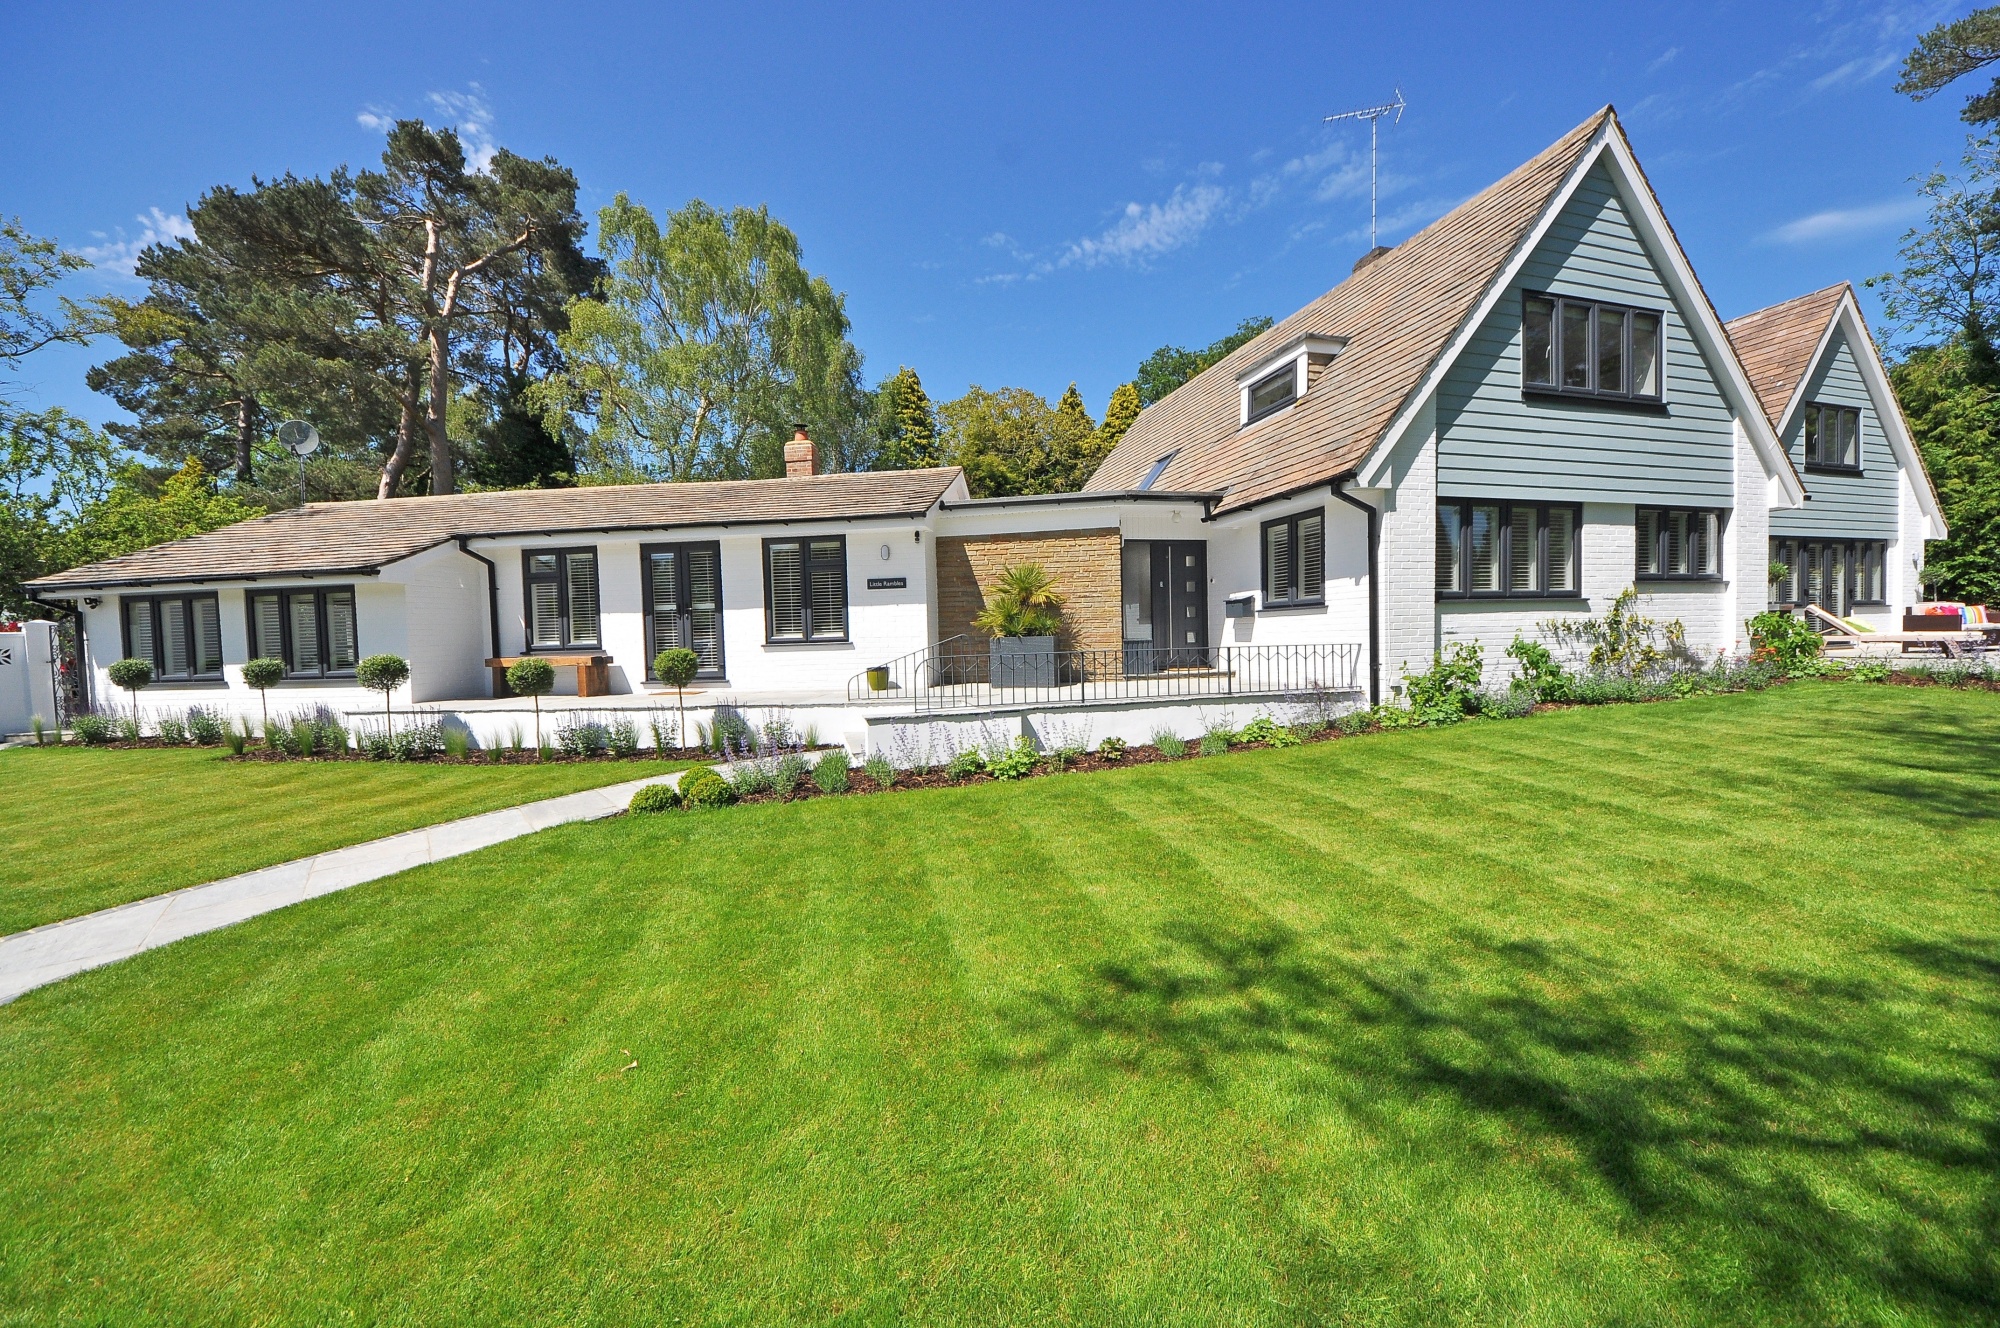
The National Association of Realtors (NAR) states that 90% or nine out of ten home buyers start their decision-making journey online, so it’s essential to invest in high-definition real estate photography for more sales and better conversion rates.
Here are some of the essential real estate photography rules to live by:
Real Estate Photography Do’s
1. Do Plan Your Shoot to Sufficiently Prepare
You should know what you want to shoot and how you want it done to prepare for equipment, people, natural lighting, and timing.
2. Do Use the Right Equipment for Best Possible Quality
First of all, use the appropriate camera or phone camera setting if you want a high-definition output. Secondly, bring a tripod or a stable surface to avoid blurs on your property photography.
3. Do Highlight Best Features to Ensure Uniqueness
There are thousands or even millions of real estate photos on the real estate market, so you should try to capture the selling points by highlighting unique architectural details in your photo.
4. Do Take a Photo of Entire Property to Set Expectations
If you’re selling a house or a property, you should take a photo from the curb to showcase the entire home. The scenery is part of the purchase, so it’s essential to set expectations by showing the surroundings.
5. Do Home Staging for Better Space Utilization
Home staging is essential in bringing out the best space usage, and this process inspired what we know as showrooms for real estate photography Seattle. Virtual staging is the digital equivalent of home staging.
6. Use Current Technology to Enhance Image Quality
There are many post-production software and tools you can use to improve your images. You can also hire professional real estate photography near you.
7. Do Post Production to Ensure the Final Output is Listing-Ready
Regardless of how the images look in the viewfinder, it would help if you edited them to ensure there are no missed spots or out-of-focus areas.
Real Estate Photography Don’ts
1. Don’t Forget to Give Your Photos Variety to Avoid Being Monotonous
Play with different angles or areas if you are featuring multiple properties at a time as long as they are realistic angles.
2. Don’t Use Unrealistic or Flashy Lenses to Avoid Unrealistic Expectations
Ensure that the images look as close to the real-life model as possible, especially when you’re doing property photography.
3. Don’t Neglect Cleaning Up to Avoid Spending Too Much Time on Post-Production
There are a lot of companies that can offer decluttering and post-production. However, it may take up too much of your resources to digitally alter the images rather than hiding the garbage bin while you’re doing the shot.
4. Don’t Forget to Assess All Shots Before Editing
Prepare pass, reassess and fail piles when looking through your real estate photography Seattle images. Save time during post-production by sorting them in advance.
5. Don’t Skip the Test Shots to Check if Your Equipment is Working Properly
The last thing you need is an unfunctional camera. You should conduct test shots before the actual shoot to ensure that your camera is working accordingly.
6. Don’t Include Photos of Yourself or Your Pets Unless They Come with the House
The property listing is not an opportunity for you to showcase yourself or your pets, and your image is in danger of being tagged as irrelevant.
7. Don’t Disregard Expertise when Hiring a Photographer
Every type of photography has its own sets of standards and quality, so remember that when looking for real estate photography near you.
Final Thoughts
Real estate photography is evolving faster due to the innovation and introduction of cutting-edge technology. You’ll create better listing materials as long as you follow the do’s and don’ts mentioned above and plan your listing.

Leave a Reply
You must be logged in to post a comment.