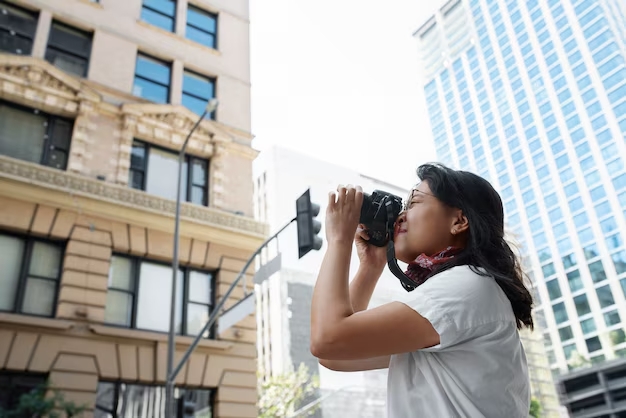
Understanding Architectural Photography
Architectural photography is a specialized field that focuses on capturing the aesthetic and functional aspects of architecture. It involves taking photographs of buildings and structures in a way that emphasizes their design, materials, and the environment surrounding them. With the rise of online property listings and social media, the significance of high-quality architectural photography has skyrocketed. Real estate agents and property owners are increasingly recognizing the need for visually striking photos to attract potential buyers.
Investing in professional architectural photography can yield substantial returns, as listings with professional images often receive more views compared to those with amateur photos. In fact, listings with HDR imaging generally receive up to 61% more views than those lacking professional-quality photography. This trend highlights the growing importance of visual appeal in a competitive real estate market, where potential buyers often make snap judgments based on the images they see online.
The Importance of Architectural Photography in Real Estate
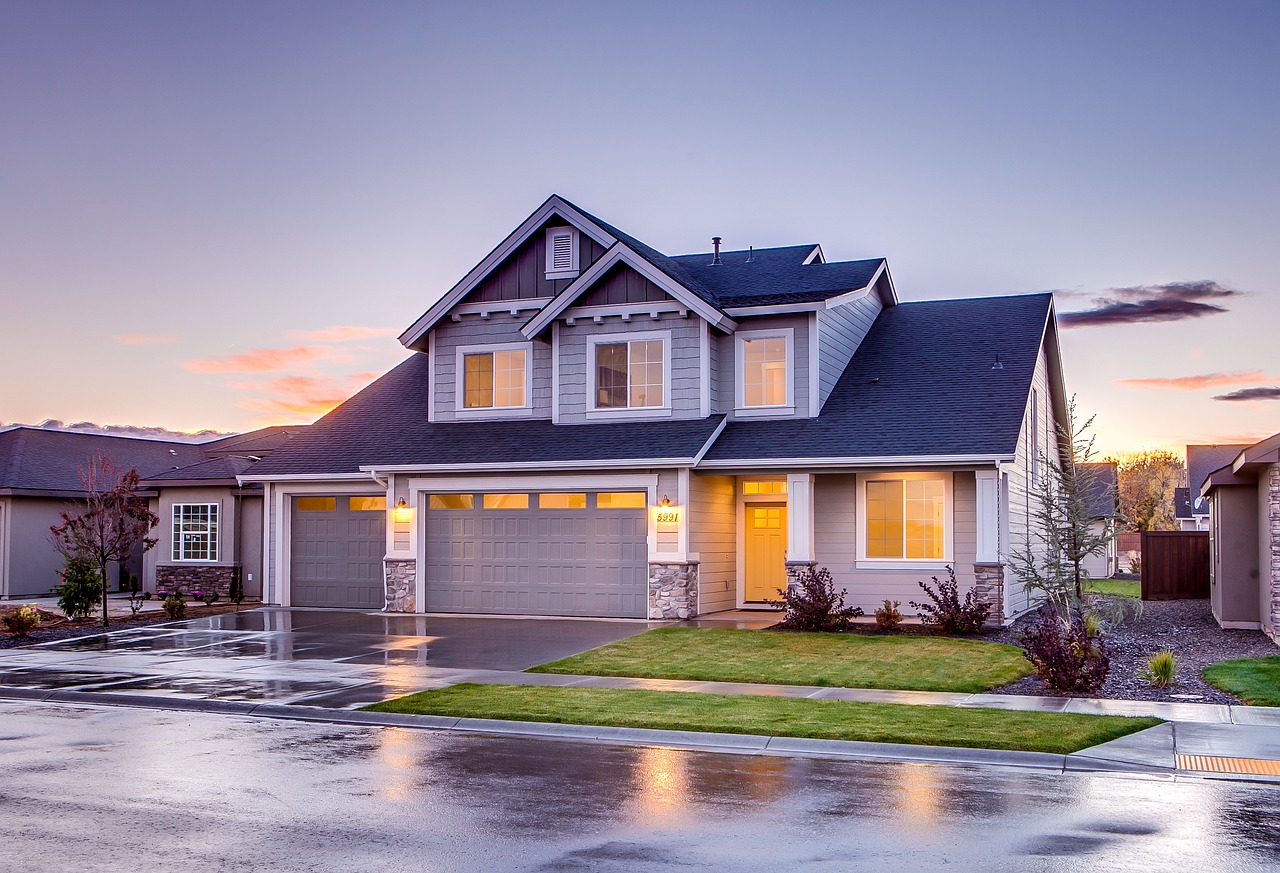
The importance of architectural photography in real estate cannot be overstated. It serves as the first impression of a property, and we all know that first impressions are crucial. A well-executed photograph can convey the essence of a building’s style, characterize its space, and engage potential buyers instantly. In an era where attention spans are shorter than ever, captivating images can make the difference between a buyer clicking on a listing or scrolling past it.
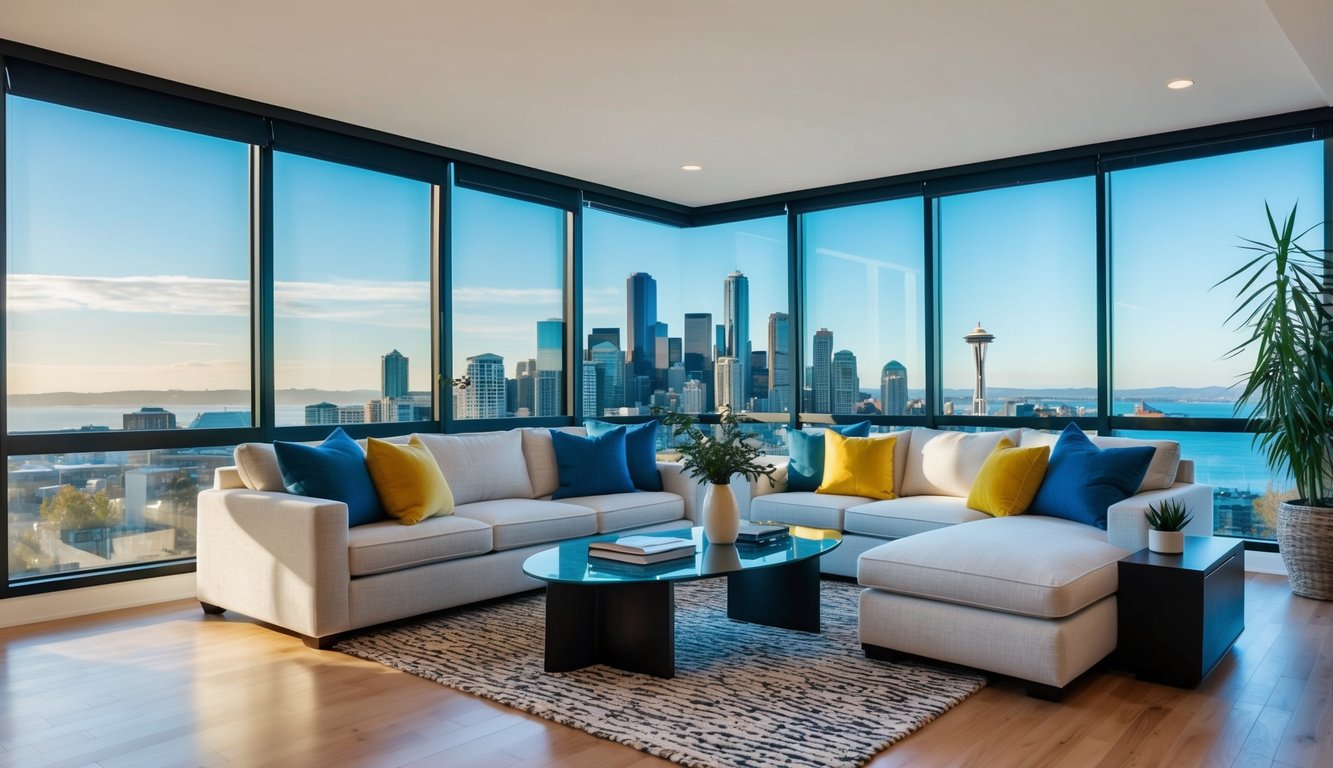
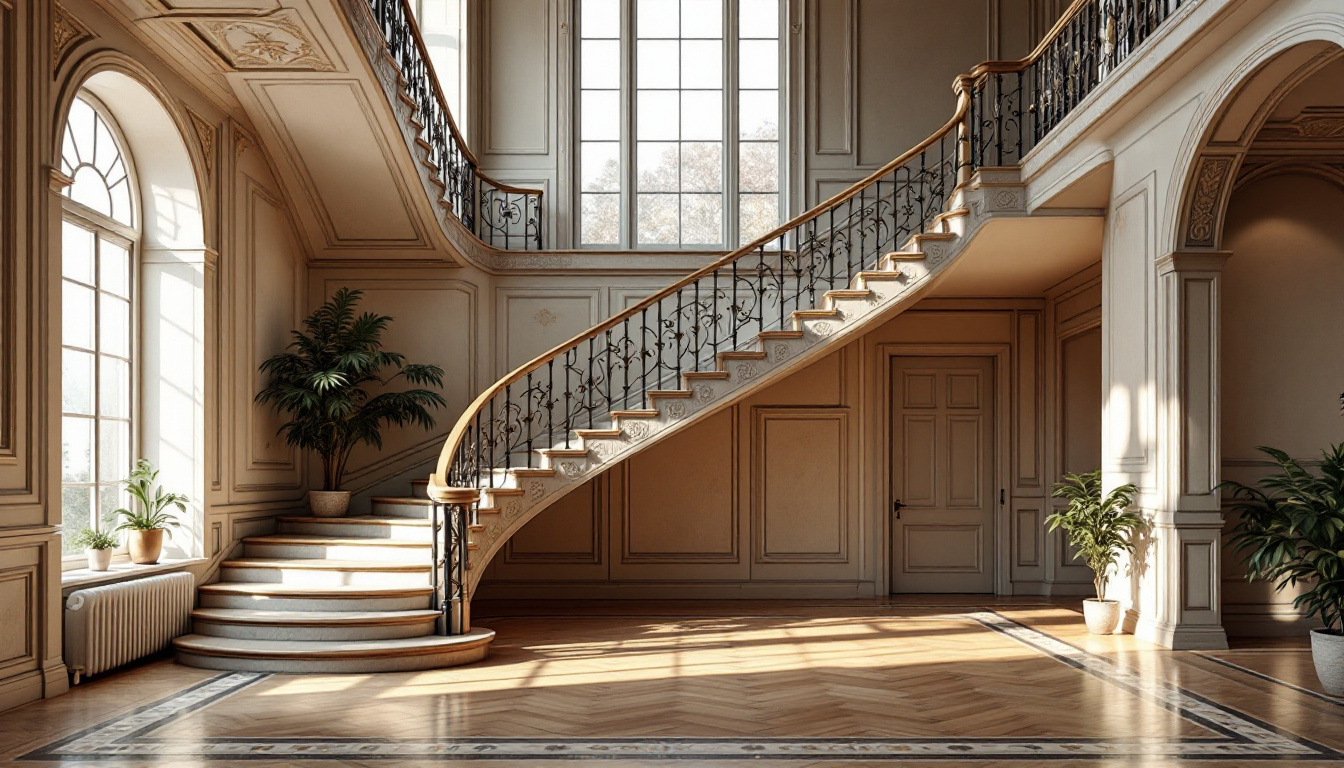
Moreover, these images act as a storytelling medium, allowing buyers to visualize themselves in the property. A series of carefully curated photos can evoke emotion, showcase unique features, and highlight the lifestyle associated with a particular space. For instance, a photograph that captures a sun-drenched living room with expansive windows can create a sense of warmth and comfort, inviting potential buyers to imagine their lives unfolding within those walls. The narrative woven through these images can be a powerful tool in persuading buyers to take the next step and schedule a viewing.
Key Elements of Architectural Photography
Several key elements contribute to effective architectural photography. Understanding these elements is essential for photographers aiming to capture stunning images. Key factors include composition, lighting, perspective, and context.
- Composition: The arrangement of visual elements is crucial for creating an engaging photograph. A well-composed image draws the viewer’s eye and guides them through the architectural features.
- Lighting: Natural light can drastically affect the mood and tone of the images. The golden hour, shortly after sunrise or before sunset, often provides the most flattering light for architectural photography, casting soft shadows and enhancing textures.
- Perspective: The angle from which a photo is taken can influence how the architecture is perceived. A low-angle shot can make a building appear more imposing, while a high-angle view can provide a comprehensive overview of the layout.
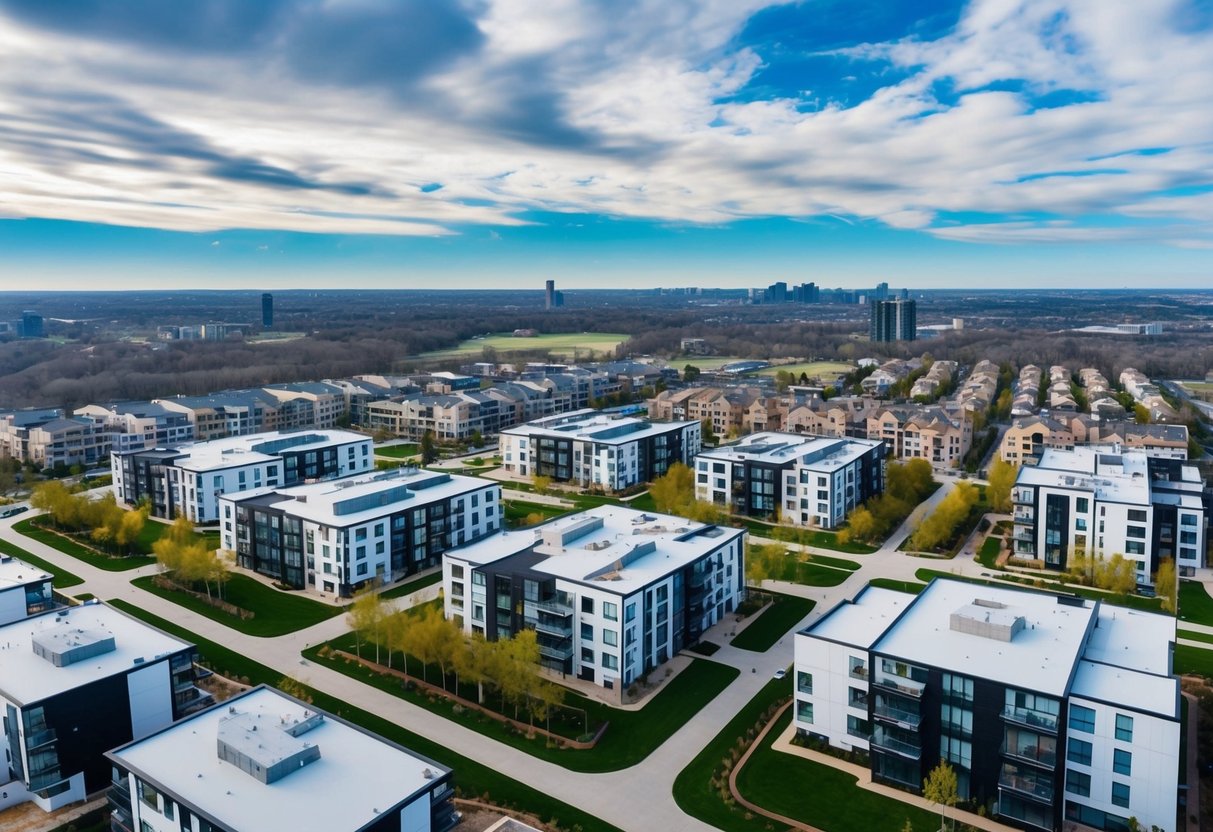
- Context: Including the surrounding environment helps to position the architecture within a narrative. Capturing elements like nearby parks, urban landscapes, or historical landmarks can enrich the story behind the property and provide potential buyers with a sense of place.
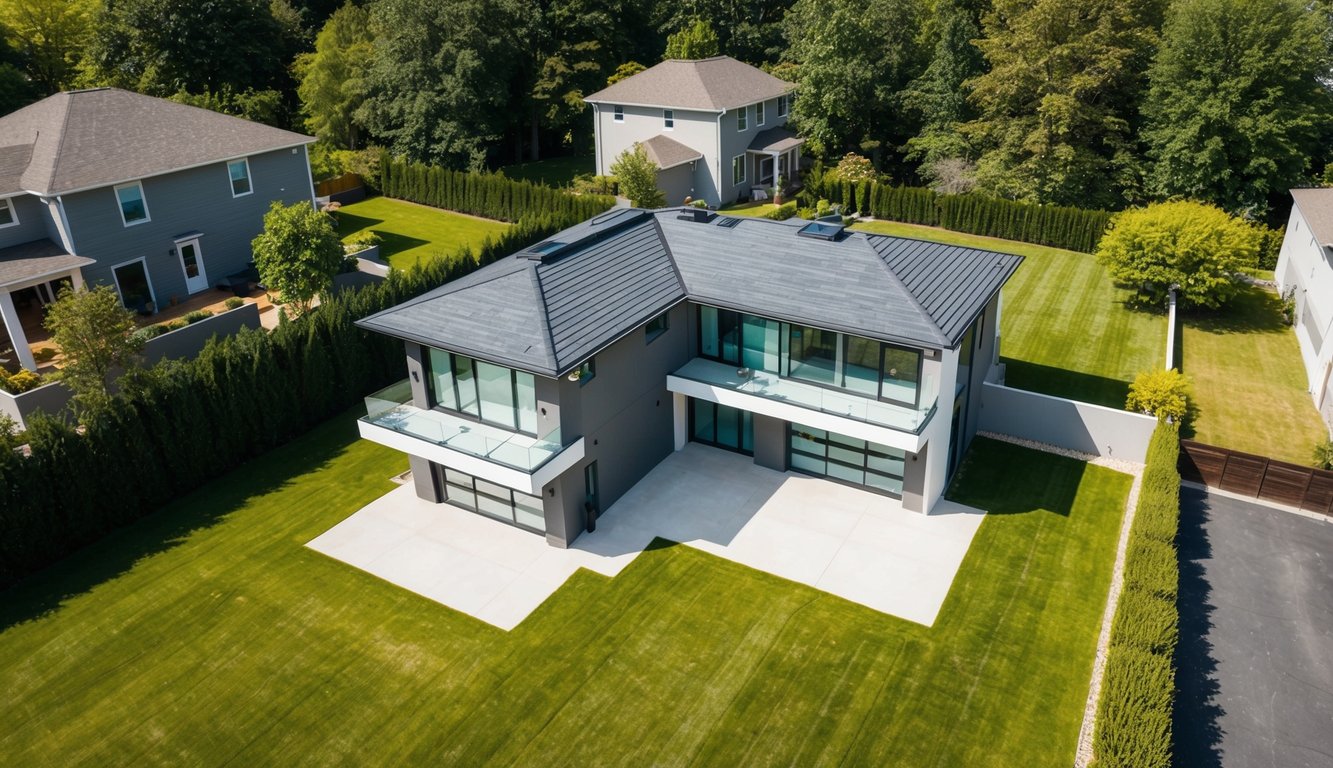
Additionally, the use of advanced techniques such as drone photography is becoming increasingly popular in architectural photography. Drones can capture stunning aerial views that showcase the scale and layout of a property in relation to its surroundings. This bird’s-eye perspective not only highlights the architectural design but also provides potential buyers with a clearer understanding of the property’s location and its proximity to amenities like schools, shopping centers, and recreational areas. As technology continues to evolve, the possibilities for architectural photography expand, offering new ways to engage and entice prospective buyers.
Techniques for Capturing Architectural Features
To successfully capture architectural features, photographers must employ a combination of skill and technique. Mastering these techniques allows for a better representation of the building’s character and details.
Using the Right Equipment for Architectural Photography
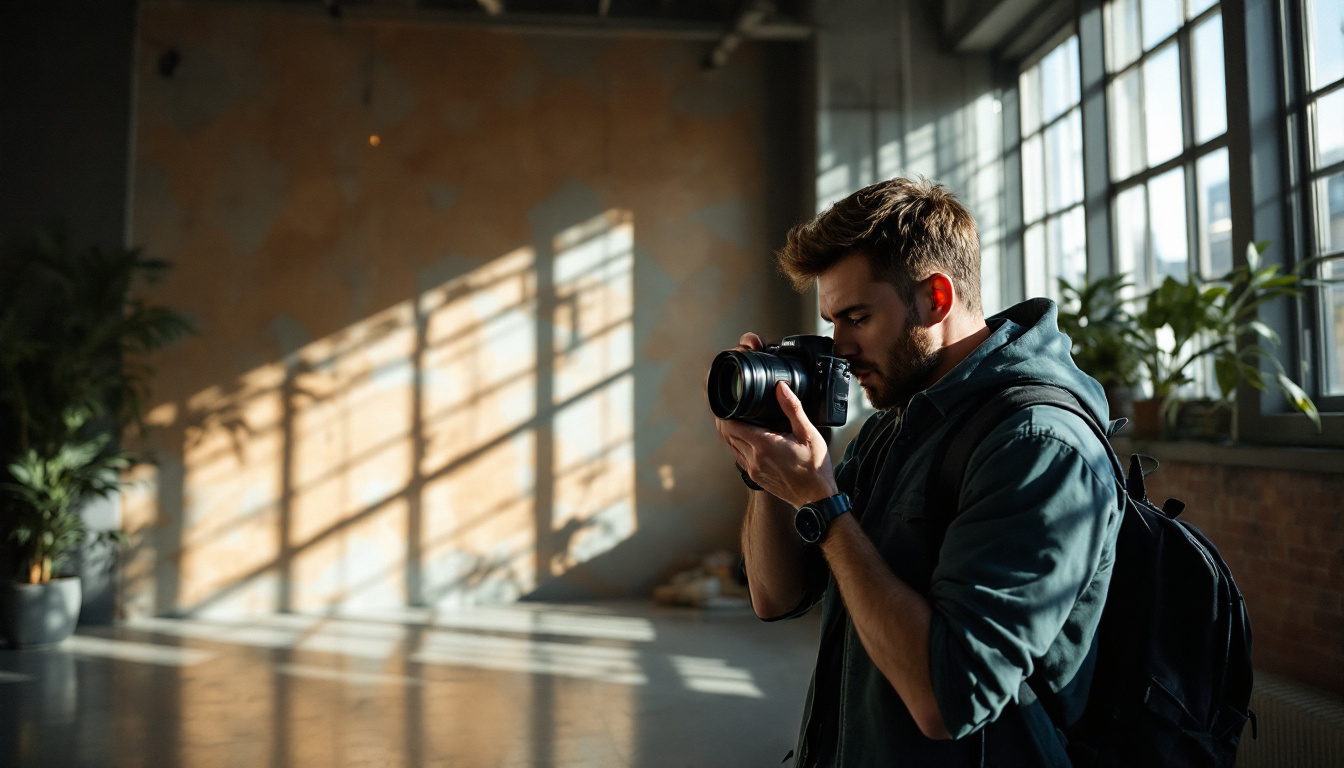
The equipment used in architectural photography is vital for producing high-quality images. A full-frame DSLR or mirrorless camera with a wide-angle lens is generally recommended, as it allows the photographer to capture more of the building in a single frame.
Additionally, a sturdy tripod is crucial for maintaining stability and sharpness, especially in low-light conditions. Utilizing a tilt-shift lens can also be advantageous, as it helps to correct perspective distortion, which is frequently a challenge in architectural photography. Furthermore, incorporating a remote shutter release can minimize camera shake, ensuring that even the finest details remain crisp and clear.
Another important aspect of equipment selection is the use of filters, such as polarizing filters, which can reduce glare and enhance the colors of the building materials. This is particularly useful when photographing glass or water features that may reflect unwanted light. By carefully selecting and utilizing the right tools, photographers can elevate their work to a professional standard, capturing the essence of architectural designs.
Lighting Techniques for Highlighting Architectural Details
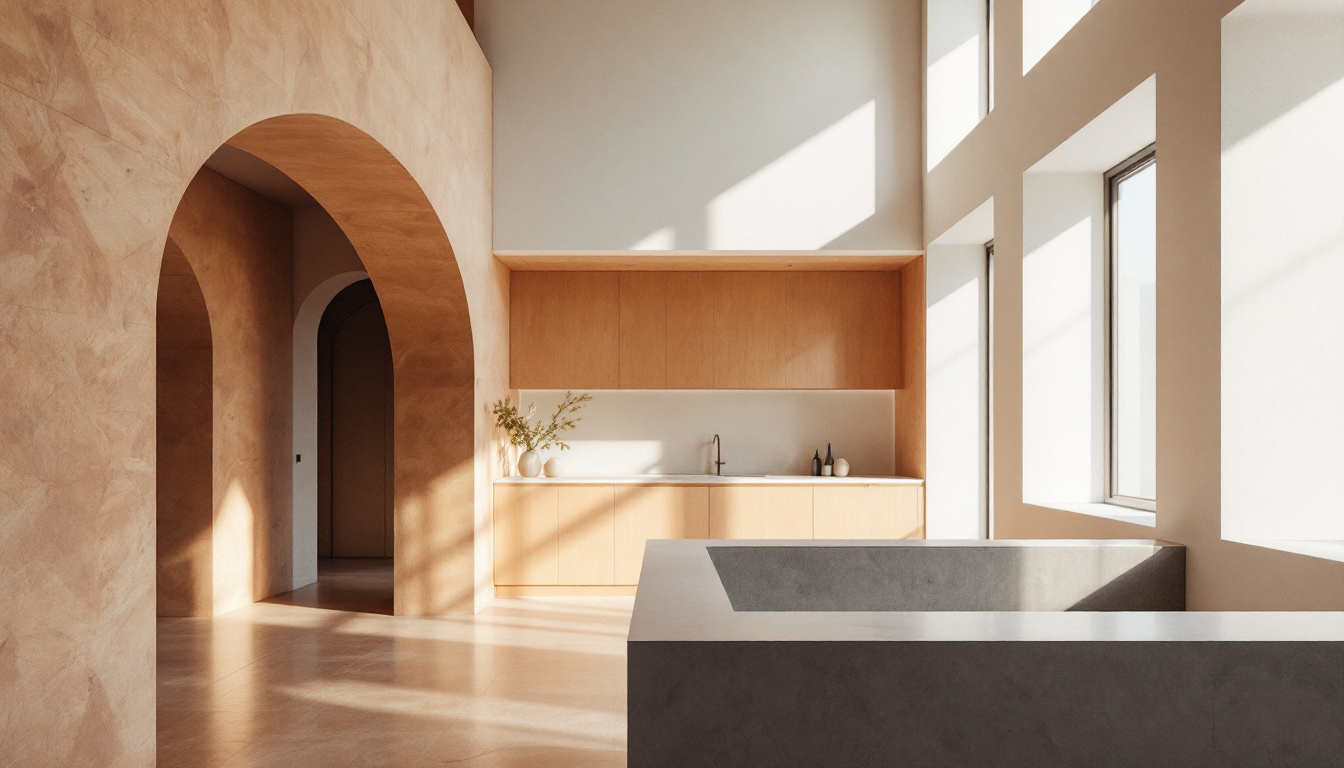
Lighting plays a pivotal role in showcasing architectural features. Natural daylight is typically preferred to highlight structural details and textures.
Golden hour, the time of day shortly after sunrise or before sunset, offers soft diffused light that can enhance the overall aesthetic of a building. For interior shots, floor lamps or strategically placed lights can help eliminate shadows and showcase important details. Additionally, using reflectors can bounce light into darker areas, illuminating intricate designs that might otherwise go unnoticed.
Moreover, understanding the direction and quality of light is essential for creating mood and atmosphere in architectural photography. For instance, side lighting can accentuate textures and patterns, while backlighting can create dramatic silhouettes. Experimenting with different lighting conditions, such as overcast skies or artificial light sources, can yield unique results and provide a fresh perspective on familiar structures. By mastering these lighting techniques, photographers can transform ordinary images into compelling visual narratives that tell the story of the architecture itself.
Composition Strategies for Architectural Photography
Composition is one of the foundational aspects of photography, and it can dramatically affect the visual impact of architectural images. By employing strategic composition techniques, photographers can create compelling visual narratives.
Framing and Positioning for Optimal Shots
Framing and positioning are critical when capturing architectural features. By setting up the shot so that the building is the focal point, photographers can convey a strong message about the property.
Using leading lines or natural frames, such as trees or pathways, can draw the viewer’s attention to the architecture itself. This approach not only enhances the visual appeal but also presents the property in its best light.
Using Angles and Perspectives in Architectural Photography
Exploring different angles and perspectives is essential for capturing the essence of architectural designs. High and low angles can create unique viewpoints, while shooting from various distances can provide context and depth.
For instance, shooting from a low angle often enhances a building’s prominence, making it appear grander and more imposing. Alternatively, capturing a structure from a distance can offer insights into how it interacts with its environment.
Post-Processing Techniques for Architectural Images
Once photographs are captured, post-processing can significantly enhance the overall quality of the images. Using editing software can refine architectural photographs and make them more appealing to potential buyers.

Enhancing Architectural Features in Editing
Post-processing allows photographers to enhance colors, contrast, and sharpness in architectural images. Techniques such as local adjustments can highlight specific features without compromising the integrity of the structure.
Additionally, removing distractions and artifacts in the image can result in a cleaner final product, allowing the architecture to shine through. Consider utilizing software that supports HDR imaging, as this can dramatically improve the dynamic range of the photograph.
Balancing Colors and Textures in Post-Processing
Balancing colors and textures in architectural photography is paramount. Where natural light might not have captured the true vibrancy of the materials, post-processing can help achieve a more accurate representation.
Utilizing color correction tools can ensure consistency across a series of images, providing a cohesive look and feel. Additionally, attention to texture can add depth and interest, transforming an ordinary shot into an extraordinary one.
Overcoming Challenges in Architectural Photography
Despite the many techniques available, architectural photography presents several challenges. Common issues include difficult lighting conditions and managing tight spaces, especially in residential real estate.
Dealing with Difficult Lighting Conditions
Managing lighting can sometimes be the most daunting aspect of architectural photography. Overcast days can result in flat images, while harsh sunlight can create unflattering shadows. Knowledge of lighting dynamics is essential for overcoming these challenges.
Photographers may need to experiment with different times of the day or utilize artificial light sources. Utilizing reflectors or diffusers can also help soften harsh light and provide balance in difficult conditions.
Managing Space Constraints in Property Photography
With many properties, especially urban dwellings, space constraints can pose challenges. Capturing a property in its entirety can be problematic when dealing with limited area.
Utilizing wide-angle lenses can help convey a sense of space, while strategic positioning and careful framing can maximize the effective area represented in the image. Photographers should also focus on the flow of the space, ensuring that the images capture how each room interacts with others.
In conclusion, architectural photography is a multifaceted discipline that requires a blend of technical knowledge, artistic vision, and post-processing skills. Understanding these concepts enables real estate photographers to effectively capture the unique features of properties, ultimately contributing to successful real estate transactions.