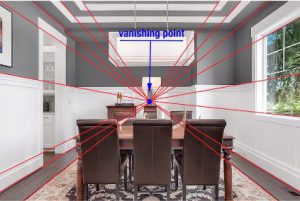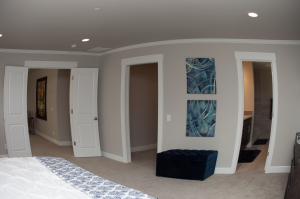
The landscape of real estate photography has gone a long way since the turn of the century. Real estate photography involves both residential interiors and exteriors that are taken at different angles. It is known that clients may have different tastes in terms of property characteristics and a perfect shoot may all spell the difference.
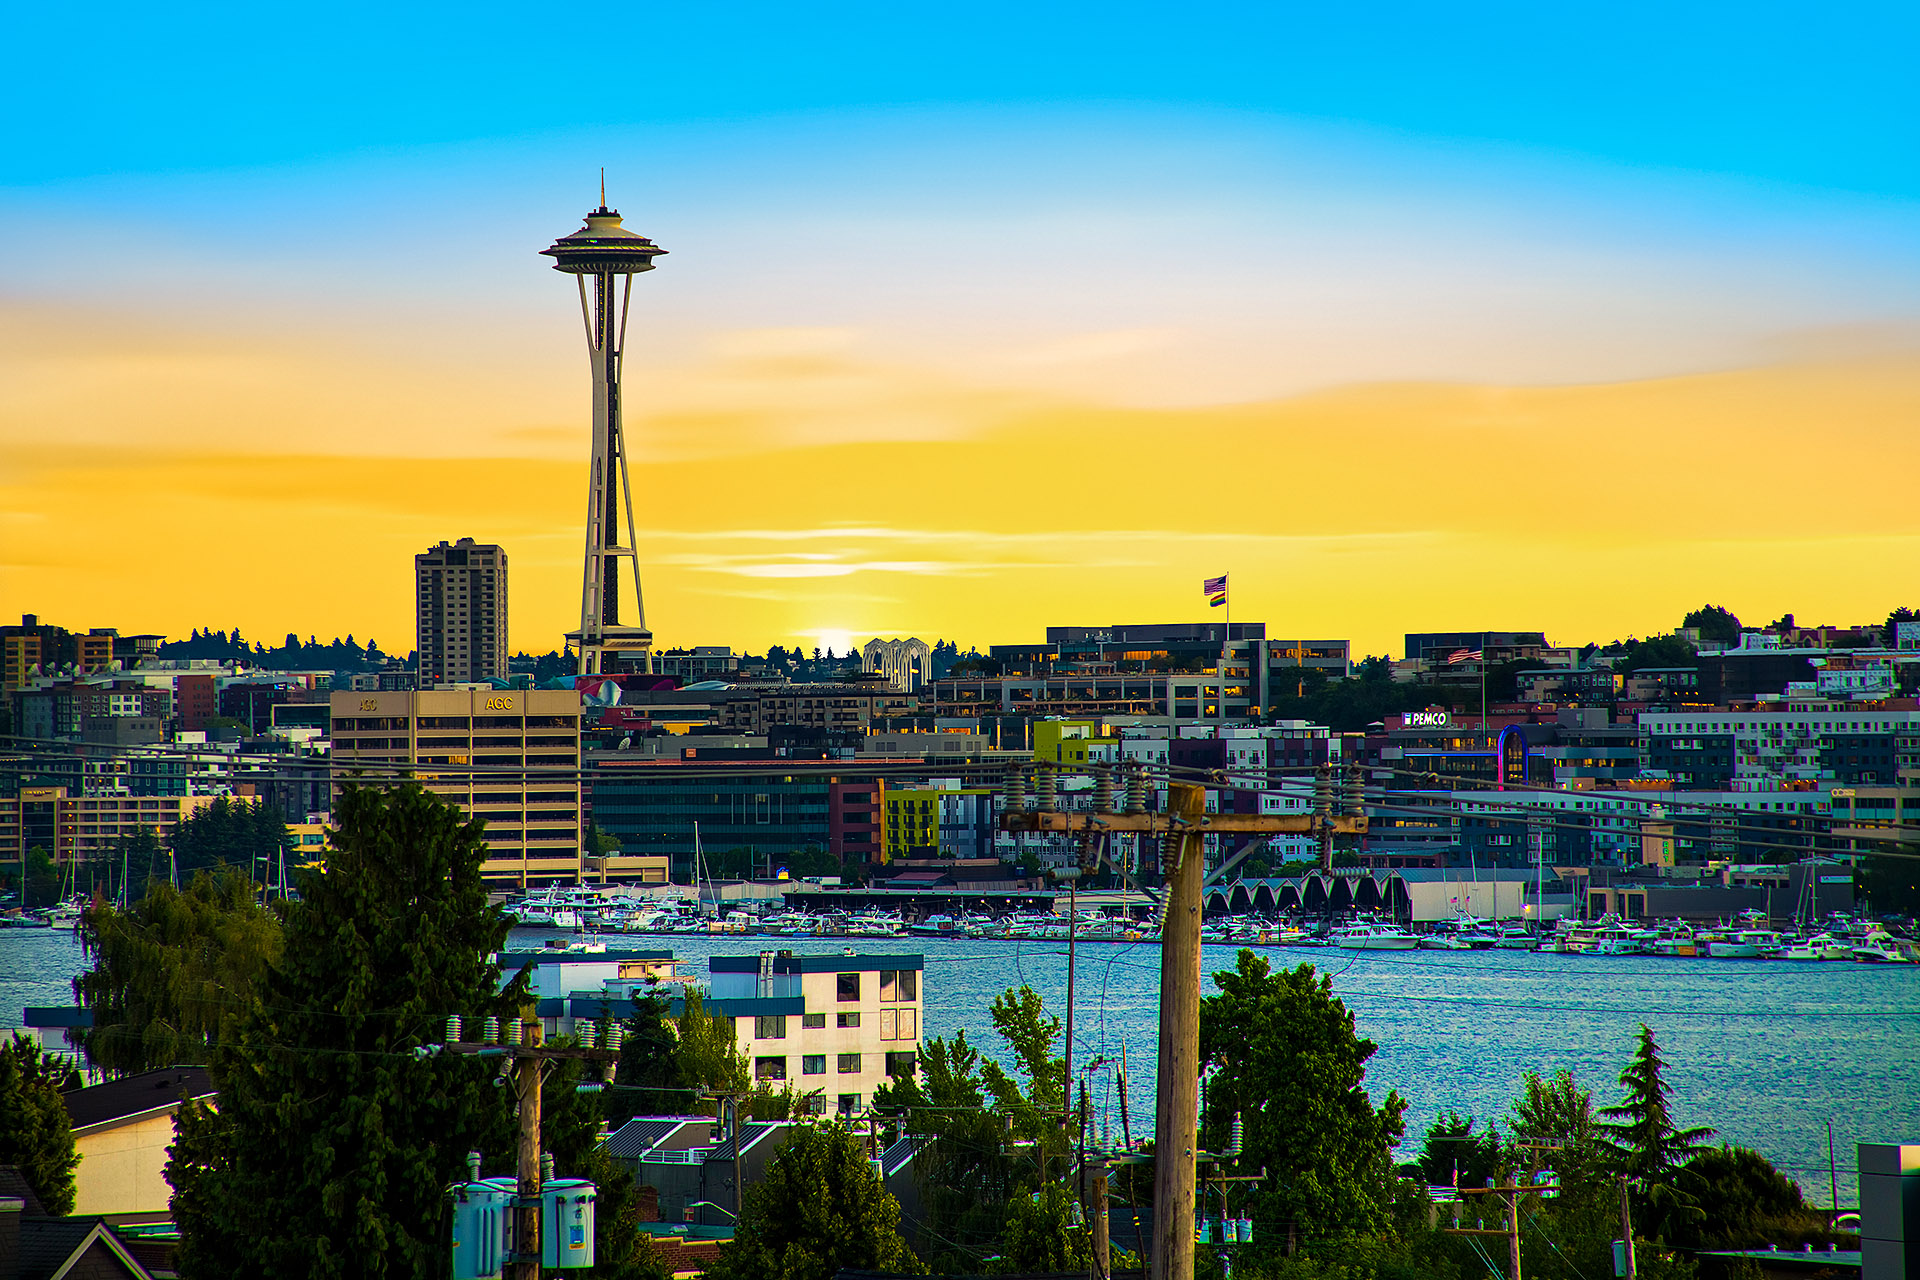
Time is gold in this advocacy as you also need to consider the time you spend with those you are working with and for those who own the property as well. And when we ponder on what time is the best for photo shooting, not all hours of the day are the same. The so-called golden hours for photo shooting are the hours before sunrise and before sunset.
Efficient shooting and perfect processing workflow are the ones a real estate photographer must consider most. The reproduction of space in a realistic manner will help you sell the properties because of the photos you shoot. This is what clients really appreciate and accept. As we all know, houses and similar real estate properties contain challenging things when photography is concerned.
HDR Photography: What is it?
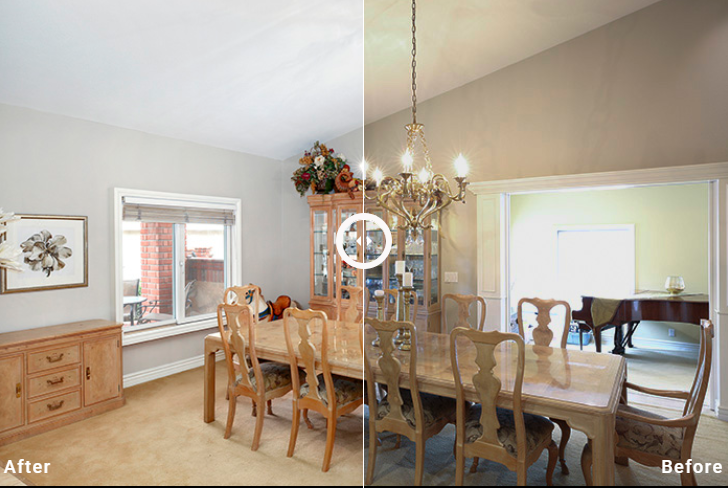
HDR or High Dynamic Range Photography is a trick in photography wherein a photographer can reproduce an efficient range of luminosity. This technique is a far better than what a standard photography can offer. Taking photographs of the same area but in different exposures then blending them altogether is the main concept of HDR Photography.
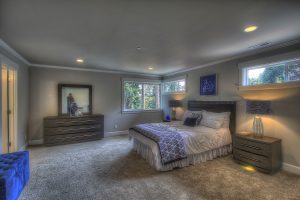
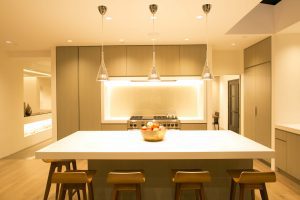
In the case of real estates, HDR makes the work of the photographer easier. When he shoots photos from the inside, all the details of the room are obviously visible. What is remarkable is that the view outside the window does not look overexposed.
The use of light is the primary idea when it comes to photography. Yet many of the photographers nowadays are making use of HDR as a solution and emerging alternate to flash guns and the use of multiple lights. In using HDR Photography, the delivery of a fresh and great looking image is exemplary but has a natural feel to it.
Things Needed for a Good HDR Photography
Since every photographer is assumed to have media cards, DSLR and lenses, there are still few requirements that needed to be prepared. These are as follows.
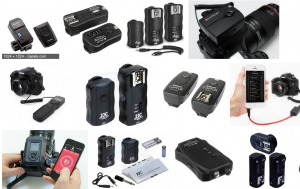
1. Remote Trigger
A remote trigger for the camera is important. This is required to minimize any unacceptable camera movement. This is also the best way to get a good picture without even touching the camera.
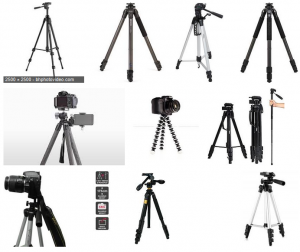
2. Tripod
It is mandatory for every real estate photographer to have a tripod. This is important if you have to create a bracketed exposure of the room. Moving the camera just an inch will ruin everything. Aside from the camera, this is the second most important necessity if you want an assurance that your photos are all free from fuzziness.
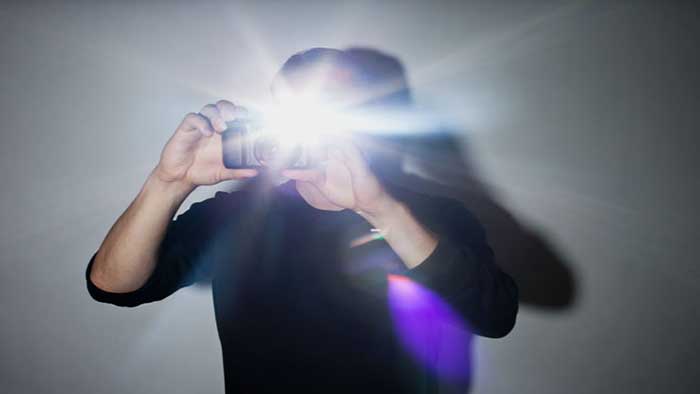
3. Flash
It is widely recommended that a real estate photographer must use a ‘fill flash’. Fill flash means turning the flash to the lowermost setting as possible. There are photographers who oppose the idea of using a flash. But when it comes to working and shooting photos indoor, basic lighting plan with the use of fill flash is required.
4. Software
Using the best possible software for your HDR is a discussion among professional real estate photographers. The list of HDR software that is preferred most by photographers includes Adobe’s Photoshop which basically produce HDR images. Some would say that Photomatrix Pro 5.0 is better than Adobe’s version. What these HDR software do is that after capturing the images and once merged, the product is a new image having the dynamism of the original photos.
Using HDR: A Step-by-Step Guide
The procedure in using HDR to real estate photography is mentioned as follows:
1. Measure the Dynamic Range
After considering the space for your picture, it is a basic idea to first set the camera to Manual Mode. This allows you to adjust the white balance before you use the camera further. It also permits you to change the shutter speed. Afterwards, you need to set the aperture to either f/8 or f/11 but these are optional settings. It is required to measure the brightest bright and the darkest dark of the area. Everything still depends on what aperture setting the photographer personally likes.
2. Use HDR Bracketing
Some practices that are included in HDR bracketing involve overlapping photos during the blending procedure. It is advisable to preserve the focus during the entire process. This is done in order to get the same image results. Bracketed exposures may involve interior shots like balance difficulty, and single frame standard range.
3. Presets as Starting Points
There are assortments of presets involving the key areas of color blending. These are the white balance and color fidelity. Based on HDR bracketing, colors that are often found when the bright rays of the sun comes through the window are totally imbalanced. Once extreme highlighting is done, the tonal range and white balance blend each other.
Using the 5 Stop Natural and 5 Stop Mixed Light presets, balancing of sunlight and warmer fluorescent illumination are made easily. The Single Exposure preset of the HDR technique requires several exposures to blend with the dynamic range. This trick can process several files down to single file only. The procedure mentioned can be several approaches of integrating HDR processing to real estate photography.
Author:
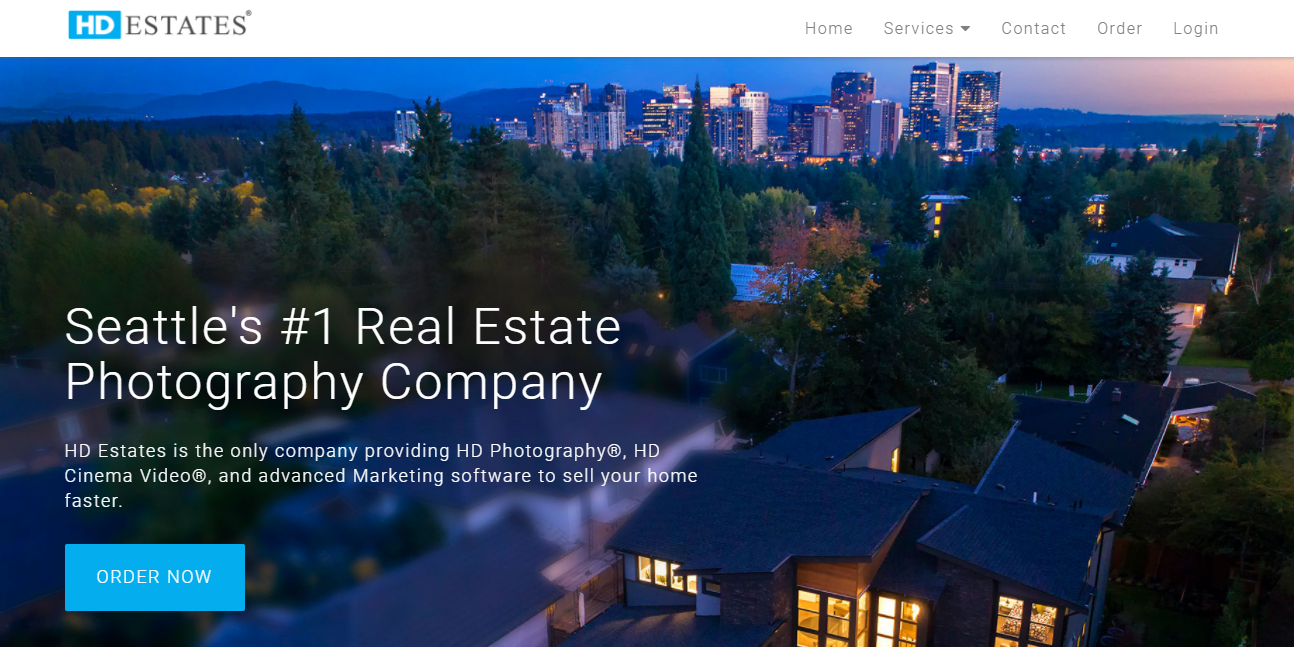
 Claire Wright, a savvy tech nerd and self-taught photographer who lives in Seattle and working at one of the best real estate photography companies called HD Estates.
 Claire Wright, a savvy tech nerd and self-taught photographer who lives in Seattle and working at one of the best real estate photography companies called HD Estates.