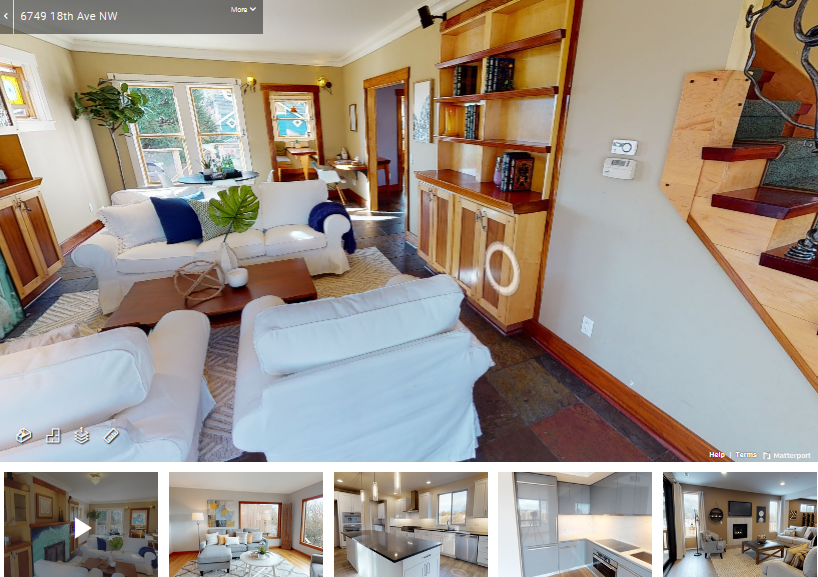
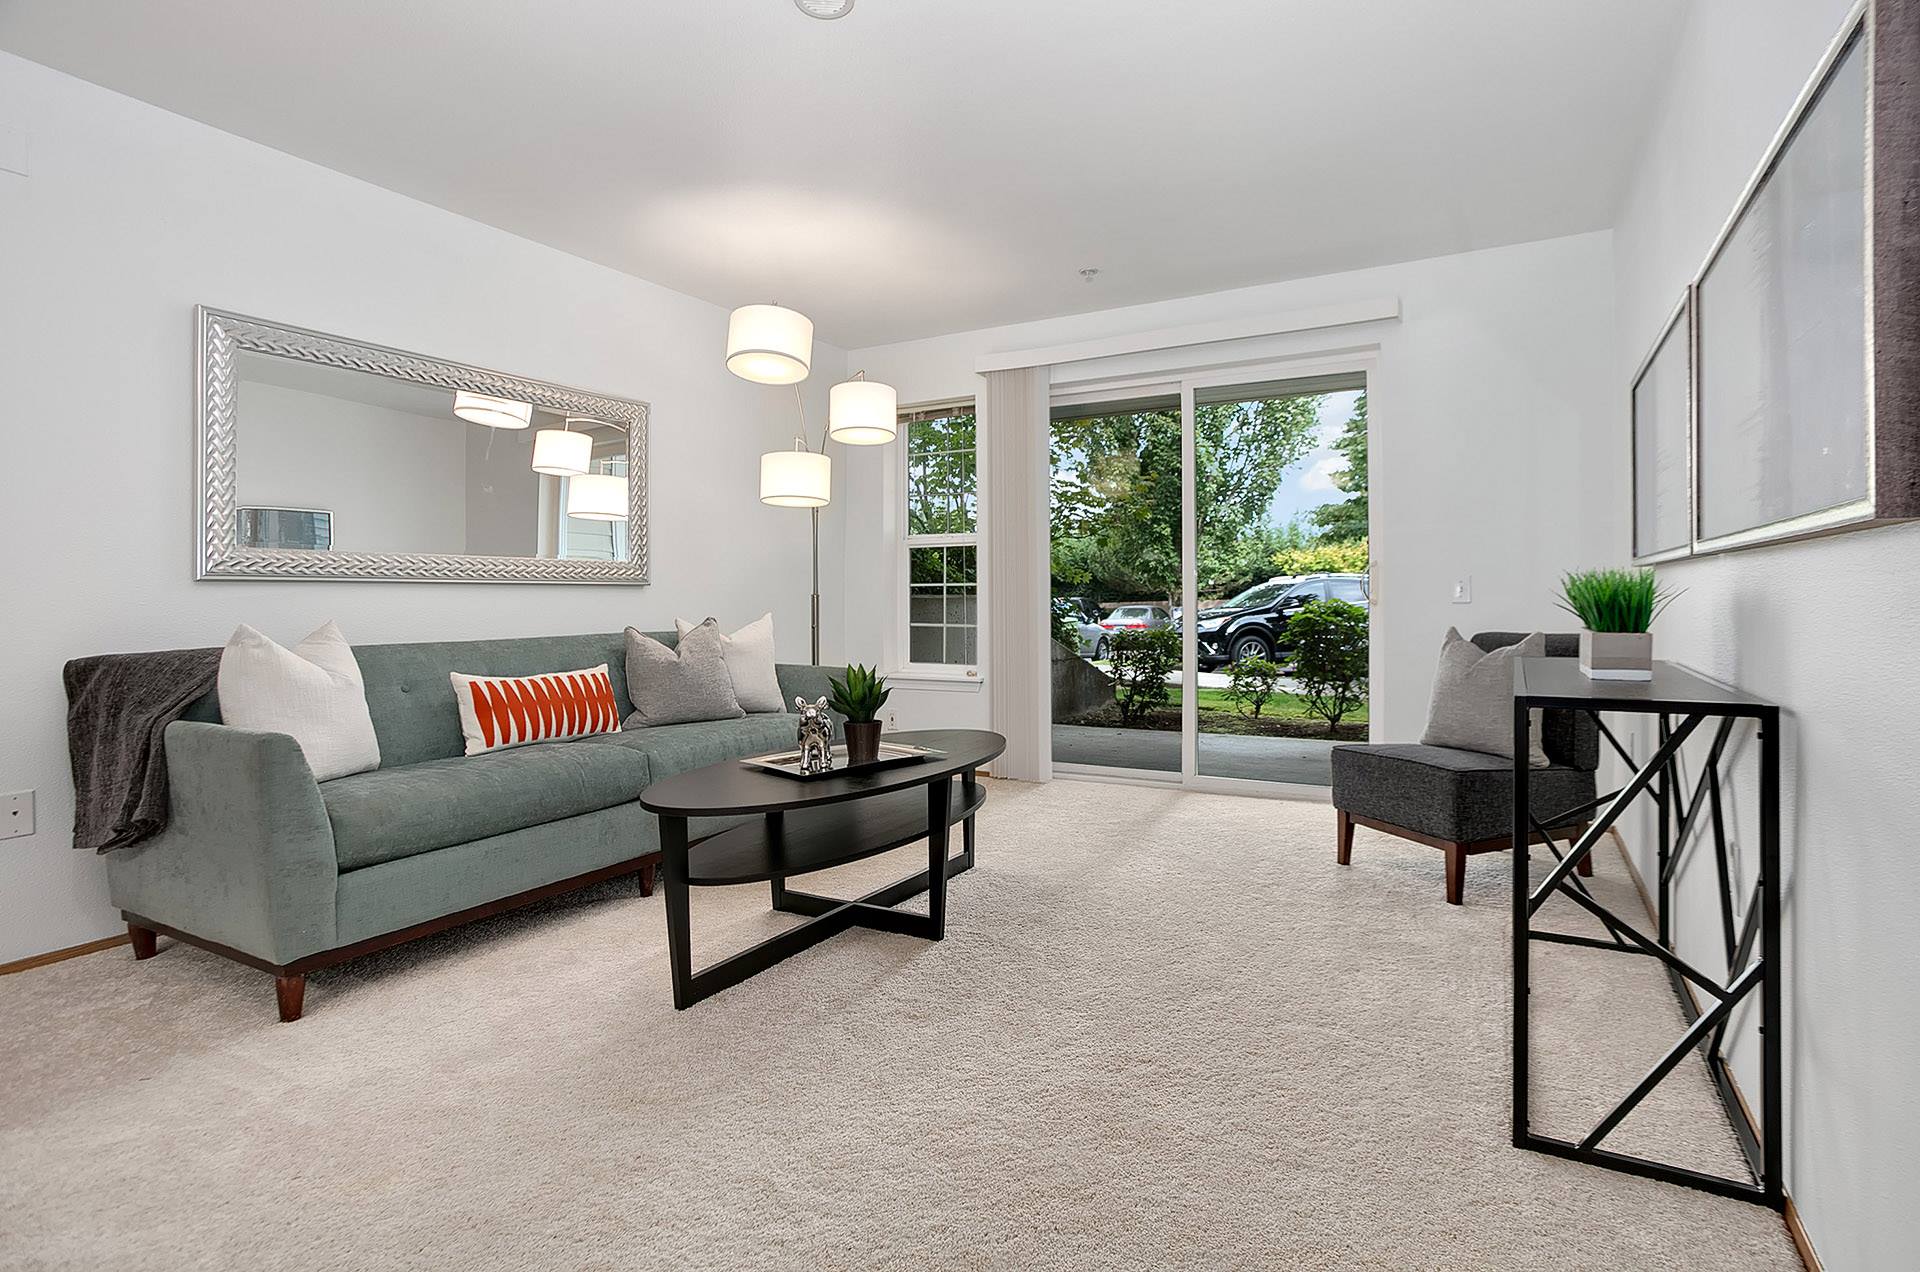
The 3D Matterport Tours captures the whole property in a 3D video, enabling you to see the entire place even without visiting physically. It makes everything realistic by letting people immerse themselves on a virtual reality show. What’s more, it is more convenient for your potential buyers to see the full property’s features without leaving the comfort of their homes.
Learn More about 3D Matterport Tours
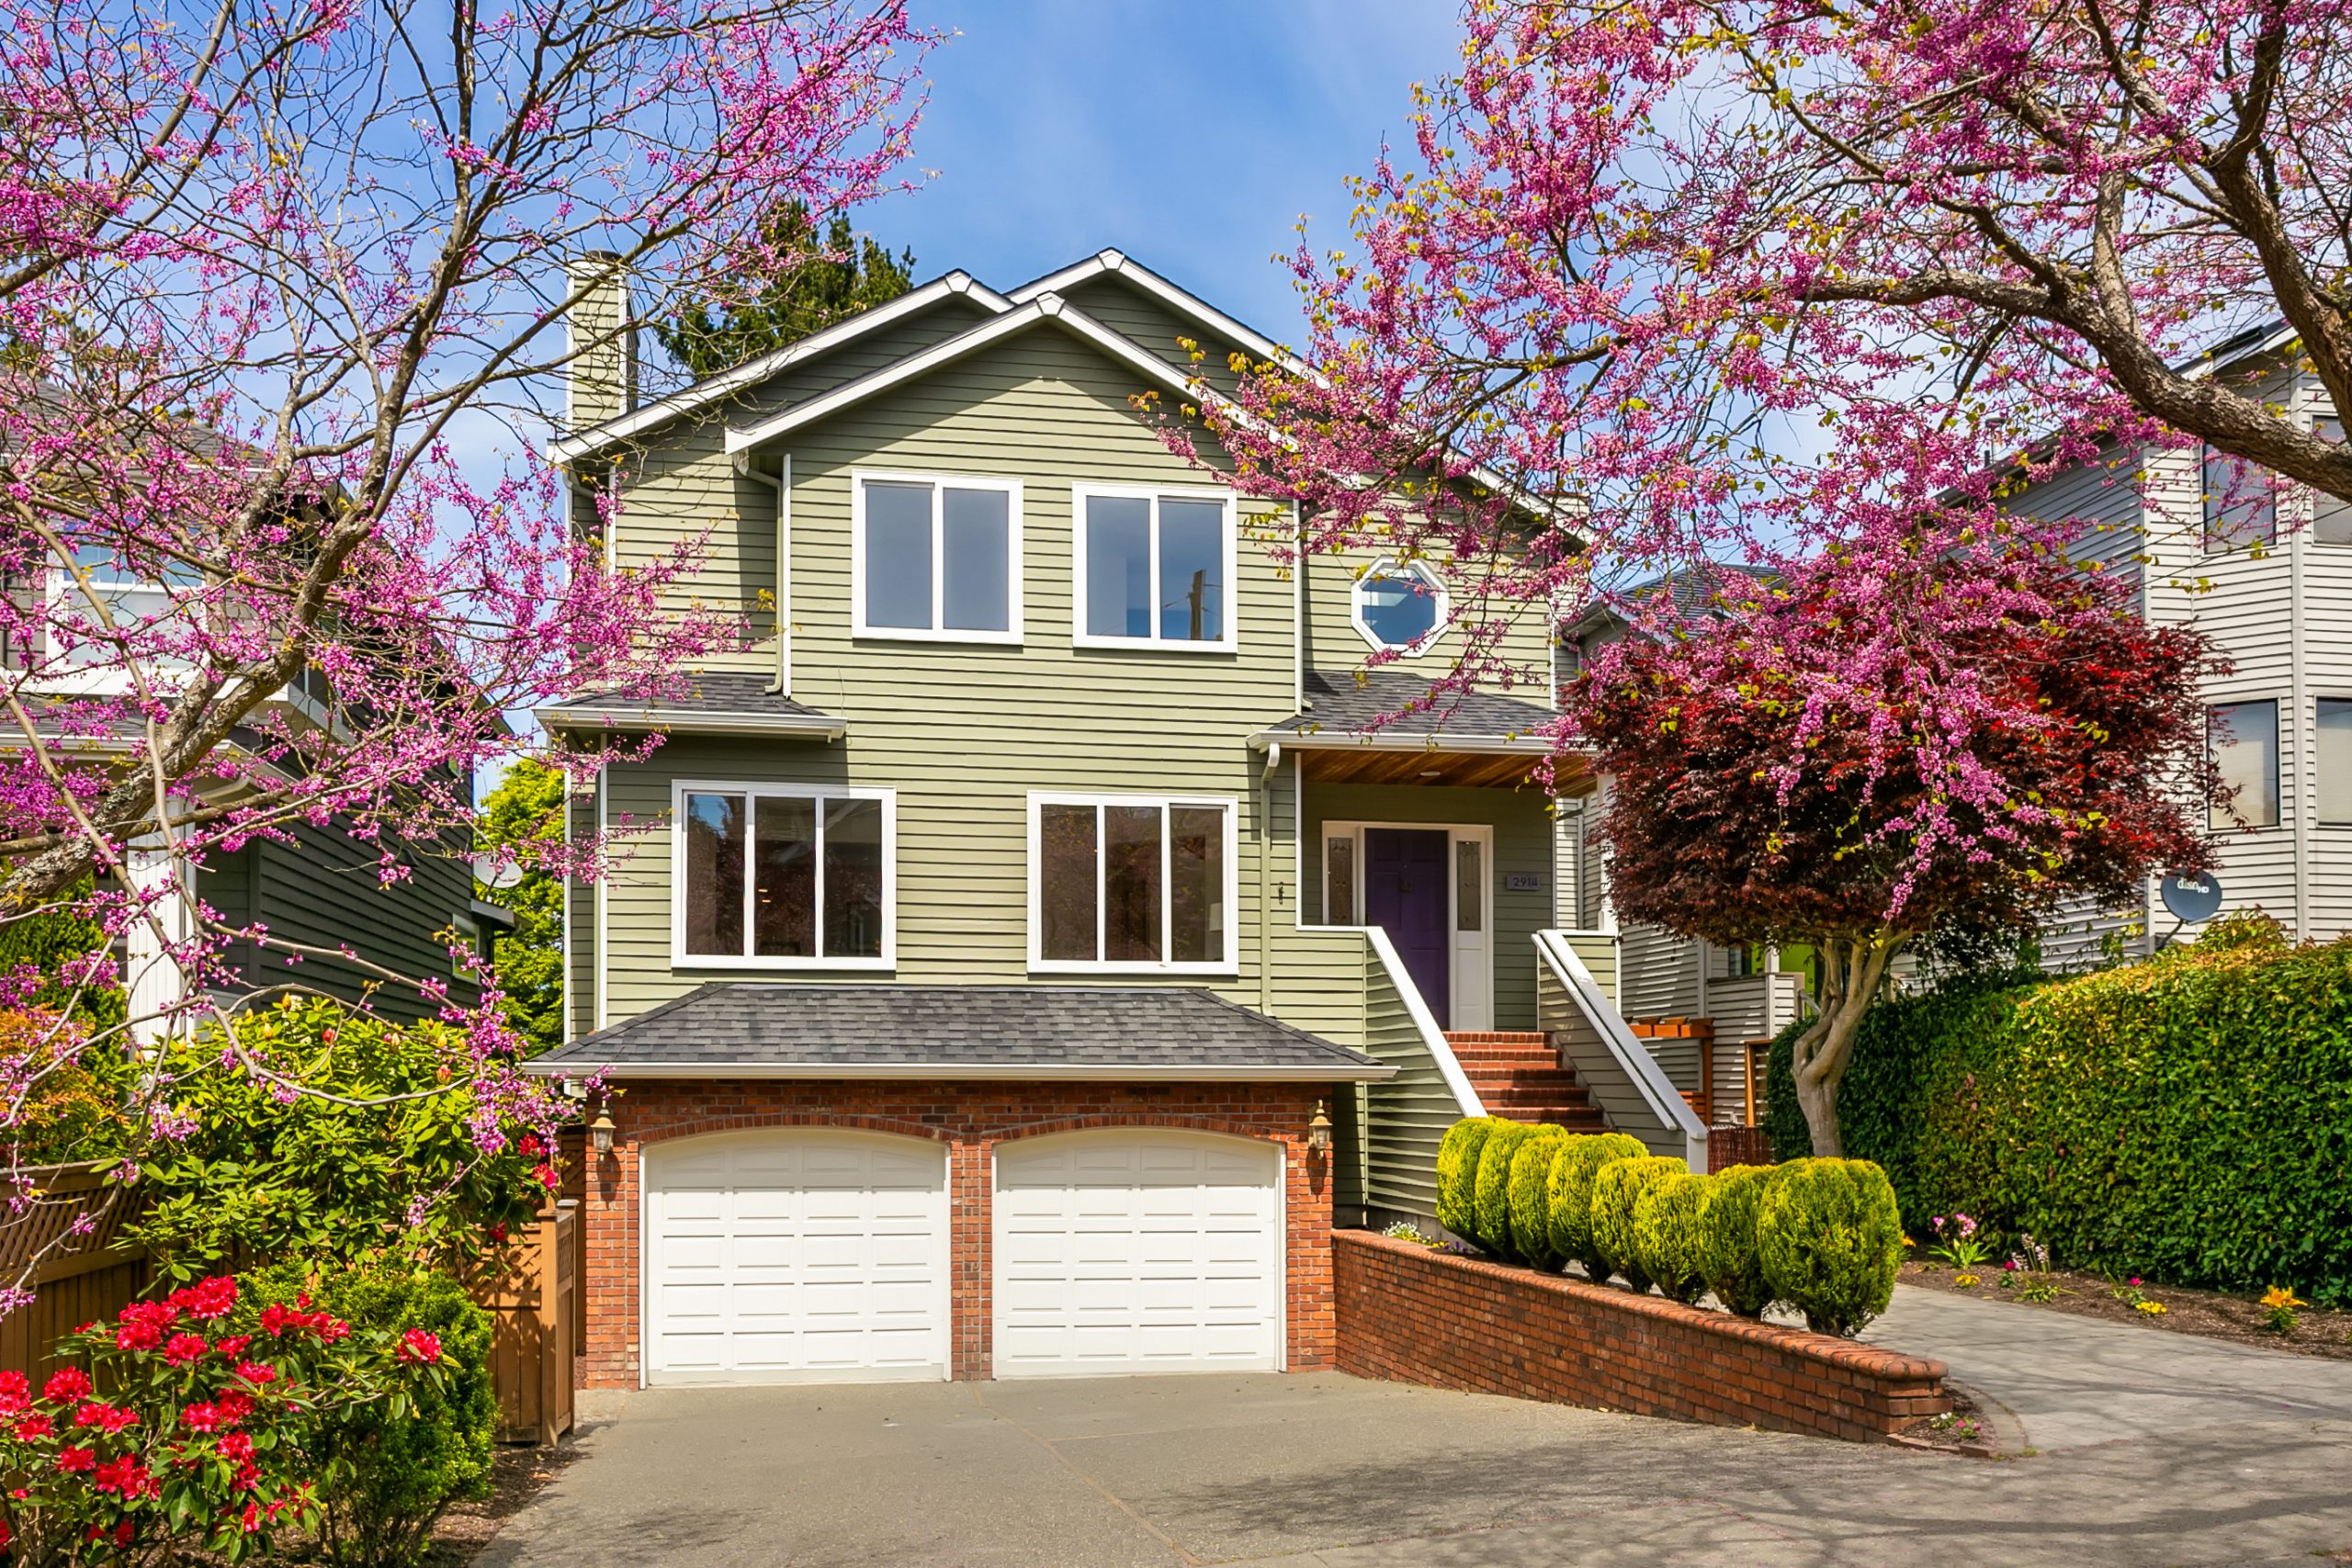
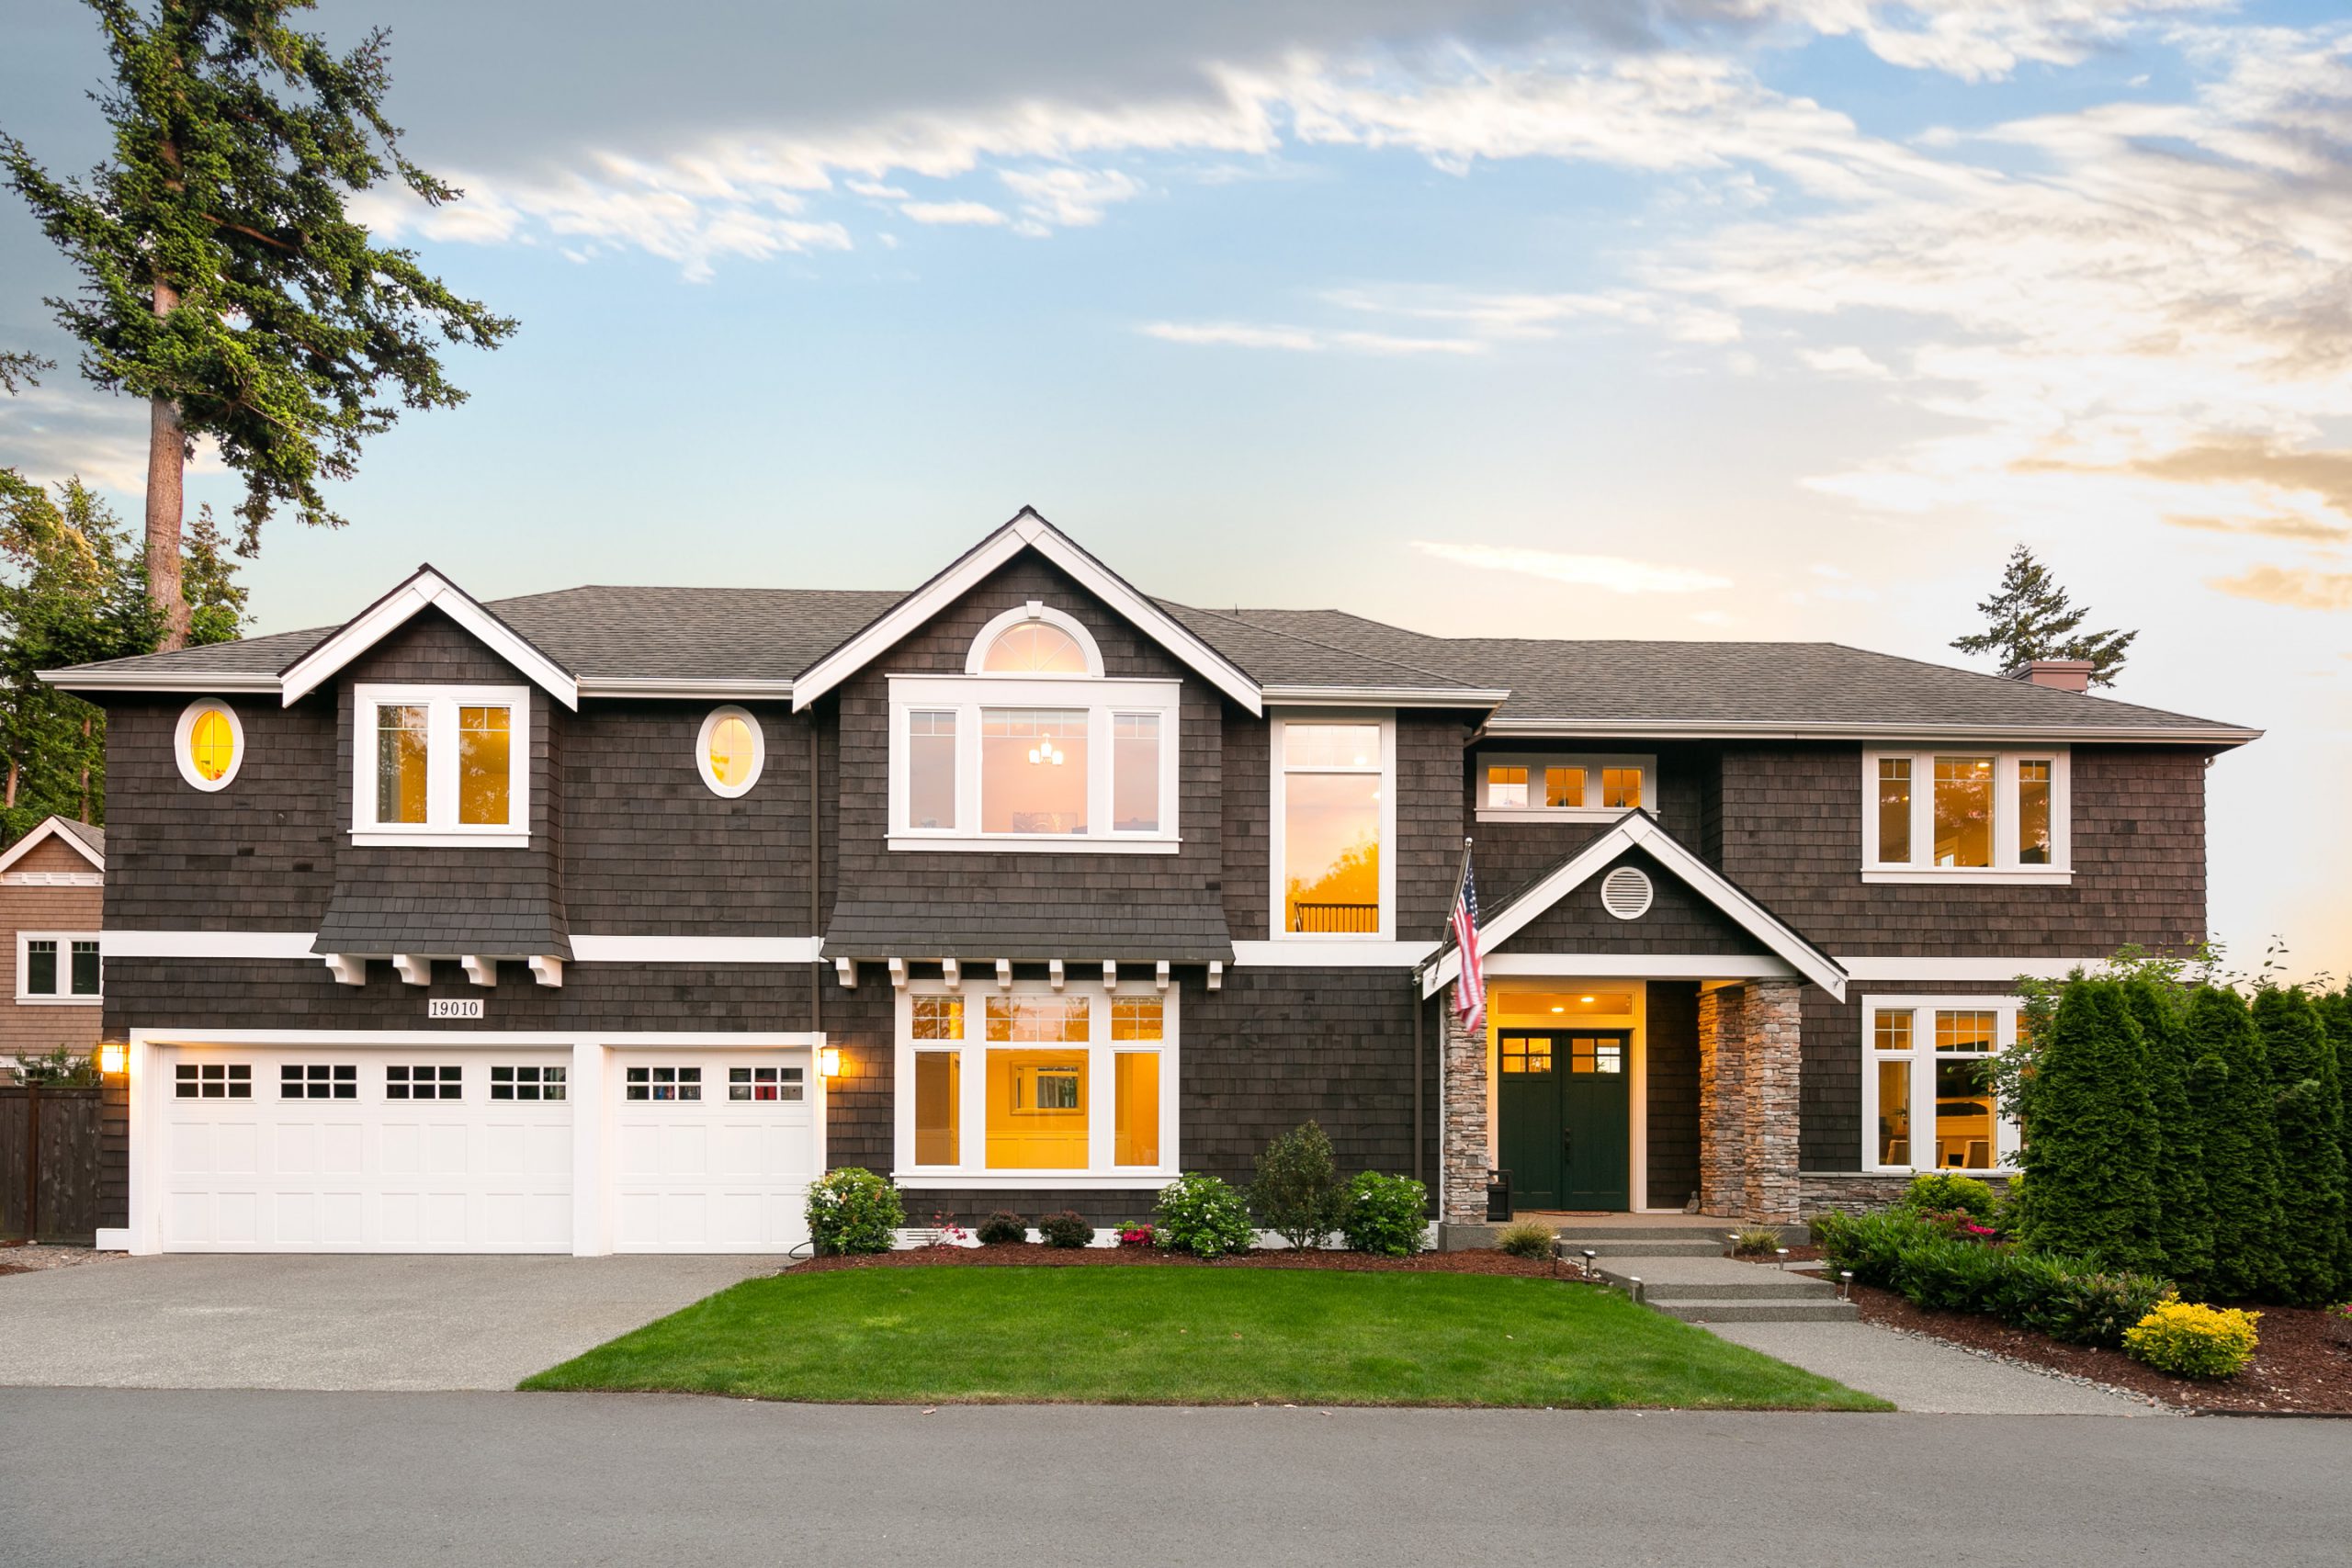
Gone were the days where physical tours were the only way to view properties and their overall features. We are now in the modern times, which make things almost everything possible. As time aged, the technology also skyrocketed their potentials.
 According to NAR, 50% of their respondent who used the internet to search for real estate properties mentioned that they found pictures beneficial to meet their needs. But 89% agreed that virtual reality tours caught their attention better.
When you start to use 3D Matterport videos, it leads to more potential buyers. Also, some of the clients come from different countries, which makes it impossible for them to visit the property physically. Most of them look for vacation houses they can look forward to on their vacation leave. So, the only way to see the whole picture is through 3D presentations.
Many real estate agents, brokers, and realtors are using this method. Once you scroll through their Youtube videos and Facebook pages, you’ll see how it is beneficial for them to use virtual reality video tours for their customers or potential clients.
Of course, it’s not only about the convenience of using this type of real estate visiting. Matterport’s system proved to be accurate for its measurement. Therefore, miscalculation rarely happens. On the real estate agent’s end, studies showed that they get more leads through dynamic visual content. This includes 3D pictures and 3D videos.
On the other hand, more people depend on the internet, including when searching for homes. What’s more surprising is that many younger individuals are the most likely potential buyers.
The Real Cost Behind Matterport Tours
One thing you might love about this type of tour is that it’s not too costly. Besides, touring your clients could cost you time, effort, and even money. So, using the Matterport Tour isn’t too much of a big deal. In terms of prices, it truly depends on the subscription you want to purchase. On their website, you’ll see the complete details.
You can try it for free if you want to try a trial. In this subscription, you will have one active model. However, take note that you can upload the model you created with Leica BLK360, Matterport Pro2 3D Camera, and Matterport Pro 3D Camera. It is also the same as the Starter Plans. Another limit is that you can’t transfer the 3D models of real estate property to other accounts.
That’s why, if you are planning to use the Matterport Tours for your business, you can choose from Professional, Professional Plus, Business, and Business Plus Subscription.
With the professional account, the monthly payment is $69, and annually is $708 for 25 active models. Another one is Professional Plus, which is $129 monthly, while $1320 yearly. You’ll get double than the first one.
So, let’s go to business plans. If you run a real estate business and you want to create more 3D Matterport Models, you need to pay $309 for monthly and $3228 annually for 100 active models. The last one – and the most expensive one – the Business Plan, the monthly payment would be $689, while the yearly plan is $7188. You’ll get 250 active models for your real estate property virtual reality videos.

If you are wondering whether paying for Matterport Tour is worth it or not, the answer is – yes, it’s totally worth it. Besides, it would be an excellent investment for 403% potential leads.
Now, you might be wondering about the price of Matterport 3D 360 Camera. Well, that’s what we’re going to talk about in the next one.
How Much are The Matterport 3D 360 Cameras?
Now, you might be genuinely interested in using Matterport 3D on your visual presentations. If you are saving for it, then it’s a good time to read about the prices of the services and products you need.
When you’re just starting, you can go with the Iphone camera. But remember that it has limited access. That’s why it is only suitable for starters. The other one is the 360 Cameras that you can purchase from third-parties. Starting with its price of $400, you can scan the property’s small spaces. Moreover, it has excellent accuracy and resolution.
The Matterport company presents Pro2 3D. Amazingly, it comes with excellent features for better video captures. Remember that this camera only works with the Professional and Business Plans. So, if you currently have a free account, you might want to upgrade to use this one. Its price starts with $3,395 with promising functionalities and high-quality videos.
Furthermore, the Pro2 3D can capture 4k photography without limit. What’s more, you can capture photos and videos in a long period with its long battery life.
The most expensive camera is the Leica BLK360 that you can find from third parties. Incredibly, its price starts from $18,000. If you want to scan and capture outdoor spaces and large vicinities, this one could be the perfect one for you.
Marketing Solution for Your Matterport 3D Tours Project
If you couldn’t afford all the material you need for your Matterport 3D Tour videos, you don’t have to worry. HD Estates company is one of the most sought-for marketing solutions to present innovative and high-quality presentations. In return, you could earn more and reach your highest potential profit.
When it comes to real estate, you need to keep pace with the newest technology available. As you get more immersed with the latest marketing techniques, the results would amaze you – the way you’ve never imagined before.
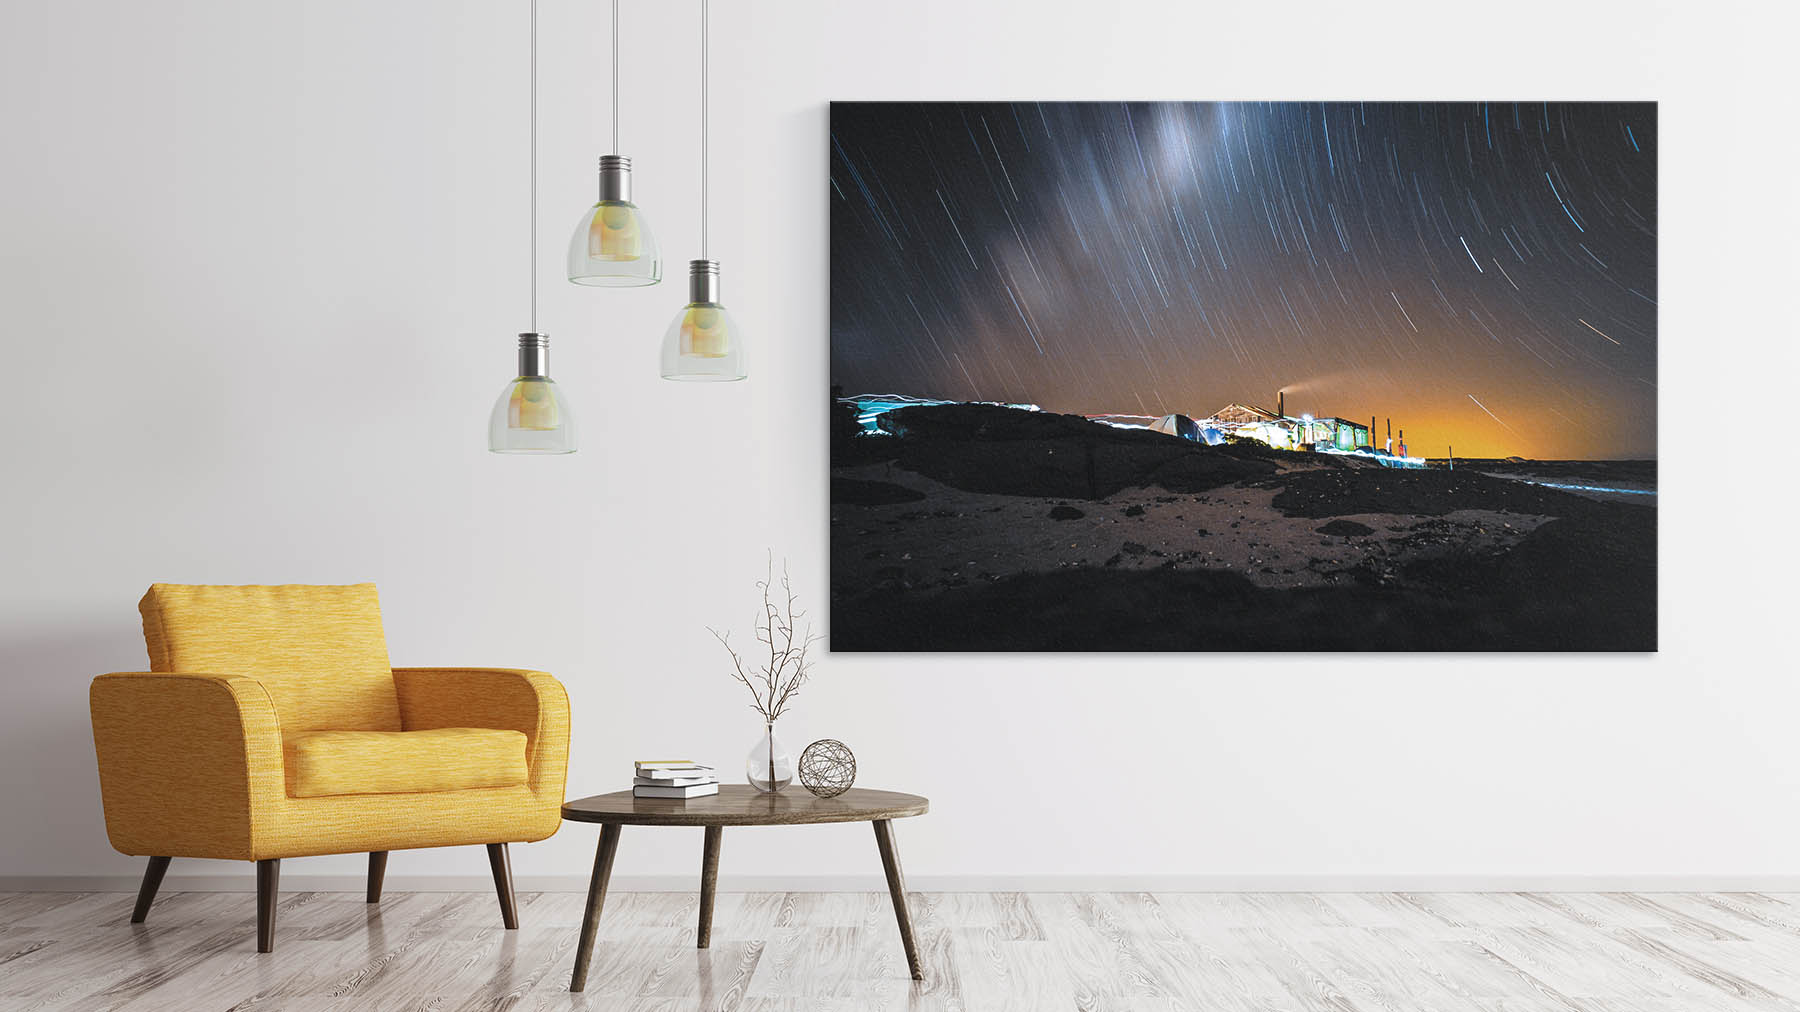
 Lighting plays a massive role in real estate photography. The placement and the type of lighting used should always blend properly with other elements such as color selection, size, and arrangement of furniture to transform a room that is photograph-ready. On the outside, most exterior lightings come naturally with the direct light from the sun.


 Maybe you’re into Adobe Lightroom presets but you don’t know how to import them in the Lightroom or at least put them in a folder. This is a tutorial about the simple ways on how to install presets on Adobe Lightroom or organize them in folders to set little themes and import them into the program for future use.


 Real estate photo retouching is one of the most common tasks to be done when it comes to property image enhancement. To make photo retouching using Adobe Photoshop CC, it is important to have this application downloaded to your PC or Mac. Editing and previewing of Canvas should be done first for the blank page to show up.