For some, taking videos seems to be an easy thing to do. Naturally, it is, especially for the usual videos you want to have for personal use.
But when it comes to real estate videography, everything is different. There are several things to consider and observe to make the clip look appealing and attention-worthy.
In the past years, the real estate industry has been driven by the constant demand for good photographs and videos. Hence, there is no doubt that real estate videography has unleashed its power in driving buyer’s engagement and interest in buying a property.
If you want to get the best results, try incorporating the following basic rules:
- Pay attention to time shooting.
- Secure the best lighting
- Depersonalize the space by making sure you declutter the property well
Above all, you need to learn and understand the most successful techniques in producing a real estate video. Among these are the following expert tips:
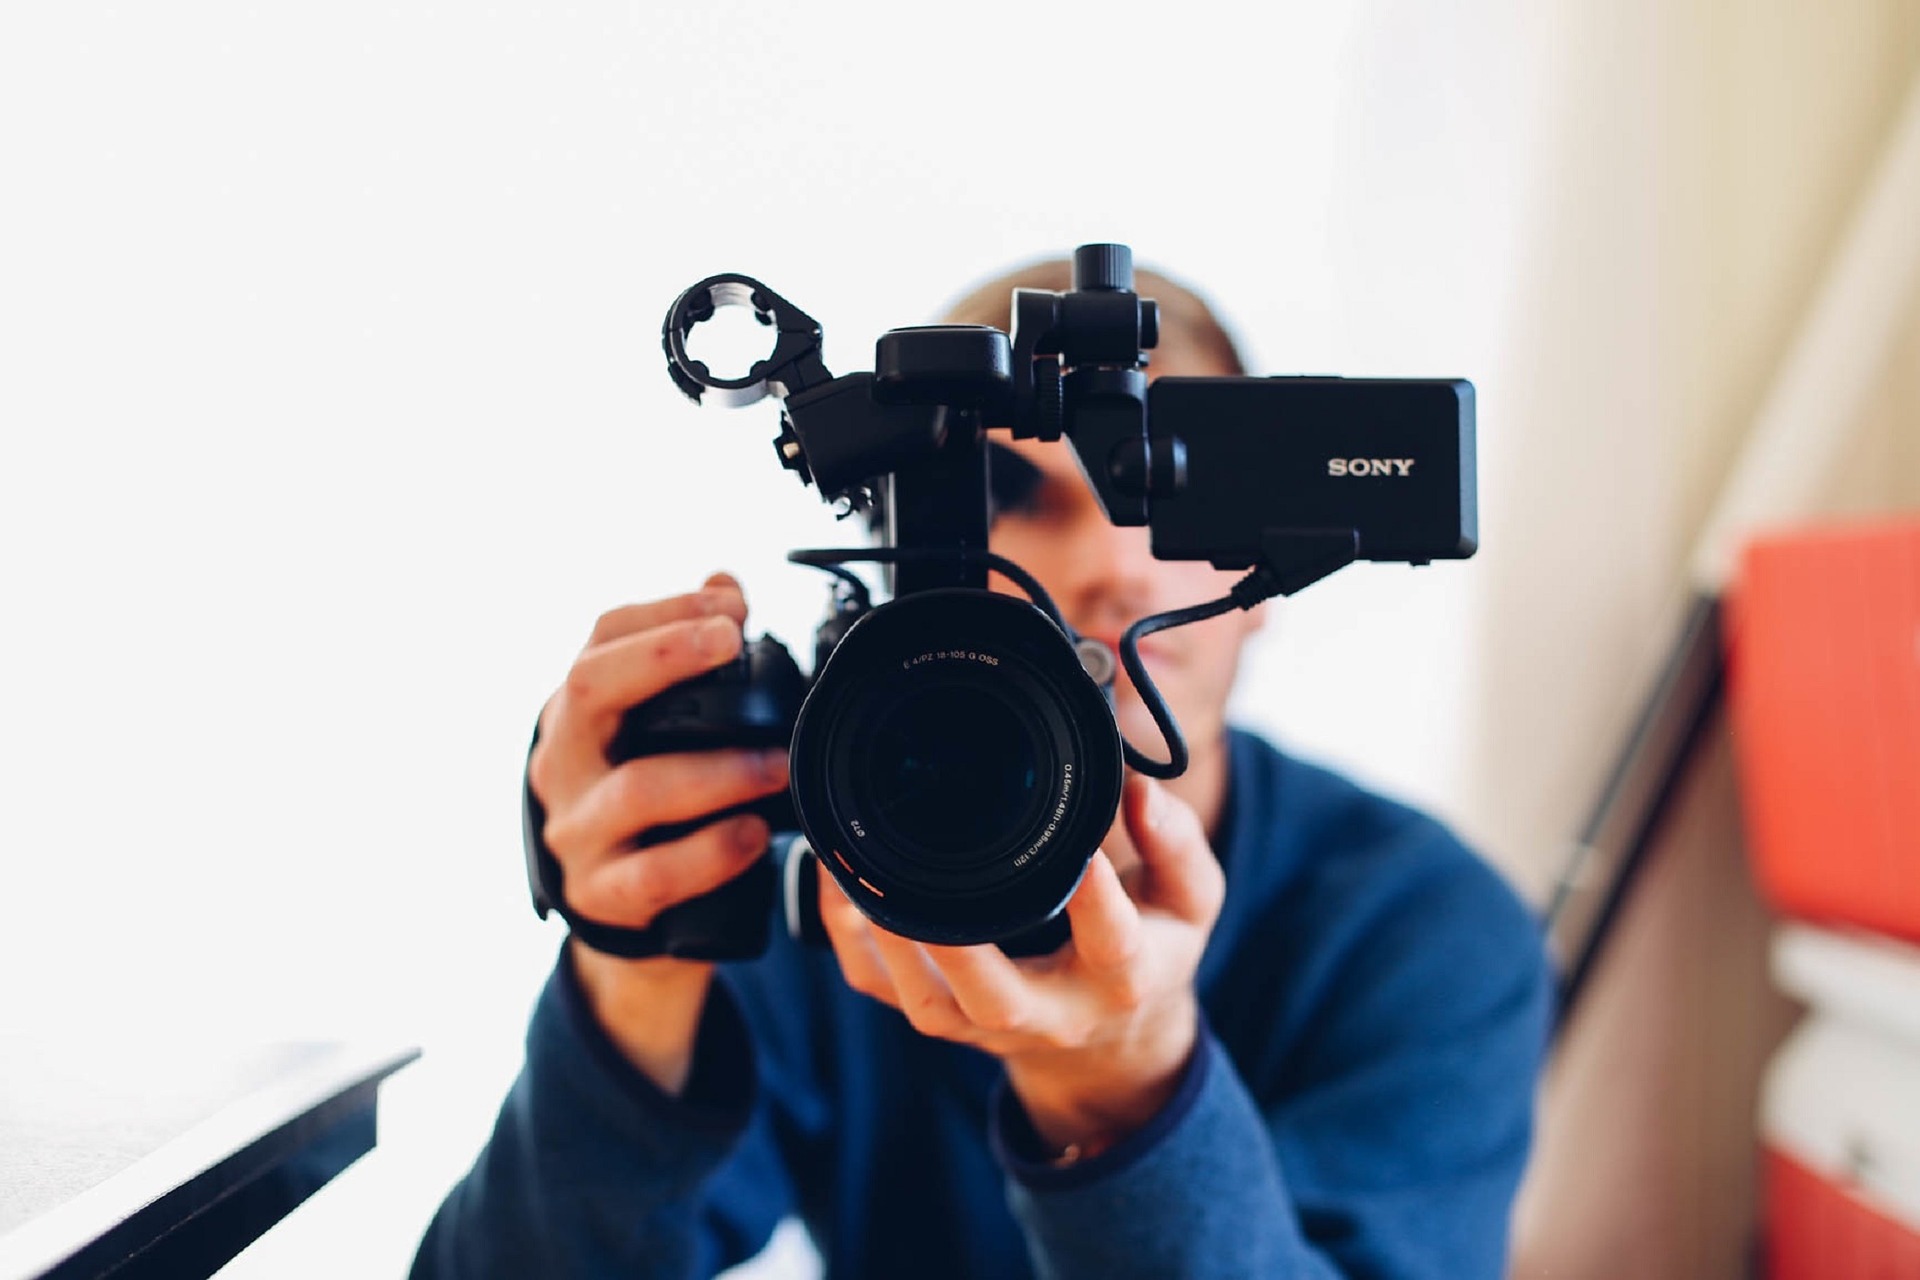
Choose the Perfect Video Equipment
Just like taking photos, your video should also be compelling enough to add value to your listings. You can only do this when you have the perfect camera to do the work.
A full-frame DSLR camera is a perfect choice because it allows light to travel through a lens and a mirror. This makes it more sensitive and produces high-quality videos.
Moreover, consider the type of lens to use. The most preferred ones are the less distorted lenses, usually 17–40 mm or 16–35 mm wide.
If the room is small, use at least a 15 mm lens or higher. Doing this gives less distortion and noise in the final images.
Check the Camera Settings
Again, having the skills to take the best videos using the perfect angles is one thing, but it is not entirely possible with skills alone. You still need the best camera settings, no matter how expert you are.
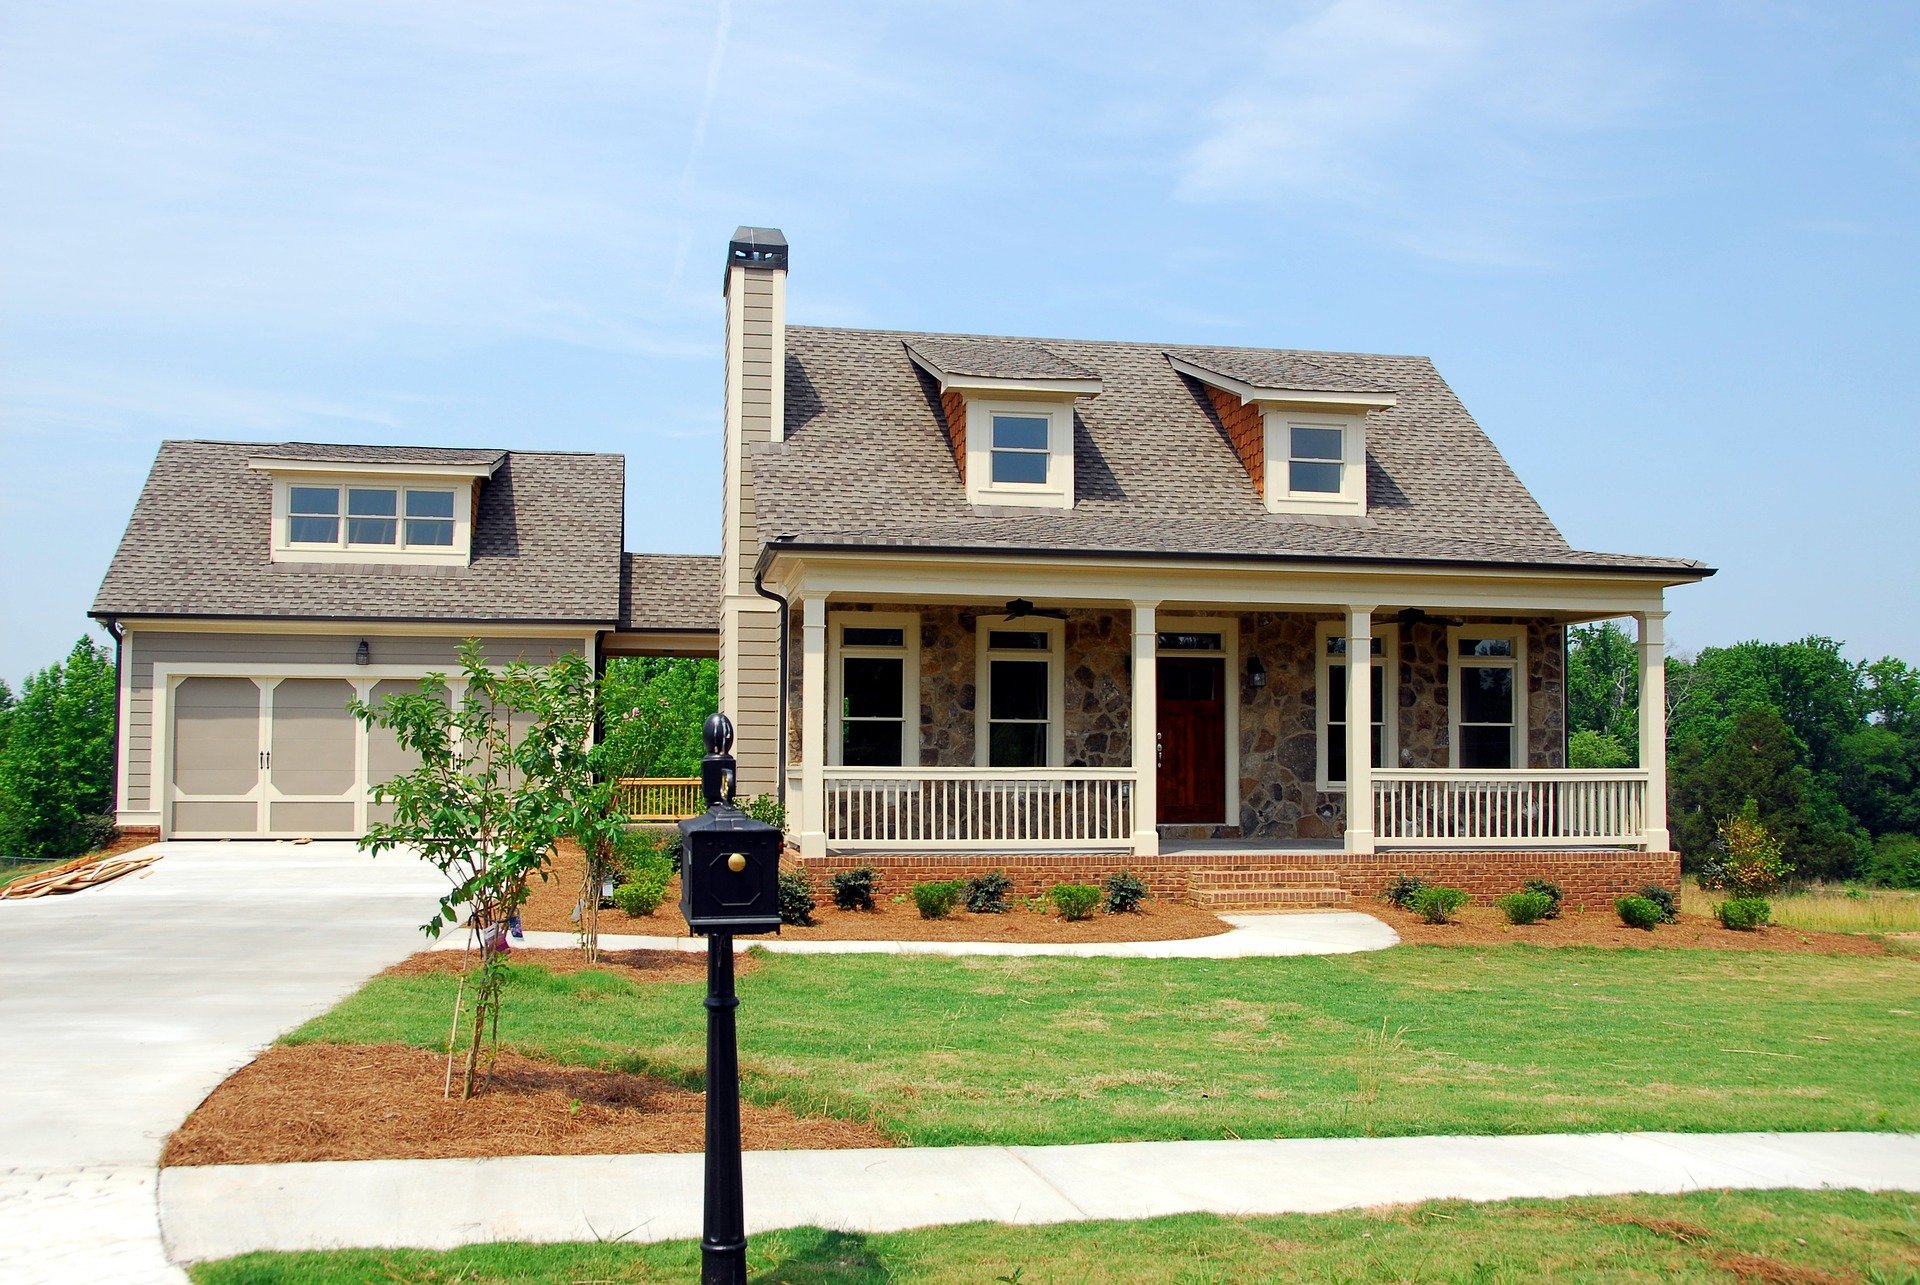
Shoot the Exterior
Remember that when shooting a property video, the exterior is as important as the interior. You need to highlight the exterior surroundings to make the whole video complete.
Most videographers who have drones can do this easily, but if you do not have one, then do not lose hope. You can still capture that classic video using your existing camera.
You just need to master how to create that cinematic exterior video by presenting it with wide angles using a slider or a panning camera.
For example, a classic panning shot should follow a left to the right direction before having the opposite direction. It is also best to add a tilt shot and combine it with the pan shots for a more creative presentation.
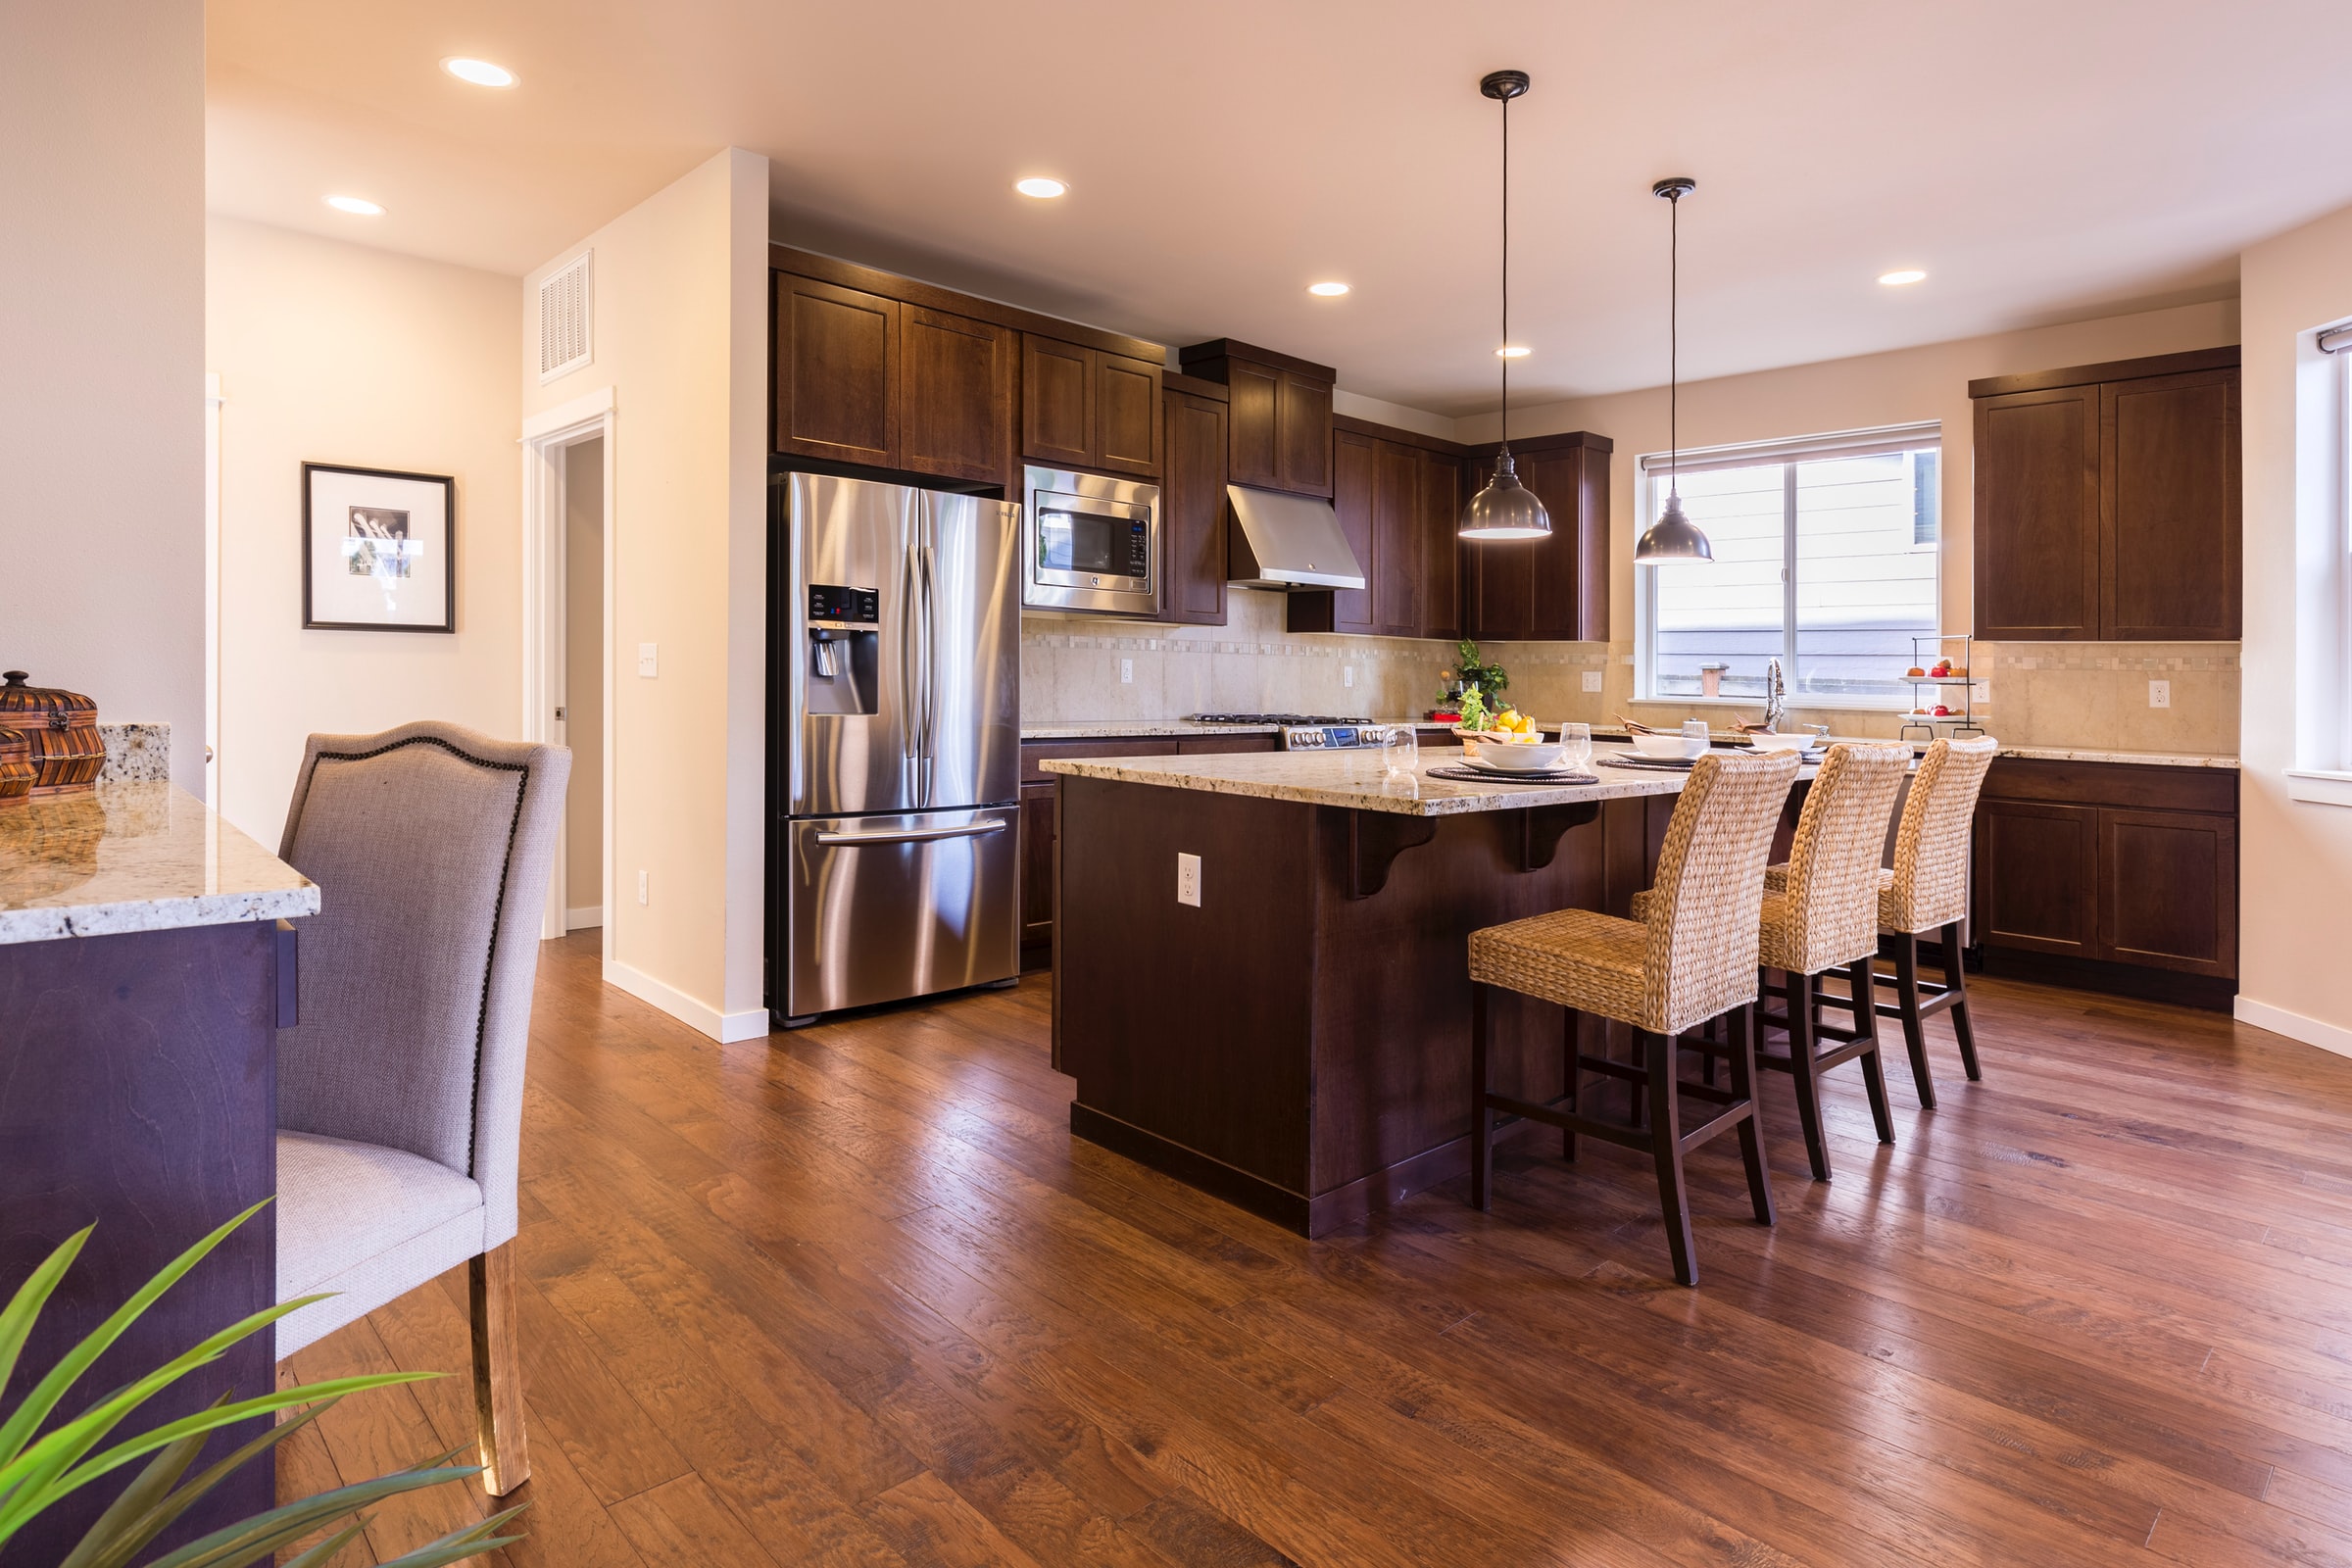
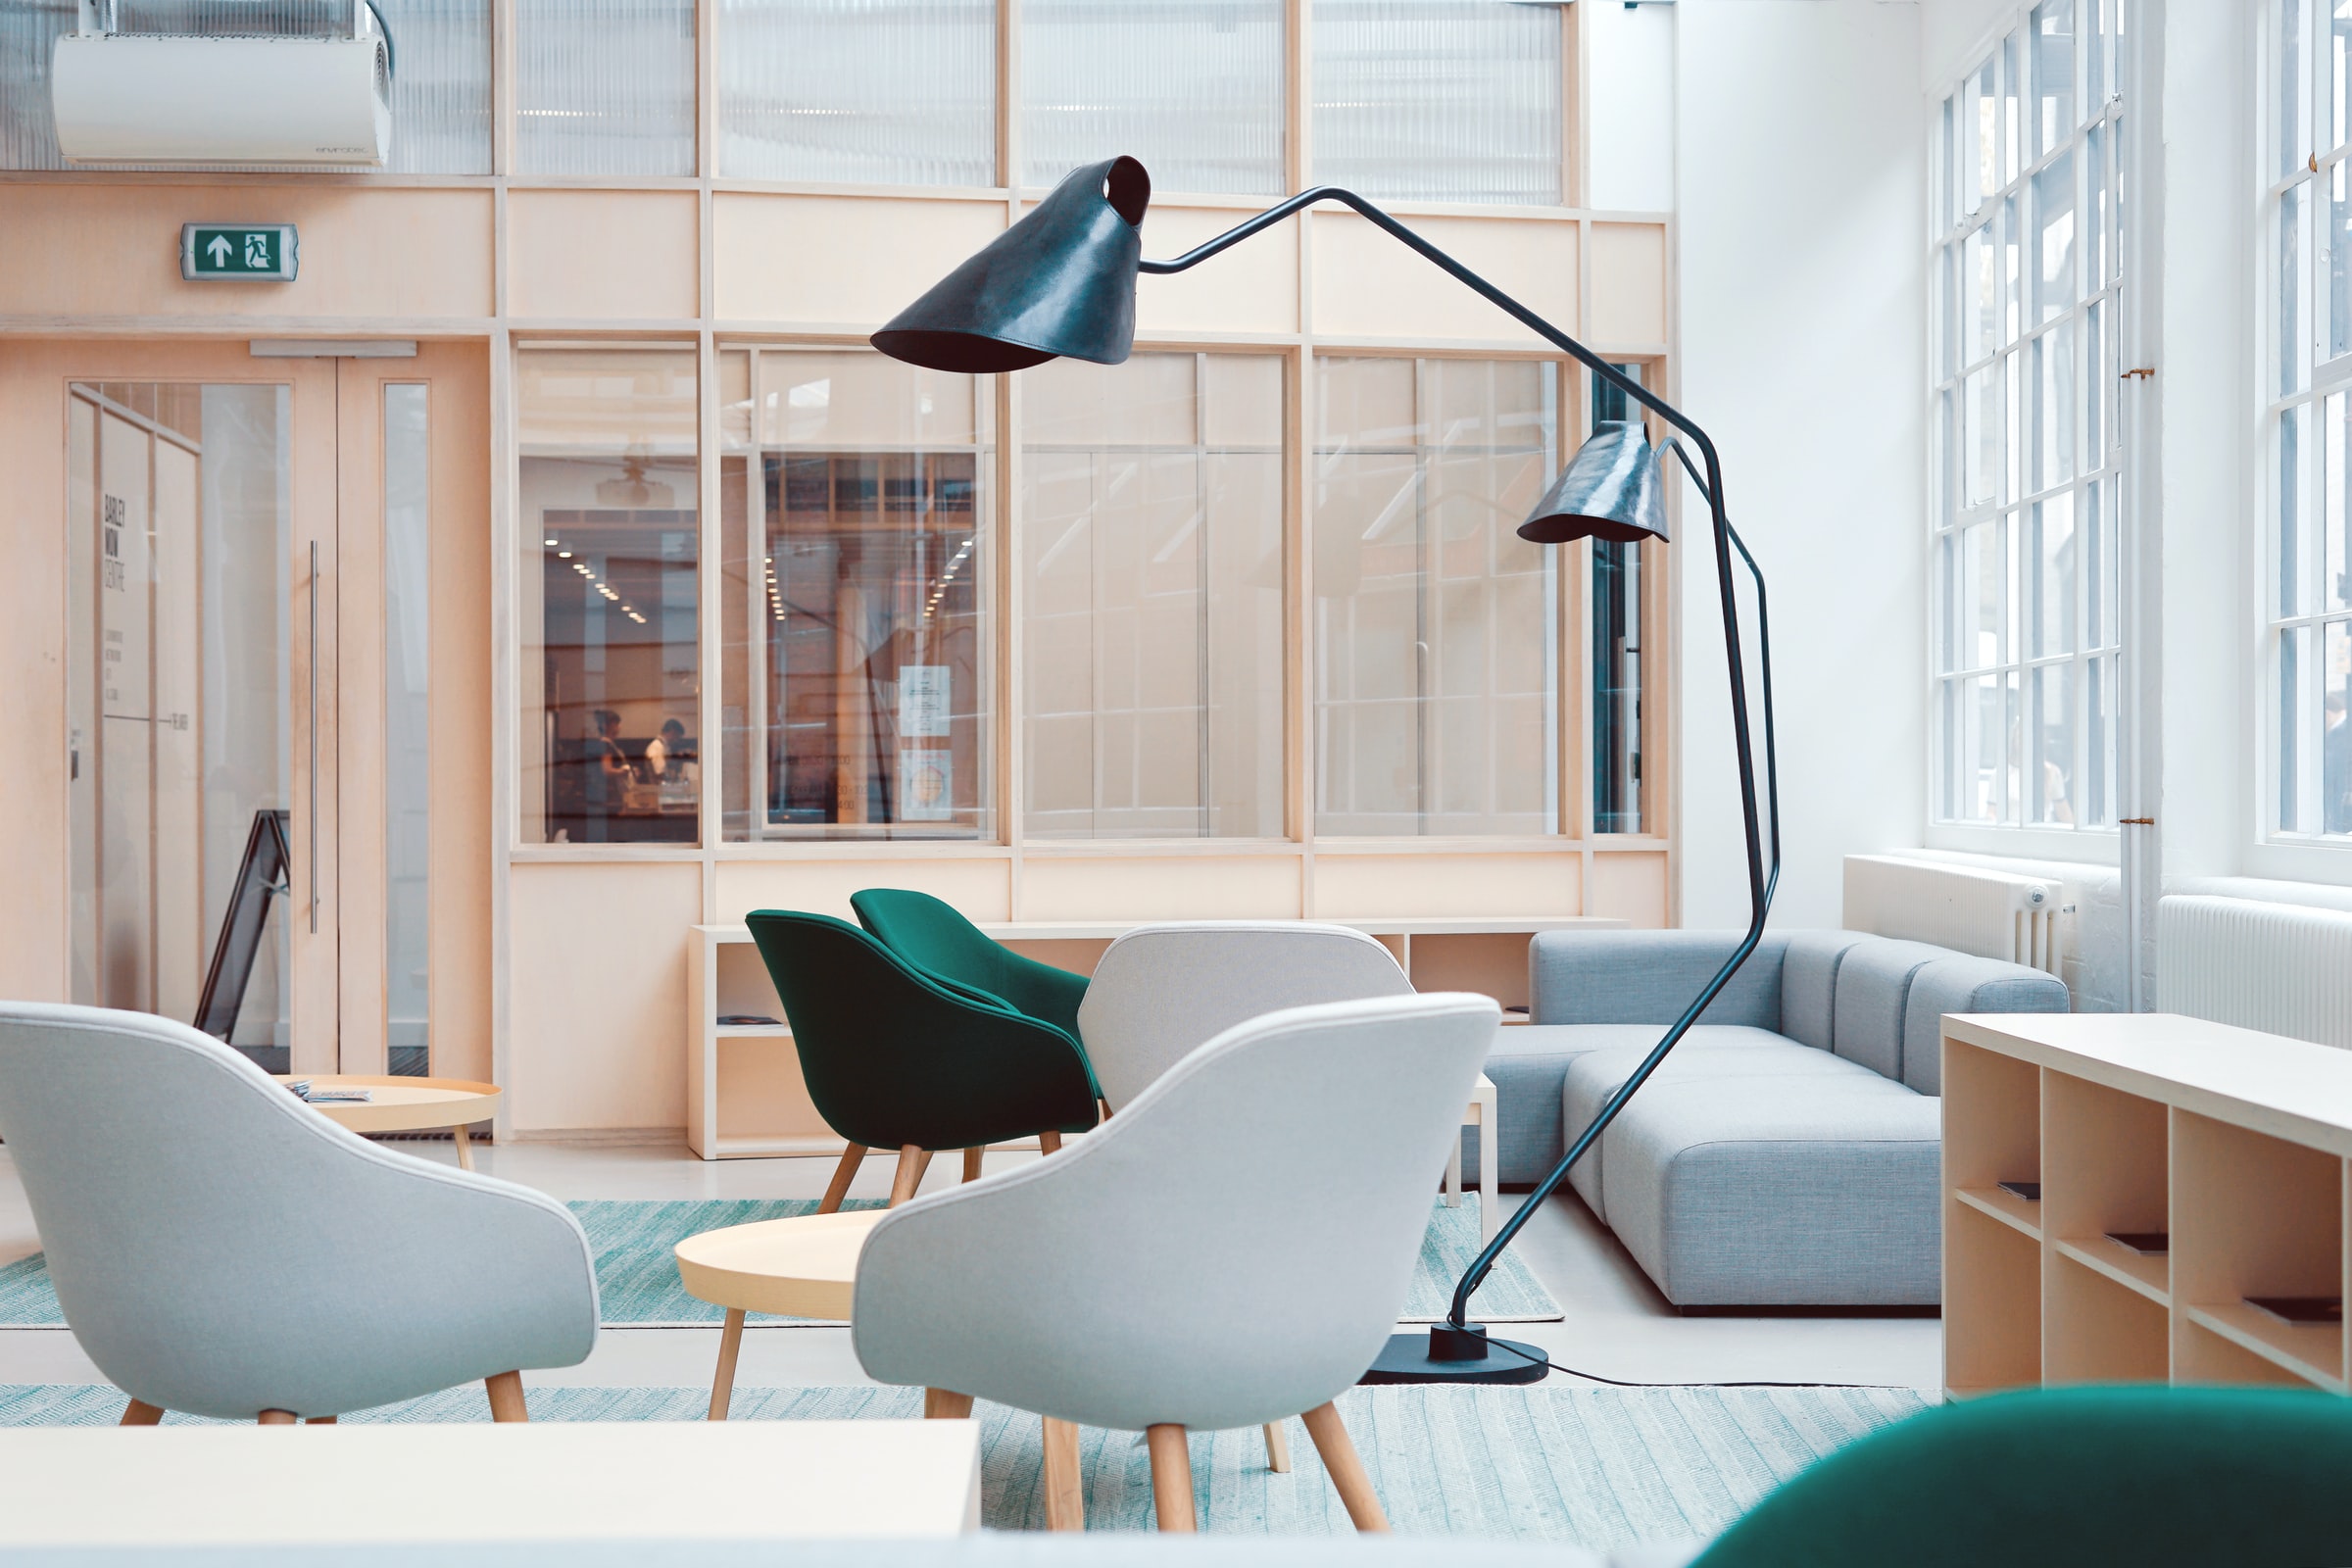
Film the Interior
After the exterior shots, it is now time to focus on the interior.
One requirement in this step is creating a visual flow that lets prospective buyers understand what the video is all about.
Most interior filming starts by facing the door, then showcasing the first “main” room that most buyers find first if they walked inside the property.
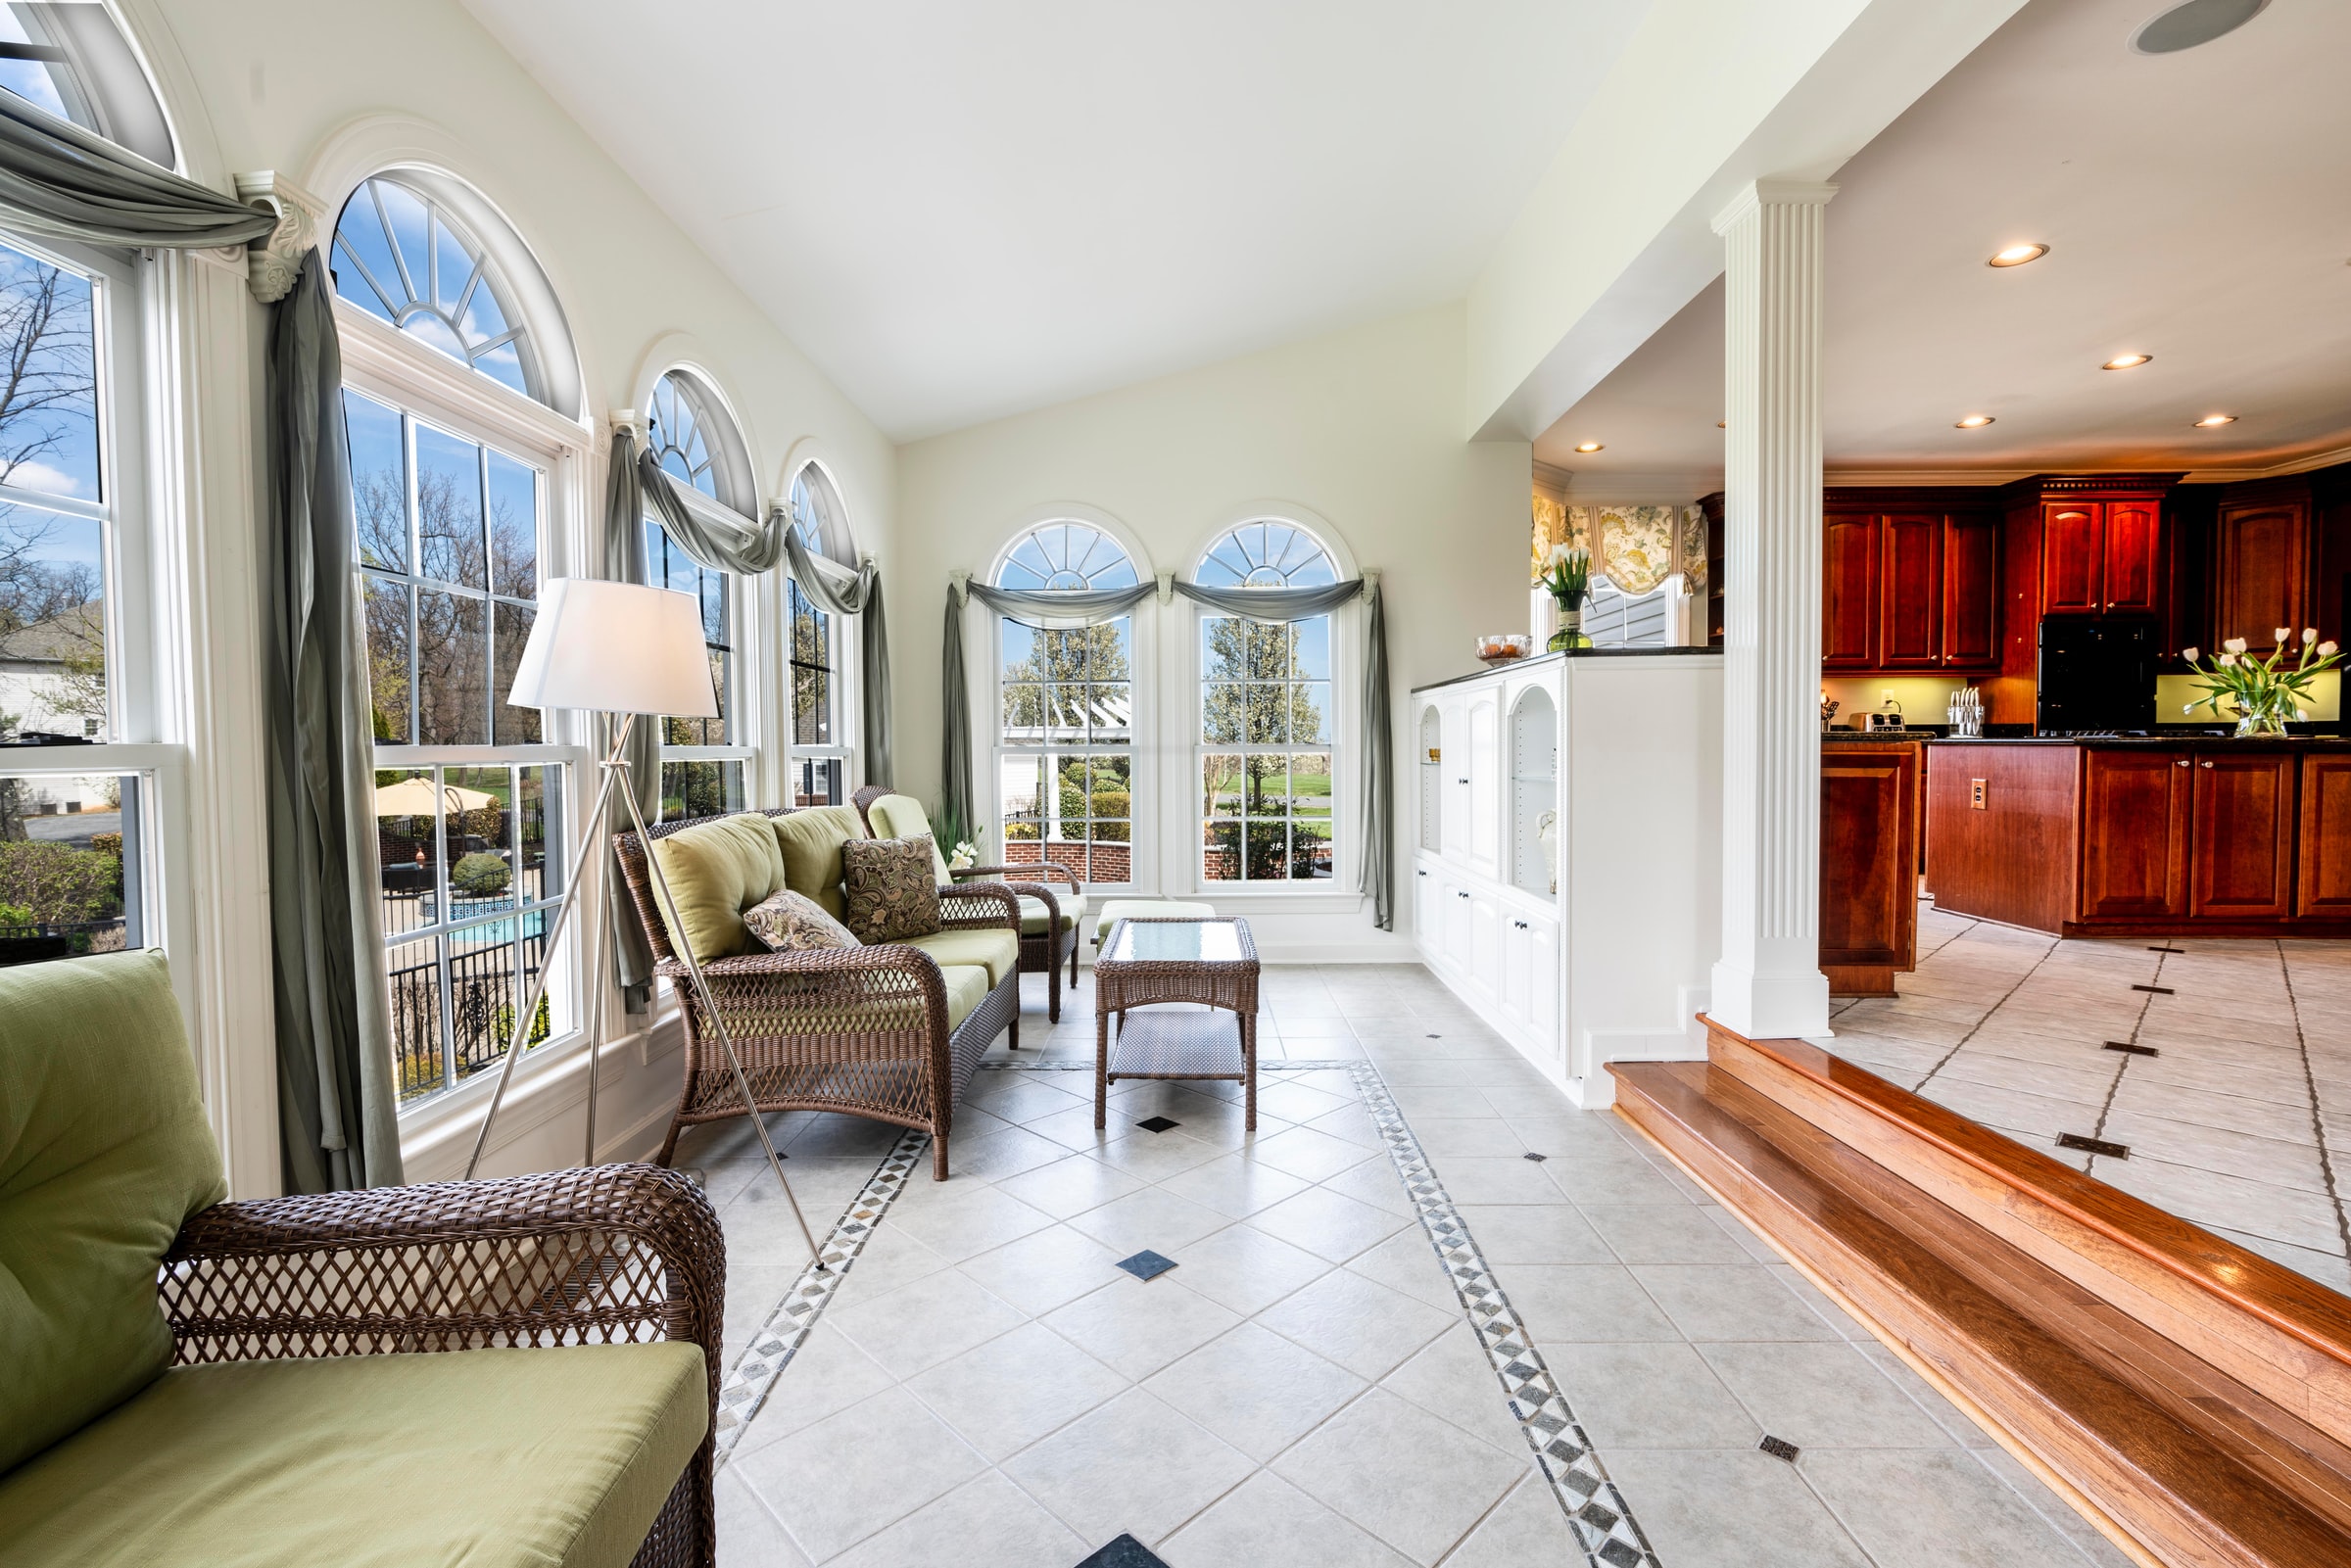
Then, head straight to the kitchen or living room as most buyers will look first into it. Next, highlight the other essential rooms on the property but ensure that the video is not too long. You should make sure that it is still short but concise.
Master Video Editing
After a tedious day of taking interior and exterior shots, it is now time to edit your video.
It is perfect if you can do this alone without a video editor, but it is best to get a professional video editor to help you; otherwise, if this is not your forte.
Such a person is undoubtedly knowledgeable in using advanced tools for video editing such as Final Cut Pro, Adobe Premiere Pro, iMovie, Wevideo, and DaVinci Resolve.
The ideal video length should not be over three minutes. Also, make sure you add appropriate music to the video so that it will not sound boring.
In the end, this article should let you become an expert in no time. Follow these steps and let us know your thoughts!