According to a report called Emerging Trends in Real Estate®2021 for the US and Canada published by PricewaterhouseCoopers (PwC), over 90% of the respondents believed that companies would continue to allow remote work-from-home setups for employees in the future. The work-from-home trend boosted the demand for homes outside of urban and industrialized areas.
Employees have relocated to rural areas or the suburbs due to social distancing protocols. The 2021 market movement has increased the demand for outdoor real estate photography as more people are looking for permanent dwellings. Listing photographs have become competitive with most real estate deals happening online.
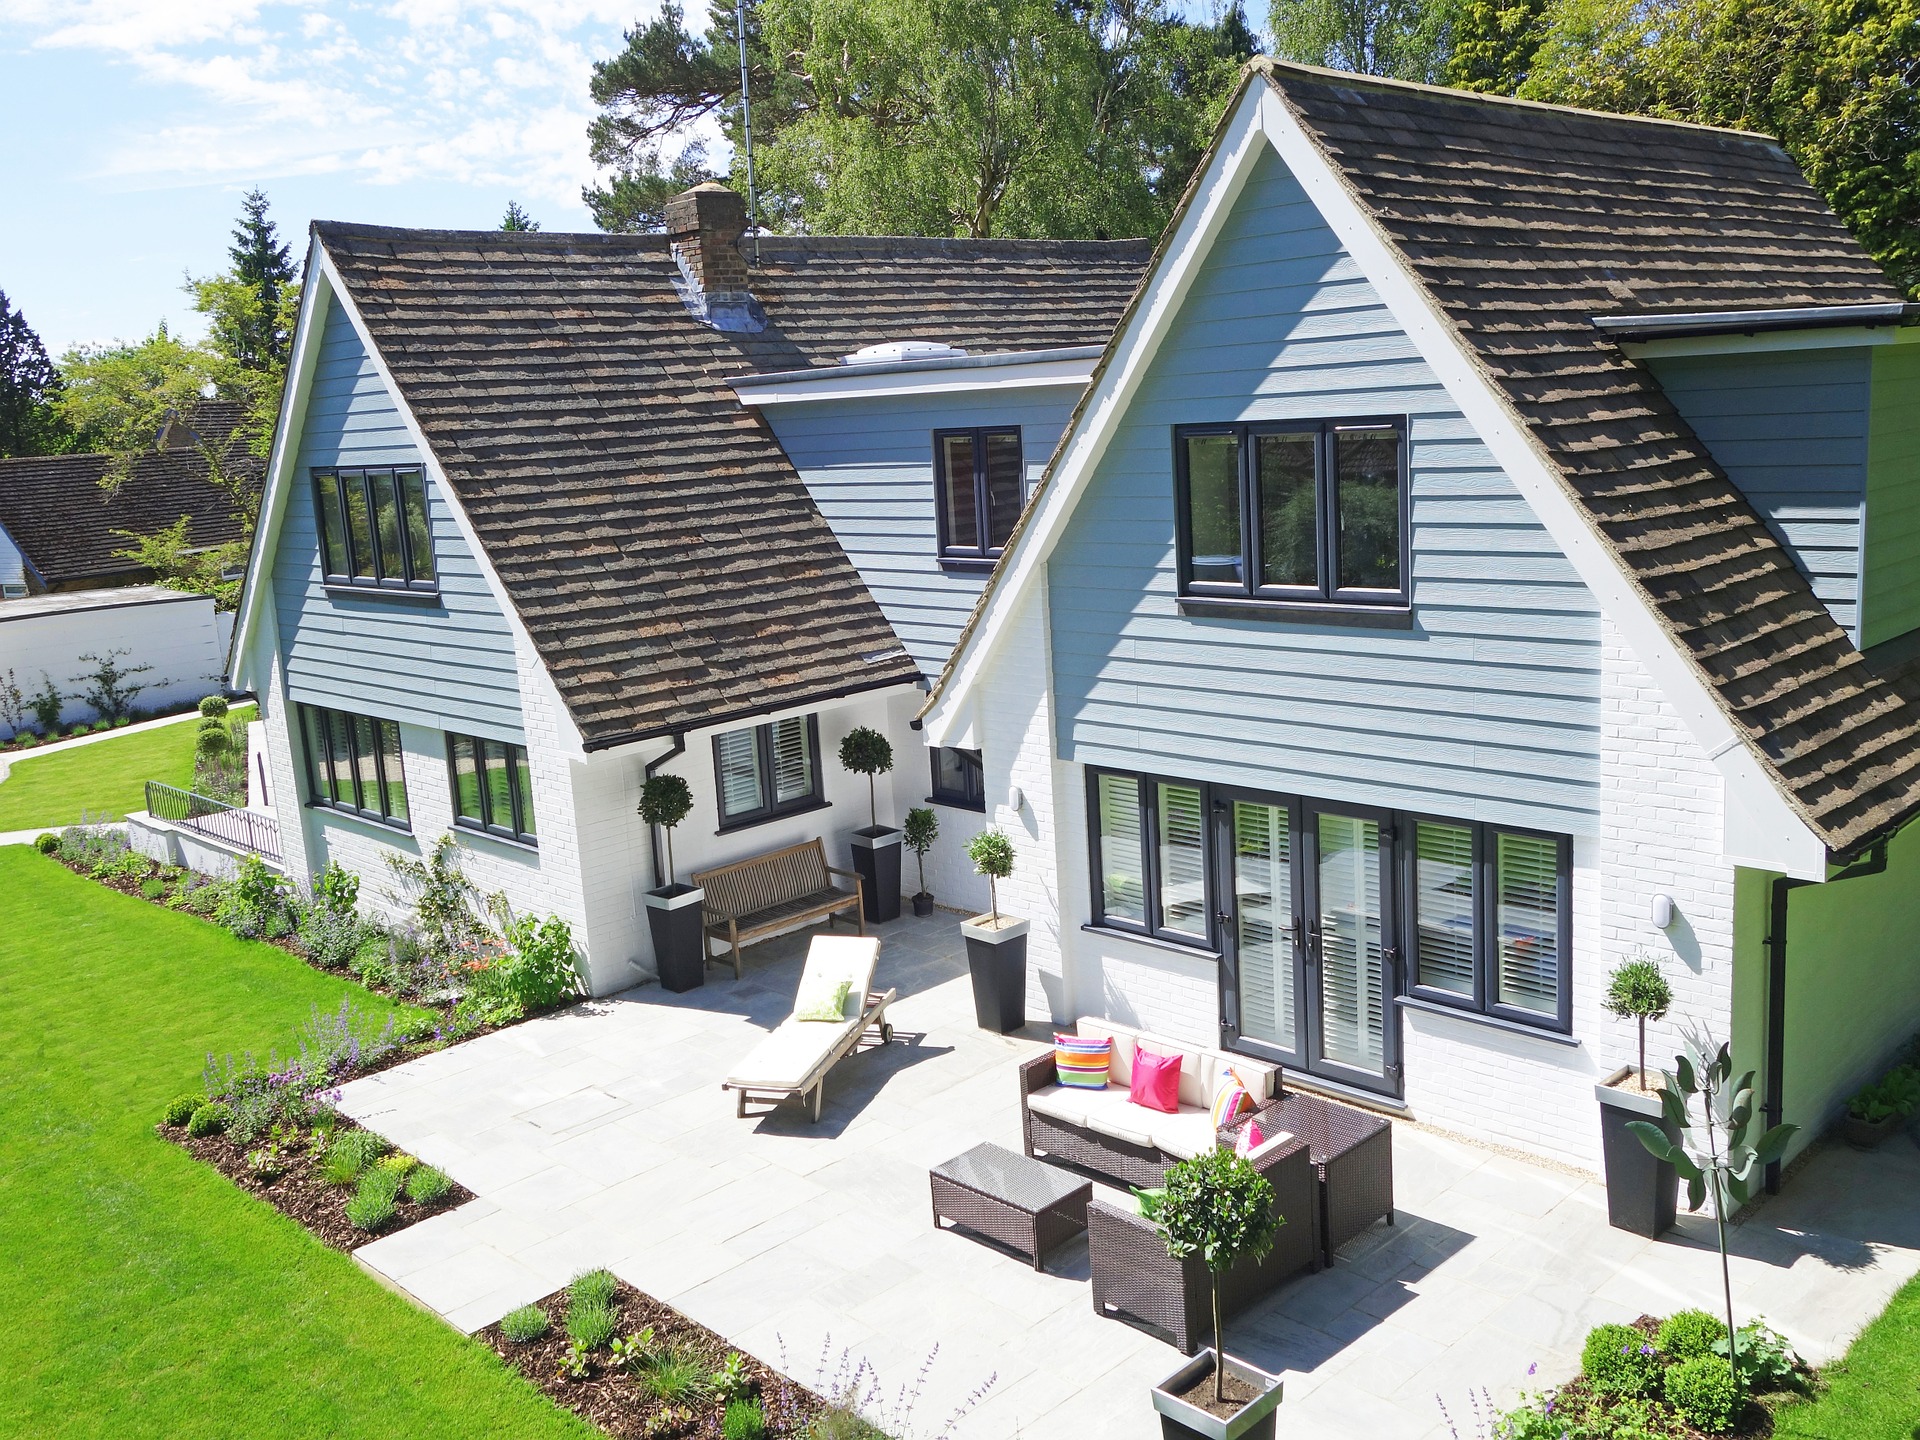
What Makes Excellent Property Photos
There are thousands of ways to take great photos, and you can make the most out of every element available. You can showcase a scenic mountain backdrop on a sunny day or a nighttime light display. There are no hard and fast rules to outdoor property photography, but there are ways to ensure that you get the best results.
Essential Outdoor Real Estate Photography Tips
1. Preparation before the shoot
Excellent planning allows you to perform better and get ready for any external factors. For starters, think about why you’re shooting the outdoor real estate photos and what you’re going to do with them. You may want to post the pictures on a listing website, or you may put it up for lease.
Here are some of the things you should prepare before the shoot:
- Clean and declutter the property.
- Decide on your equipment such as wide lens, drone, diffuser, lighting equipment, tripod, etc.
- Think of a concept or focal point in your shoot.
Your primary reason will determine the production style, composition, and equipment needed.
2. Straighten the horizon
The horizon should form a straight line to avoid awkward angles. If you can’t see the horizon, check out the topmost part of the lawn or landscape and make sure it’s a straight horizontal line. This simple reminder ensures that you’re practicing the correct perspective in your photo.
3. Check the weather forecast or season
Outdoor photoshoots are heavily dependent on the weather. Everything from the sun to the clouds will dictate the quality of your photo. While diffusers and artificial light can make up for cloudy days, you’d want to conduct the shoot while the sun is high and bright.
4. Highlight unique features
Compose the outdoor photoshoot from your potential buyer’s perspective to effectively deliver your message. Select a few angles or features in the property or surrounding that would tell a good story.
Here are some of the questions you should consider:
- Who are your target buyers?
- Why would they buy or rent your property?
- Are they planning to stay short-term or long-term?
You can include the surrounding imagery in the shoot if you’re planning to sell the property as a whole.
5. Post-production
Lastly, spend time and effort in post-production, especially when you’re planning on posting the pictures online. Raw images are only suitable for personal or family use. If you want to publish your photos, you will need to edit them.
Here are some of the standard post-production processes:
- Soften rough textures.
- Apply a blurring effect to illustrate the depth.
- Remove awkward elements like shadows or trash.
- Enhance the colors of the roof or garden.
You need to check how your images look when zoomed in, regardless of how beautiful they appear on the viewfinder or preview.
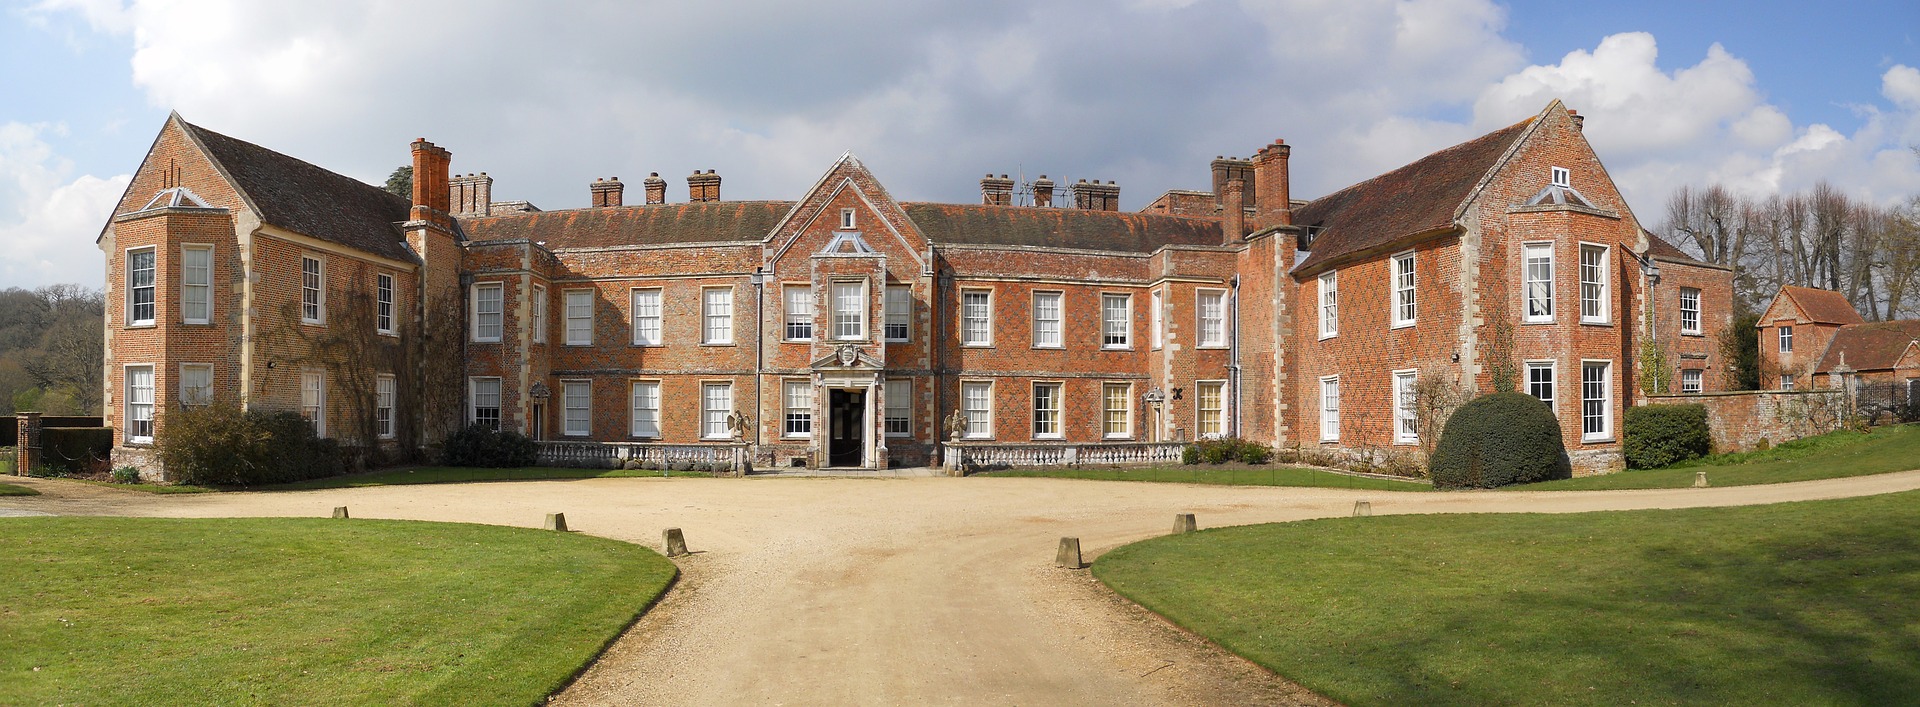
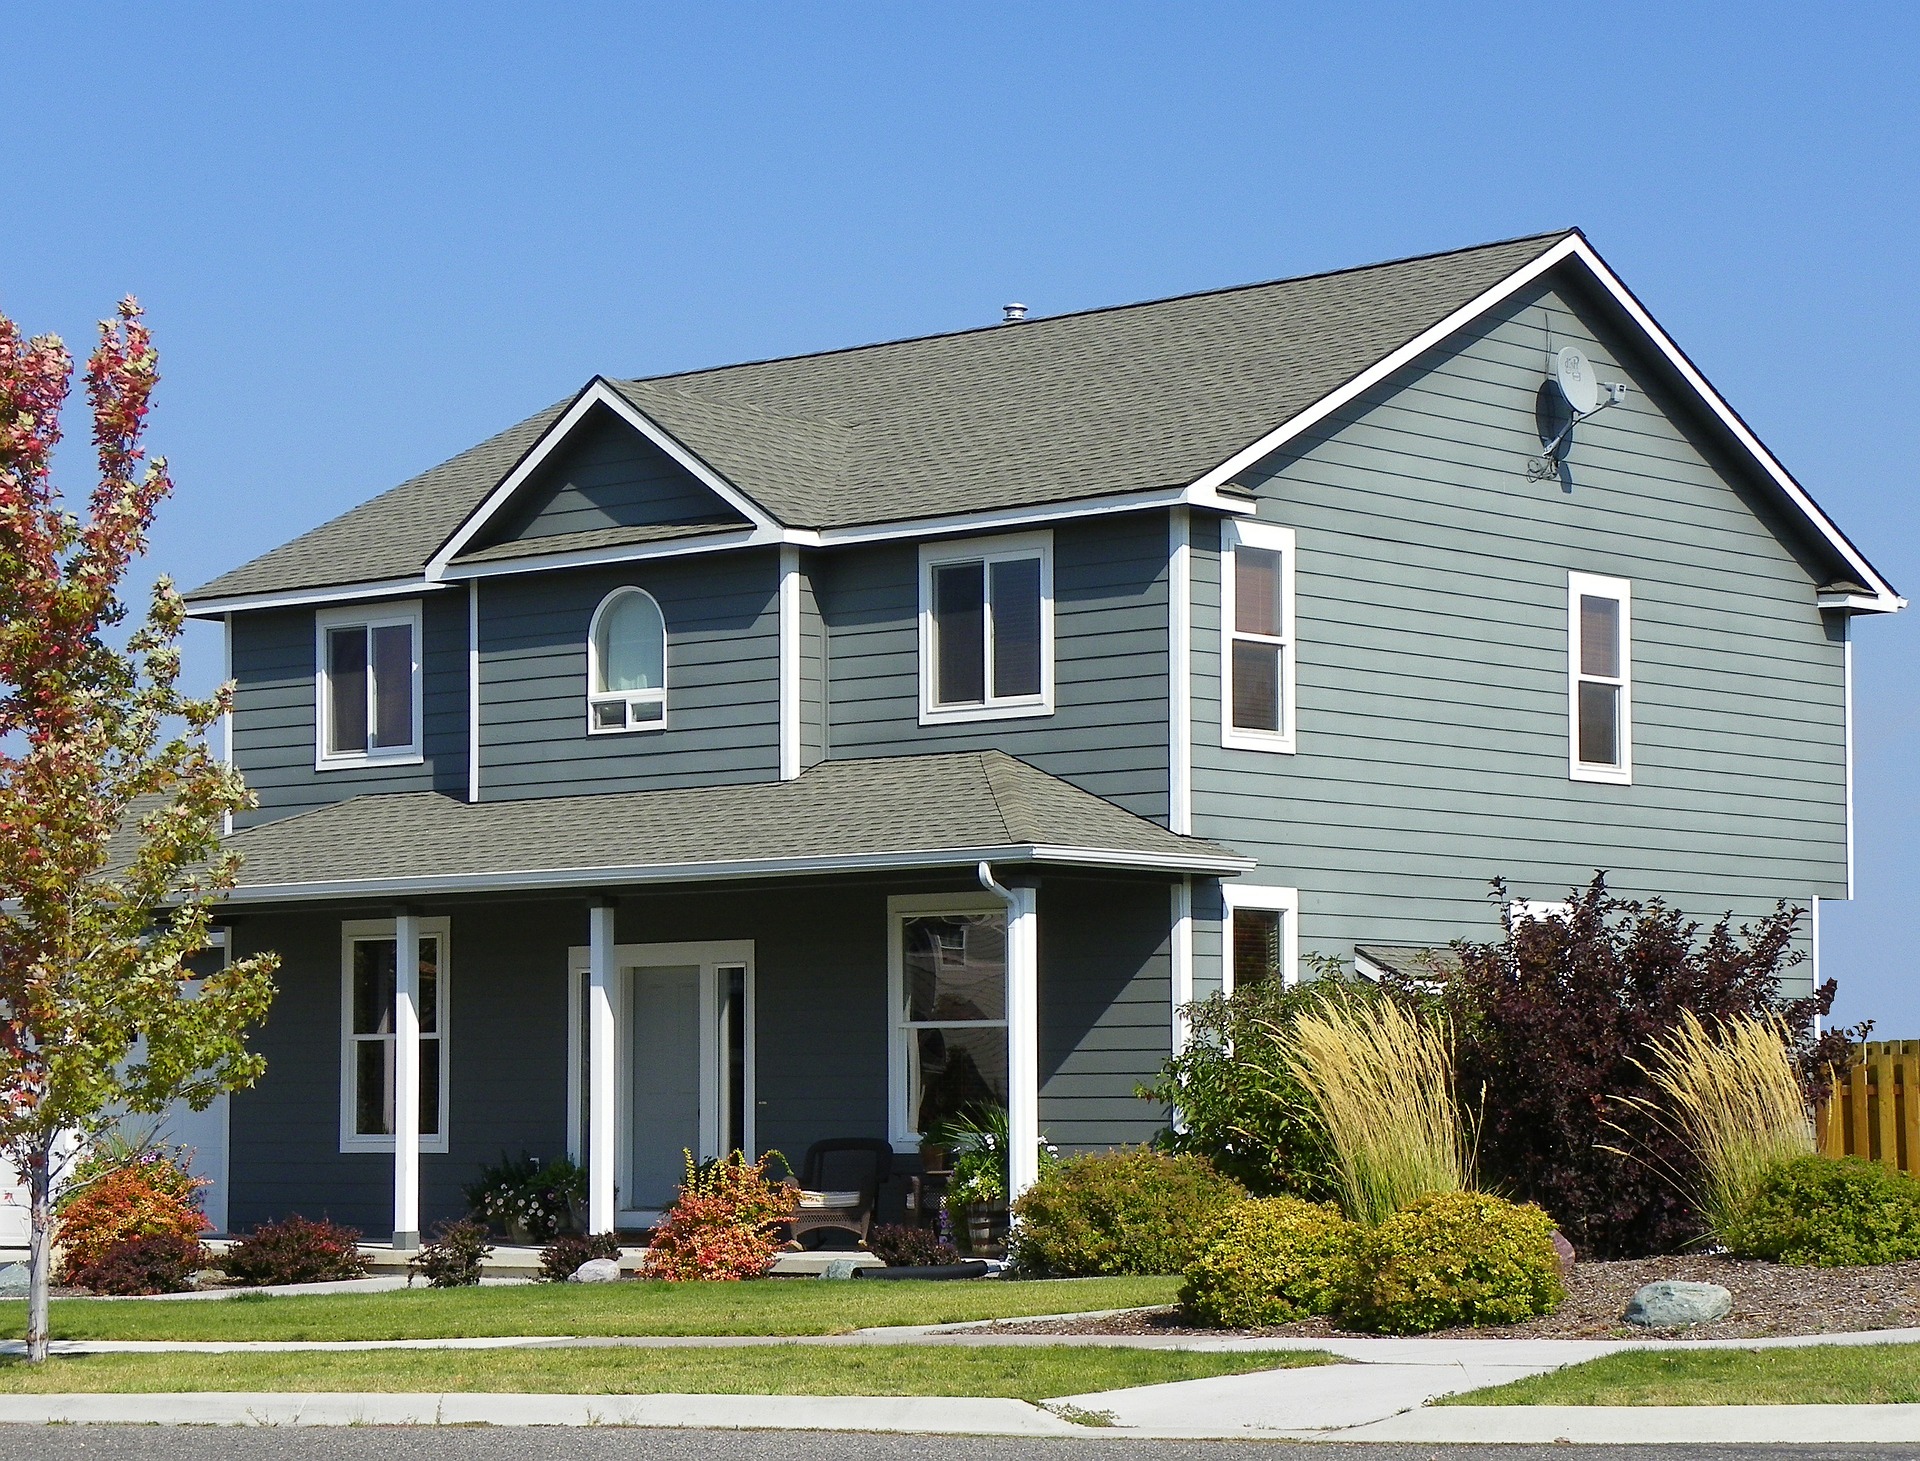
Competitive Real Estate Photos
Professionally done outdoor property photos are visually appealing to buyers. Images showcasing landscapes and unique property features have higher chances of being selected. Enhance the brightness and color levels to stand out and sell the property faster.