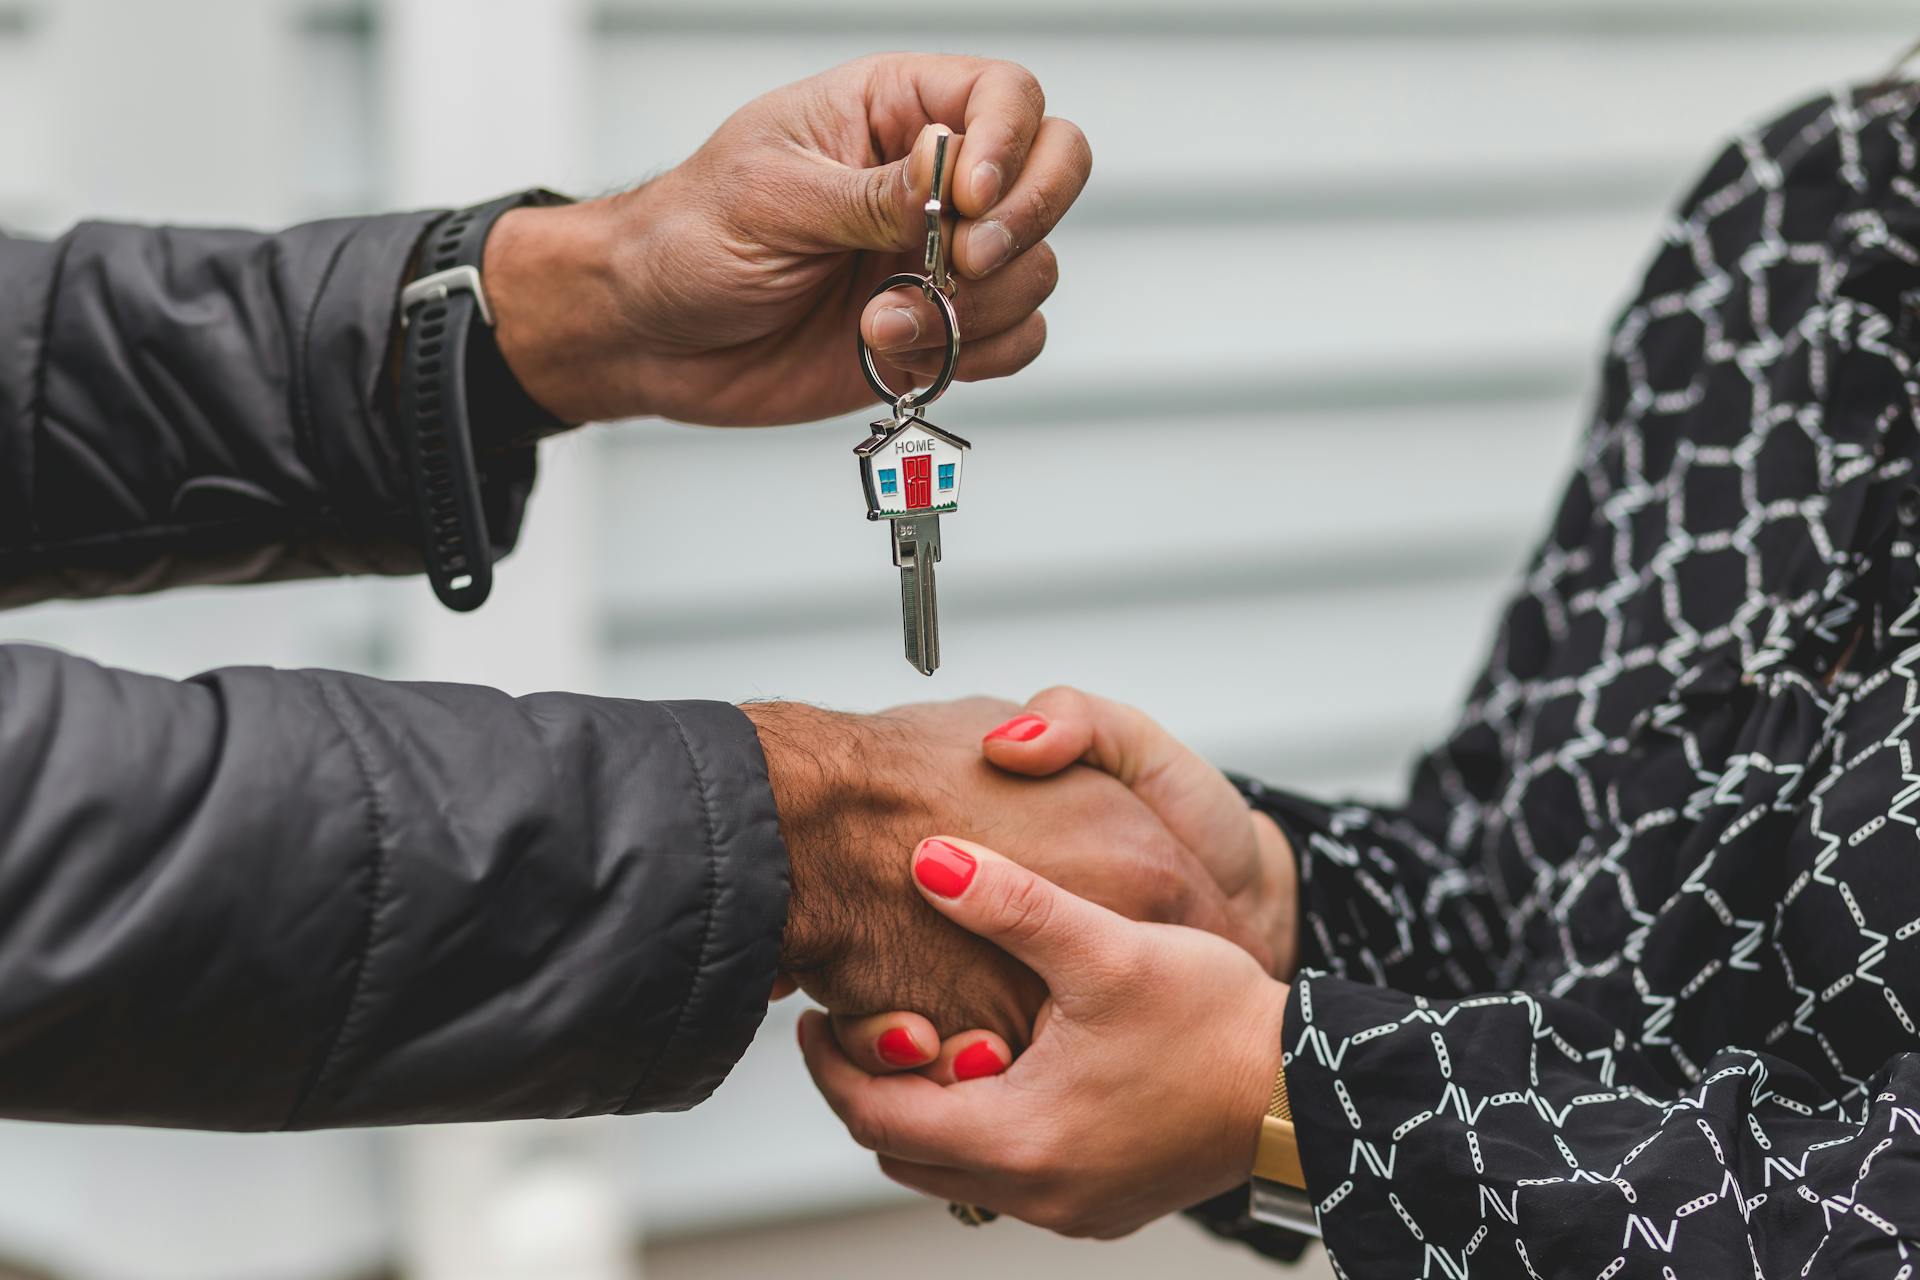
Introduction
The average US home took around 35-45 days to sell in 2025. Every vendor dreams of a rapid, stress-free sale, but it’s not always plain sailing. While some homes get snapped up swiftly, others linger on the market for much longer. If you’re ready to sell your property, it’s beneficial to recognize signs your house will sell fast and be proactive in making your home as appealing to buyers as possible.
In this comprehensive guide, we’ll outline key signs to look out for before listing your home and share some top tips to help you attract buyers and secure a fast, seamless sale.
Recognizing Top Selling Indicators
Knowing when to sell your home can help you maximize the chances of finding a buyer quickly and getting the best price. It’s helpful to be aware of and to recognize top selling indicators if you’re thinking about listing your property. Positive signs your house will sell fast include:
- Rising demand for properties in your area
If the demand for properties in your area is rising, this is a good sign that your house could sell quickly, especially if the market is moving fast.
- Other houses on your street/in your neighborhood selling quickly
Other houses in your neighborhood selling rapidly is a great sign that your property will attract attention.
- Competitive listing price
A competitive price can help you draw buyers in, set your property apart from others, and close a deal swiftly.
- Effective home staging
Staging makes properties more alluring to potential buyers. The best agencies tailor the strategy to the target buyer to maximize the chance of sales.
- Enhanced curb appeal
If your home looks great, it’s easier to entice buyers and encourage them to want to find out more or arrange a viewing.
- Positive feedback from prospective buyers
Positive feedback from buyers is a good indicator that your home will sell fast. If most people who see the house love it, the chances are you’ll find a buyer soon.
- A gap between supply and demand (where the demand is higher than the supply)
If there’s a gap between supply and demand for properties in your area, and the demand is higher than the supply, your home is likely to sell faster.
- Hiring experienced real estate agents and investing in high-quality marketing and professional real estate photography
Working with the best real estate agents and investing in high-quality marketing and professional real estate photography can help you generate more leads, improve lead quality, and make your home stand out.
- Buyer interest following viewings and open house events
If there’s a lot of interest and engagement with buyers following viewings and open house events, this is a surefire sign that you’re heading in the right direction.
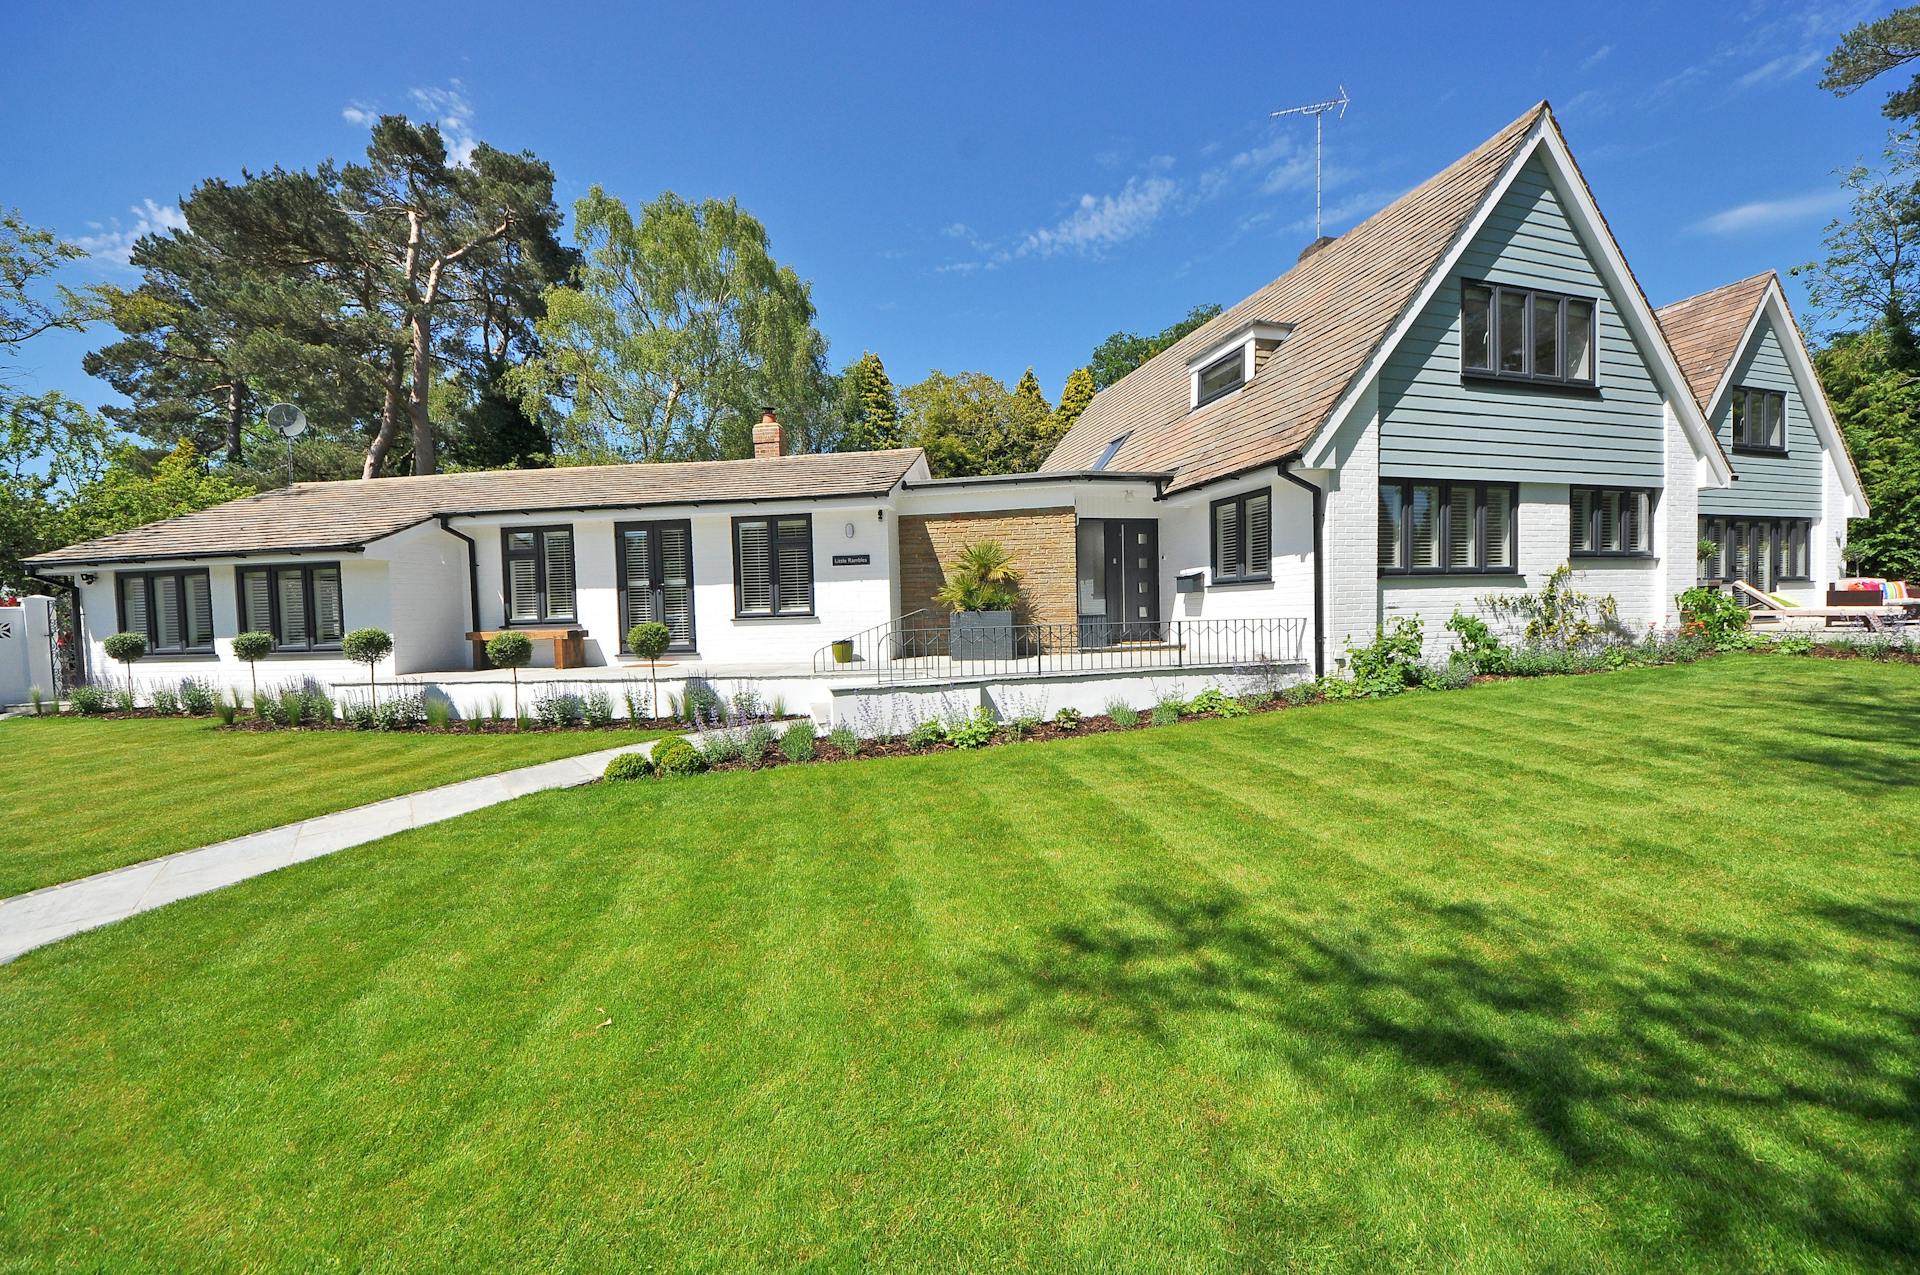
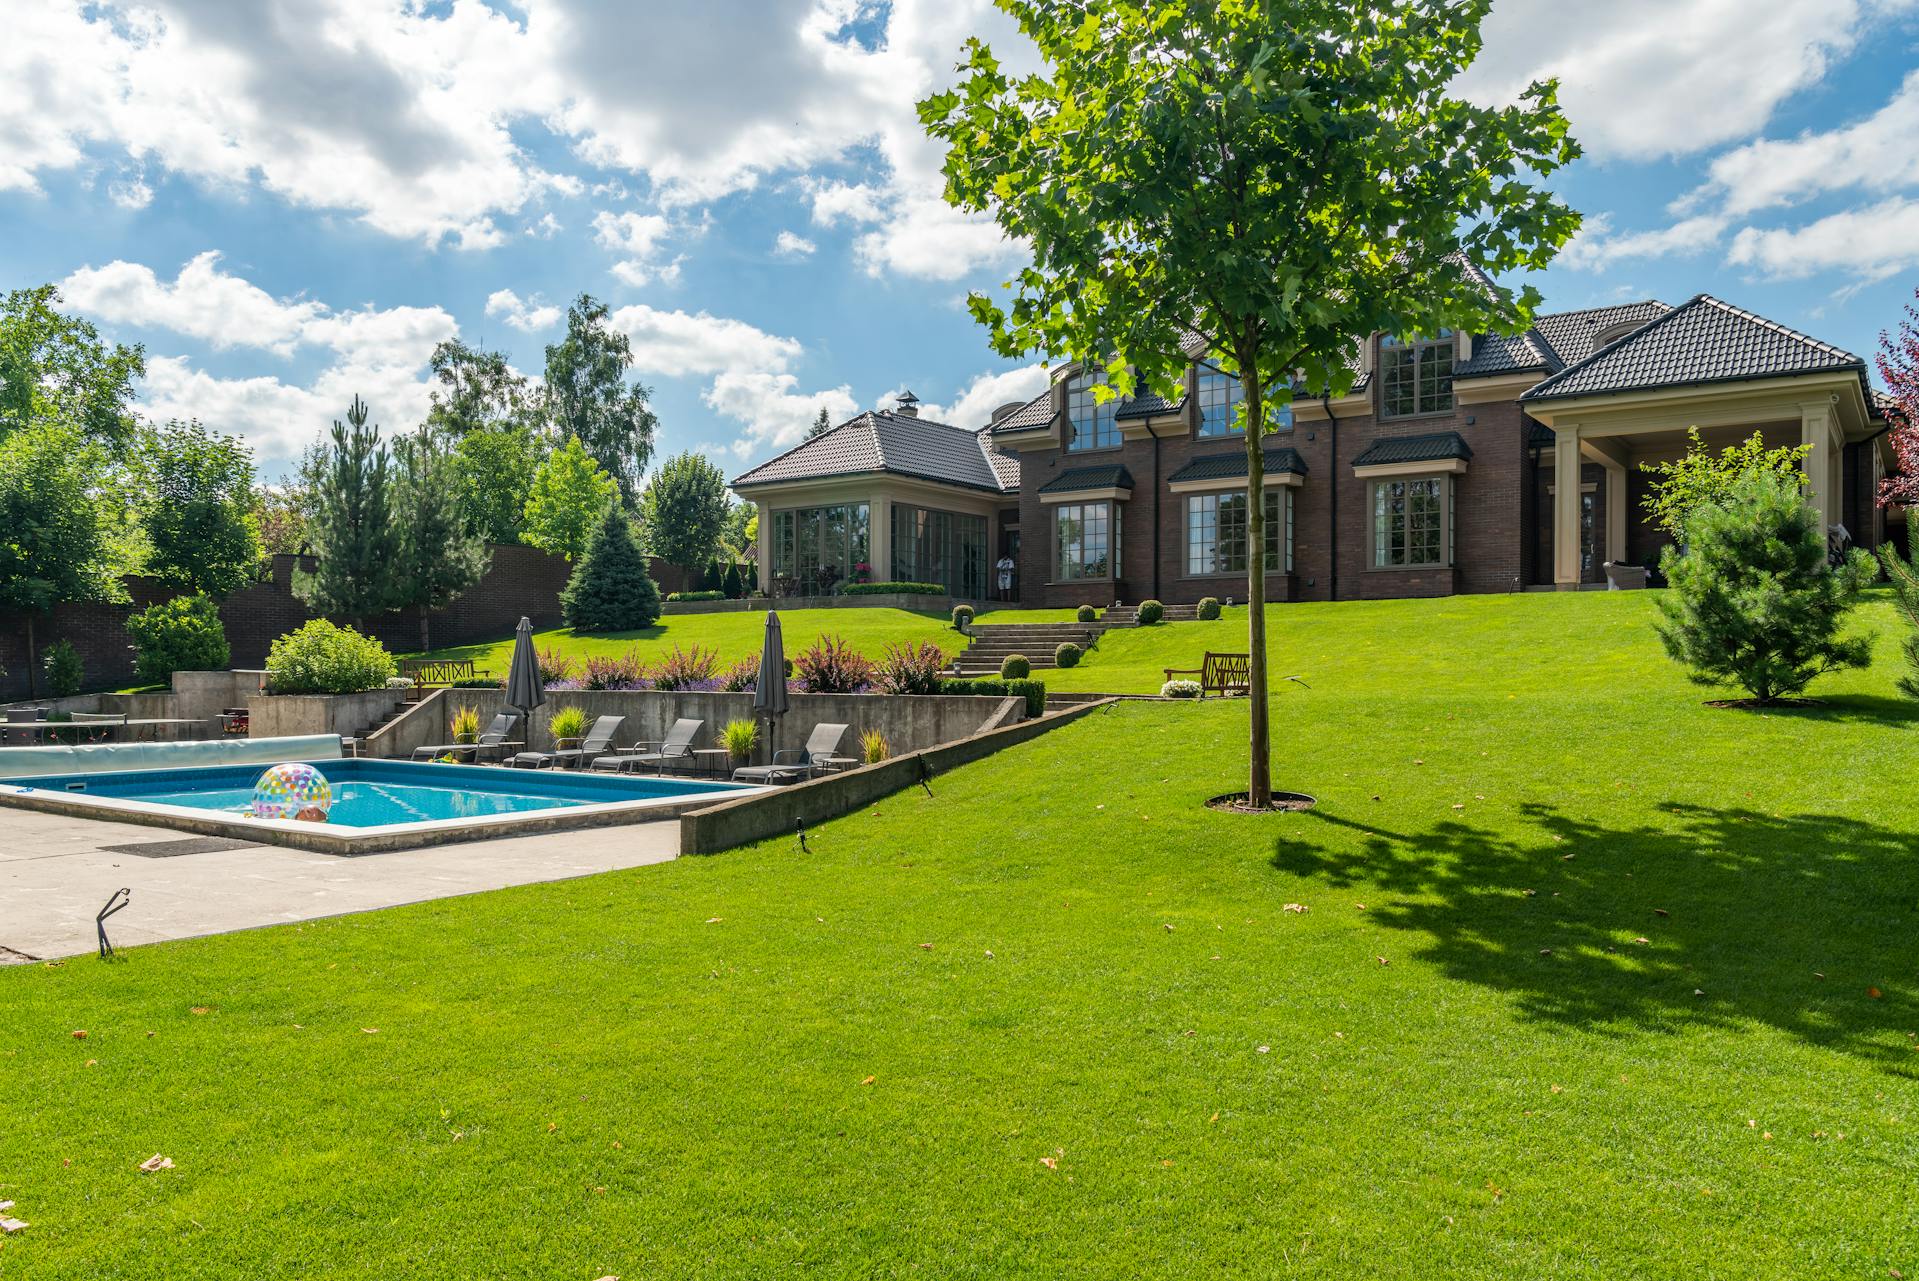
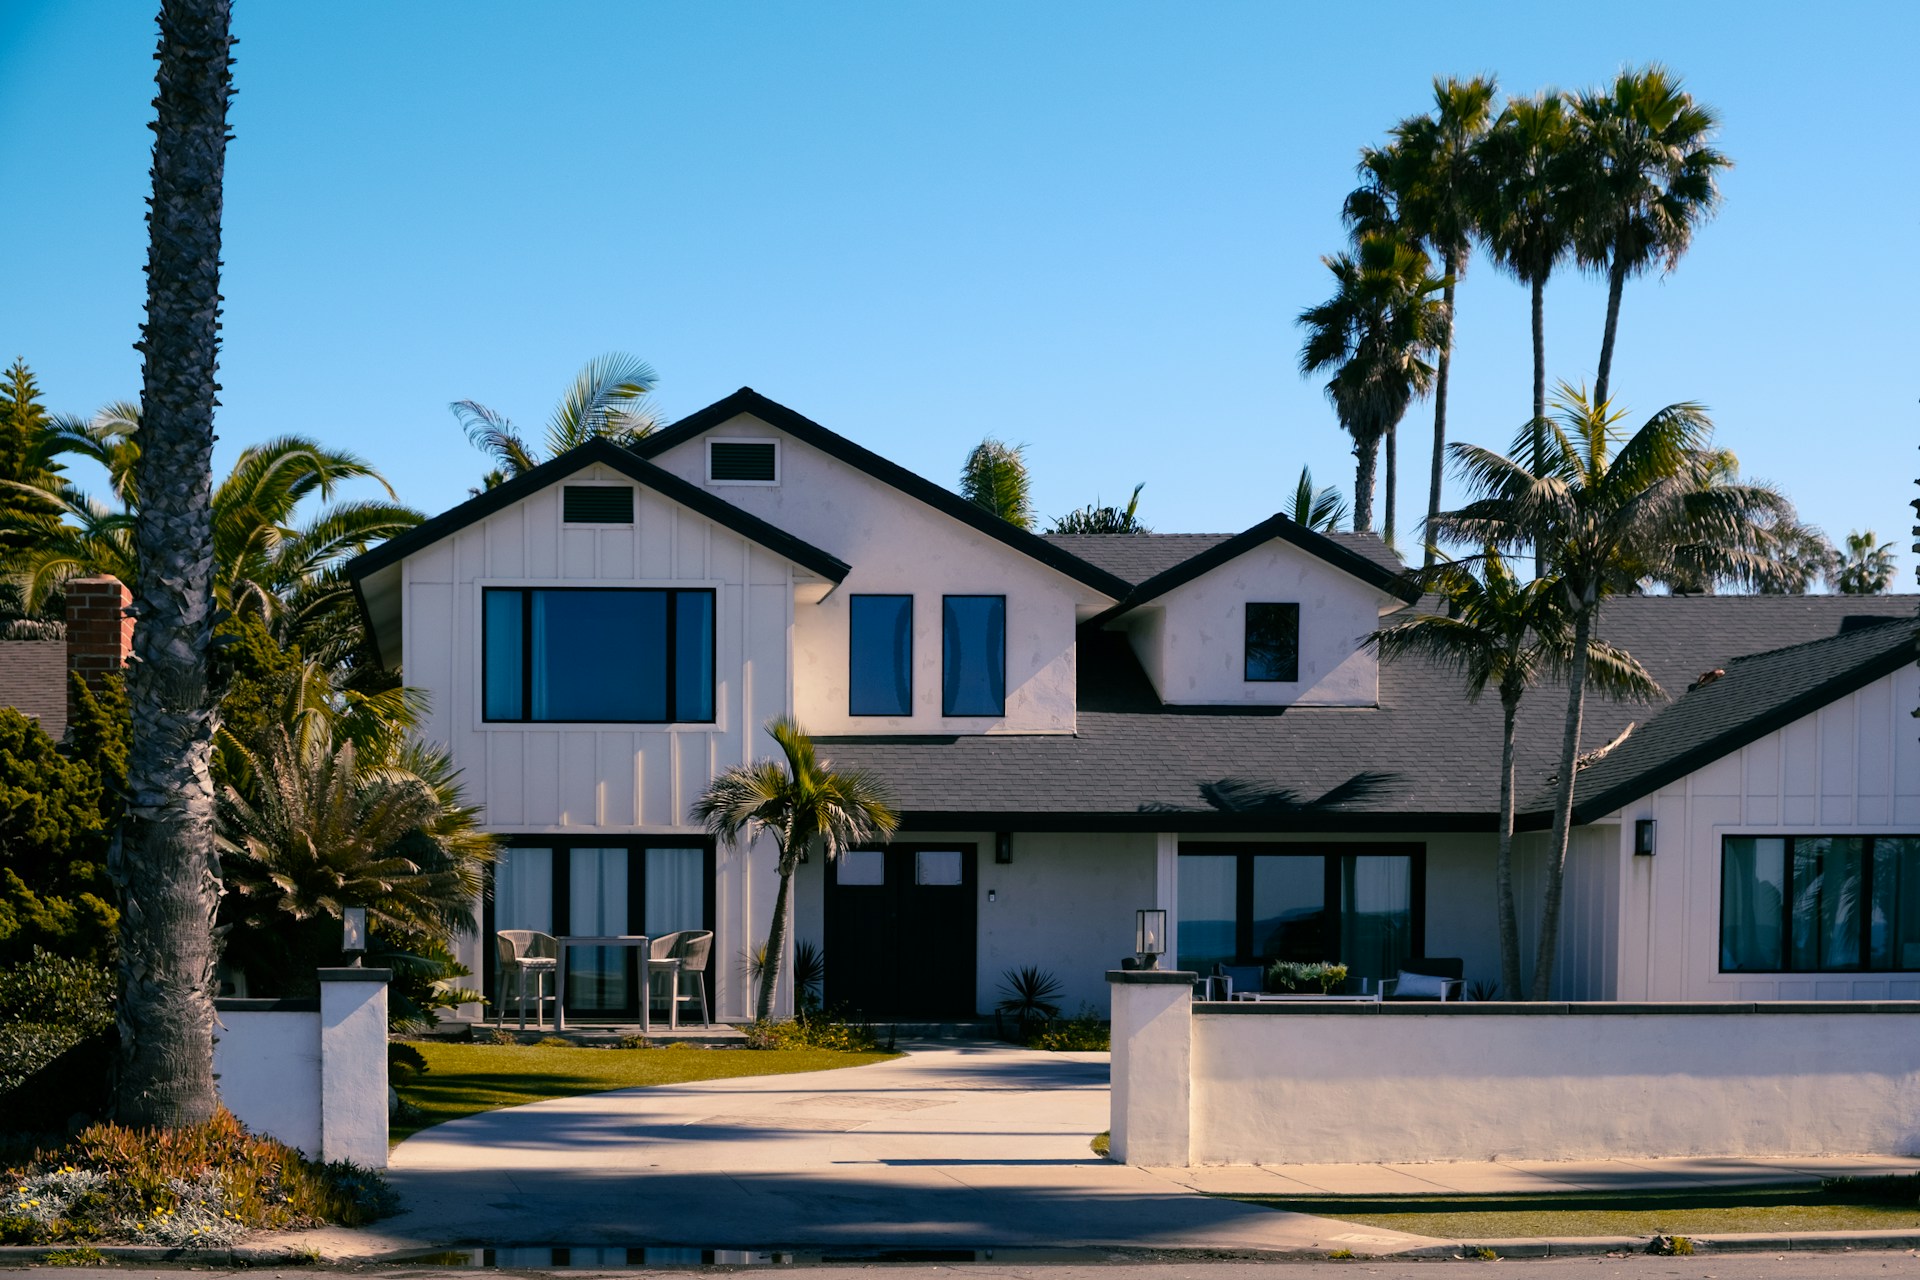
Curb Appeal’s Impact on Buyers
Curb appeal is a term used to describe the aesthetic impact of a property from the street. Data from the NAR (National Association of REALTORS) shows that over 90% of real estate agents encourage sellers to improve curb appeal when listing their homes. Enhancing curb appeal has multiple benefits for vendors, including:
- Adding value: NAR statistics show that adding curb appeal can boost property values by around 7%.
- Making the property more saleable: Attractive, welcoming homes are more appealing to prospective buyers than properties that look disheveled, run-down or bland.
- Attracting more buyers: Making your home look more attractive can help you drum up more interest via online listings, viewings, and tours.
- Outshining other similar properties: If you’re competing with other sellers, boosting curb appeal can help your property stand out.
How to add curb appeal
Examples of ways you can add curb appeal to your house include:
- Tidying up gardens, patios, driveways and yards
- Freshening up exterior paintwork
- Adding plants, trees, and flowers
- Cleaning your windows
- Replacing or updating your front door
- Adding door furniture
- Removing clutter
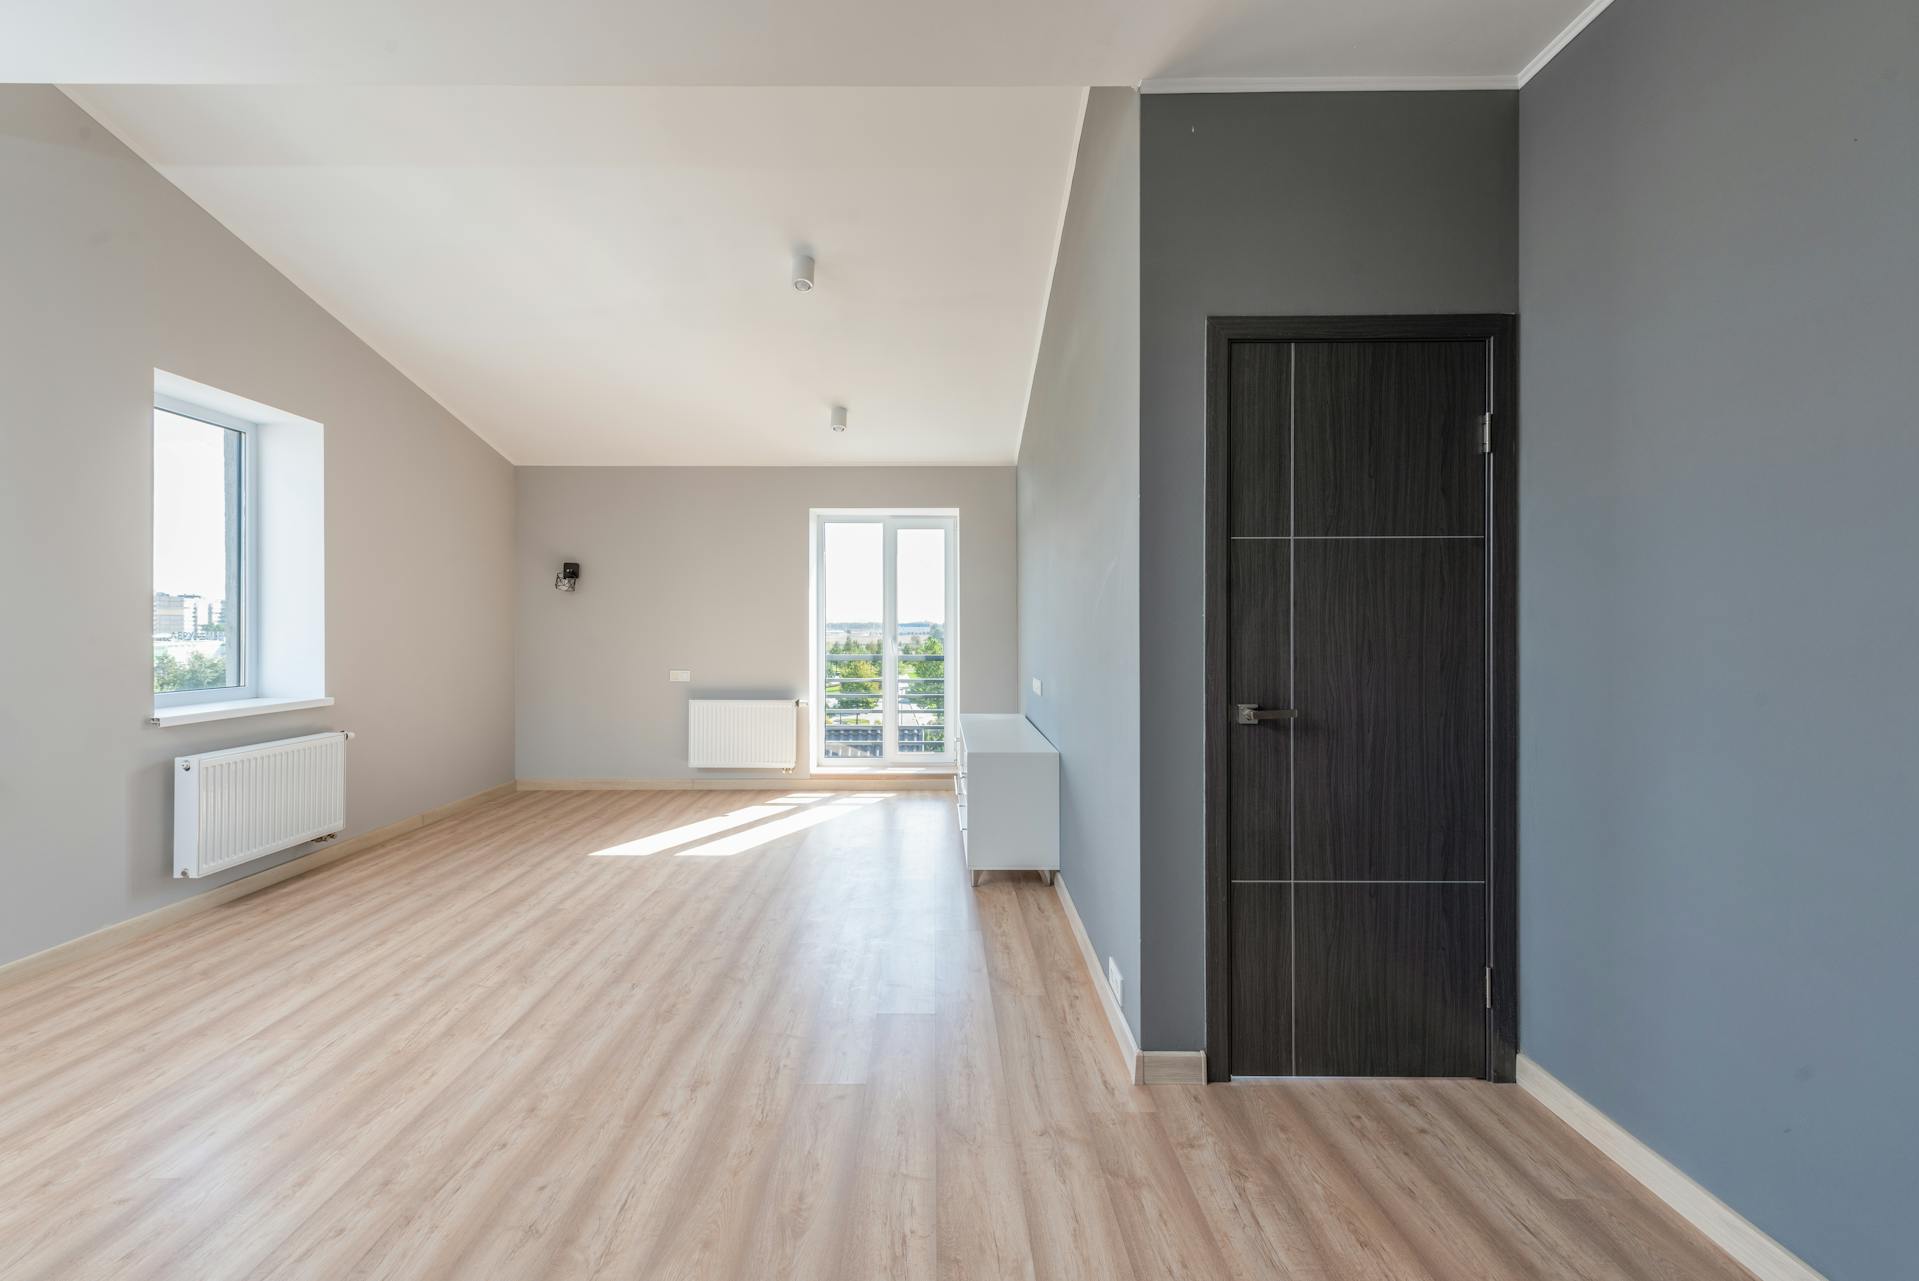
Importance of Staging Your Home
Staging is a technique designed to make properties more attractive and appealing to prospective buyers. It highlights the main selling points of the house and aims to encourage buyers to imagine themselves in the property. There are many ways to stage a home for sale, including:
- Decluttering, cleaning, and organizing living spaces
- Adding and taking away furniture and design focal points
- Changing the layout and flow of different rooms
- Removing personal touches
- Carrying out minor repairs and upgrades
- Creating a space that caters to specific lifestyles
- Adding accessories and details
- Designing a space that will attract and resonate with the target buyer
The benefits of staging
Home staging can increase the value of your property and reduce the time on the market, according to realtors. A 2025 NAR study revealed almost 30% of agents reported an increase in property values due to staging, while 30% experienced quicker sales. The living room is the most important room for staging, according to buyer feedback.
Pricing Strategies for Quick Sales
Price is a key factor for buyers across the market. From the lowest-priced houses to multi-million dollar mansions, the asking price is likely to have a significant impact on levels of buyer interest and sale times. As a vendor, it’s important to get your pricing strategy right. If you aim too high, you run the risk of putting buyers off. If you start too low, you could fail to reach target audiences and lose money.
Competitive pricing can be a very effective strategy for selling your home quickly. This approach centers on being realistic about the value of your home, while making it an attractive proposition for buyers. In most cases, competitive pricing means setting the asking price slightly above, at, or below the agent’s valuation. The goal is to attract interest, encourage buyers to think they’re getting a great deal, and prompt interested buyers to act fast. If you set the price at a level that represents a fair price, there’s a higher chance of attracting more buyers and triggering a bidding war. If you go too high, people may not bother to schedule a viewing or even check out the listing.
It’s important to consider prices carefully when selling your home. Factors that may influence your decision include:
- Comparable recent sales in your area
- The state of the local market: Is the demand higher or lower than the supply?
- Average selling times in the location
- Agent valuations
- Property condition
- Buyer feedback
- Your selling objectives and preferred timeline: If you’re desperate for a rapid sale, you may want to start at a lower price
Leveraging Professional Photography
A UK study showed that almost 40% of buyers consider online photos the most influential factor when deciding whether or not to shortlist properties. If you’re selling your house, you want to impress from the outset. High-quality, professional photography can make the difference between an influx of calls and bookings for viewings and a listing that fails to attract any interest. Leveraging professional photography can help you make your listing stand out, encourage browsers to schedule viewings or find out more, and ensure you show off your home’s best features in listings and online galleries.
The advantages of professional real estate photography
Key advantages of professional real estate photography include:
- Faster sales: Research shows that houses sell over 30% faster when vendors use professional photography services.
- Generating interest and inquiries: Homes with interactive videos and tours generate over 400% more inquiries than standard listings.
- More listing views: Homes with professional shots receive more than 60% more views.
- Showcase your house in its best light: Working with experienced photographers enables you to showcase your property in its best light to make it as attractive as possible to buyers.
Timing the Market for Best Results
Timing can be incredibly influential when you sell your home. There are several factors to consider when thinking about when to list your property. These include:
- Market conditions: Market conditions can affect any property, no matter how sought-after the location or individual house. If the market is slow, the demand for properties is dropping, or people are putting off moving, this will increase average sale times. If you’re not in a hurry to sell, it may make sense to bide your time and wait for the market to pick up to get a better price and find a buyer faster.
- Buyer behaviors: Understanding what buyers want and how they behave can help you choose the right time to sell your house. Driving forces, such as interest rate changes, rising prices, and new trends, such as working from home and renovating rather than relocating, can impact sales. It’s beneficial to be aware of current trends and use research to help you plan effectively.
- The season: The time of year can affect how quickly houses sell. Studies suggest that spring and early summer are the best times to list your property. The slowest months are October, November, and December.
Handling Offers Swiftly and Wisely
If you receive offers on your home, it’s beneficial to consider them carefully before making a decision, but it’s also wise to avoid taking too long. If you keep buyers waiting, they may change their minds or back out.
How to handle offers
Think about your goals in terms of your target price and how fast you want to sell, the market value of your property, the level of interest, and the risk of losing buyers. If you’re in a rush to sell, you’re happy with the offer, and you haven’t got multiple buyers fighting for the property, it makes sense to accept swiftly. If you’re not 100% convinced, you can negotiate, but it’s beneficial to act quickly and communicate clearly with agents and buyers. You may also benefit from seeking advice from your realtor if you’re unsure about your next move.

Conclusion
Selling a house can be an exciting proposition, but it can also be stressful. If you’re ready to put your home on the market, it’s natural to dream of a quick and easy sale. Being aware of positive signs your house will sell fast and taking steps to make it more saleable and appealing to buyers can help you reduce sale times and create a buzz among buyers. Key steps include enhancing curb appeal, staging your home, taking advantage of professional real estate photography services, working with experienced agents, getting the timing and pricing right, and knowing how to handle offers.