Beautiful high-quality real estate images help promote and sell properties online, especially in 2021. The community lockdowns and work-from-home protocols increase the need for homes and properties, and due to market saturation, real estate photography is in high demand.
Resourcefulness and creativity are the keys to compelling property images. You can create high-quality images without the hefty price tag with a few tricks and tips.
You might want to try the following real estate photography hacks before hiring a professional real estate photo editing service:
1. Utilize equipment with high-definition capabilities
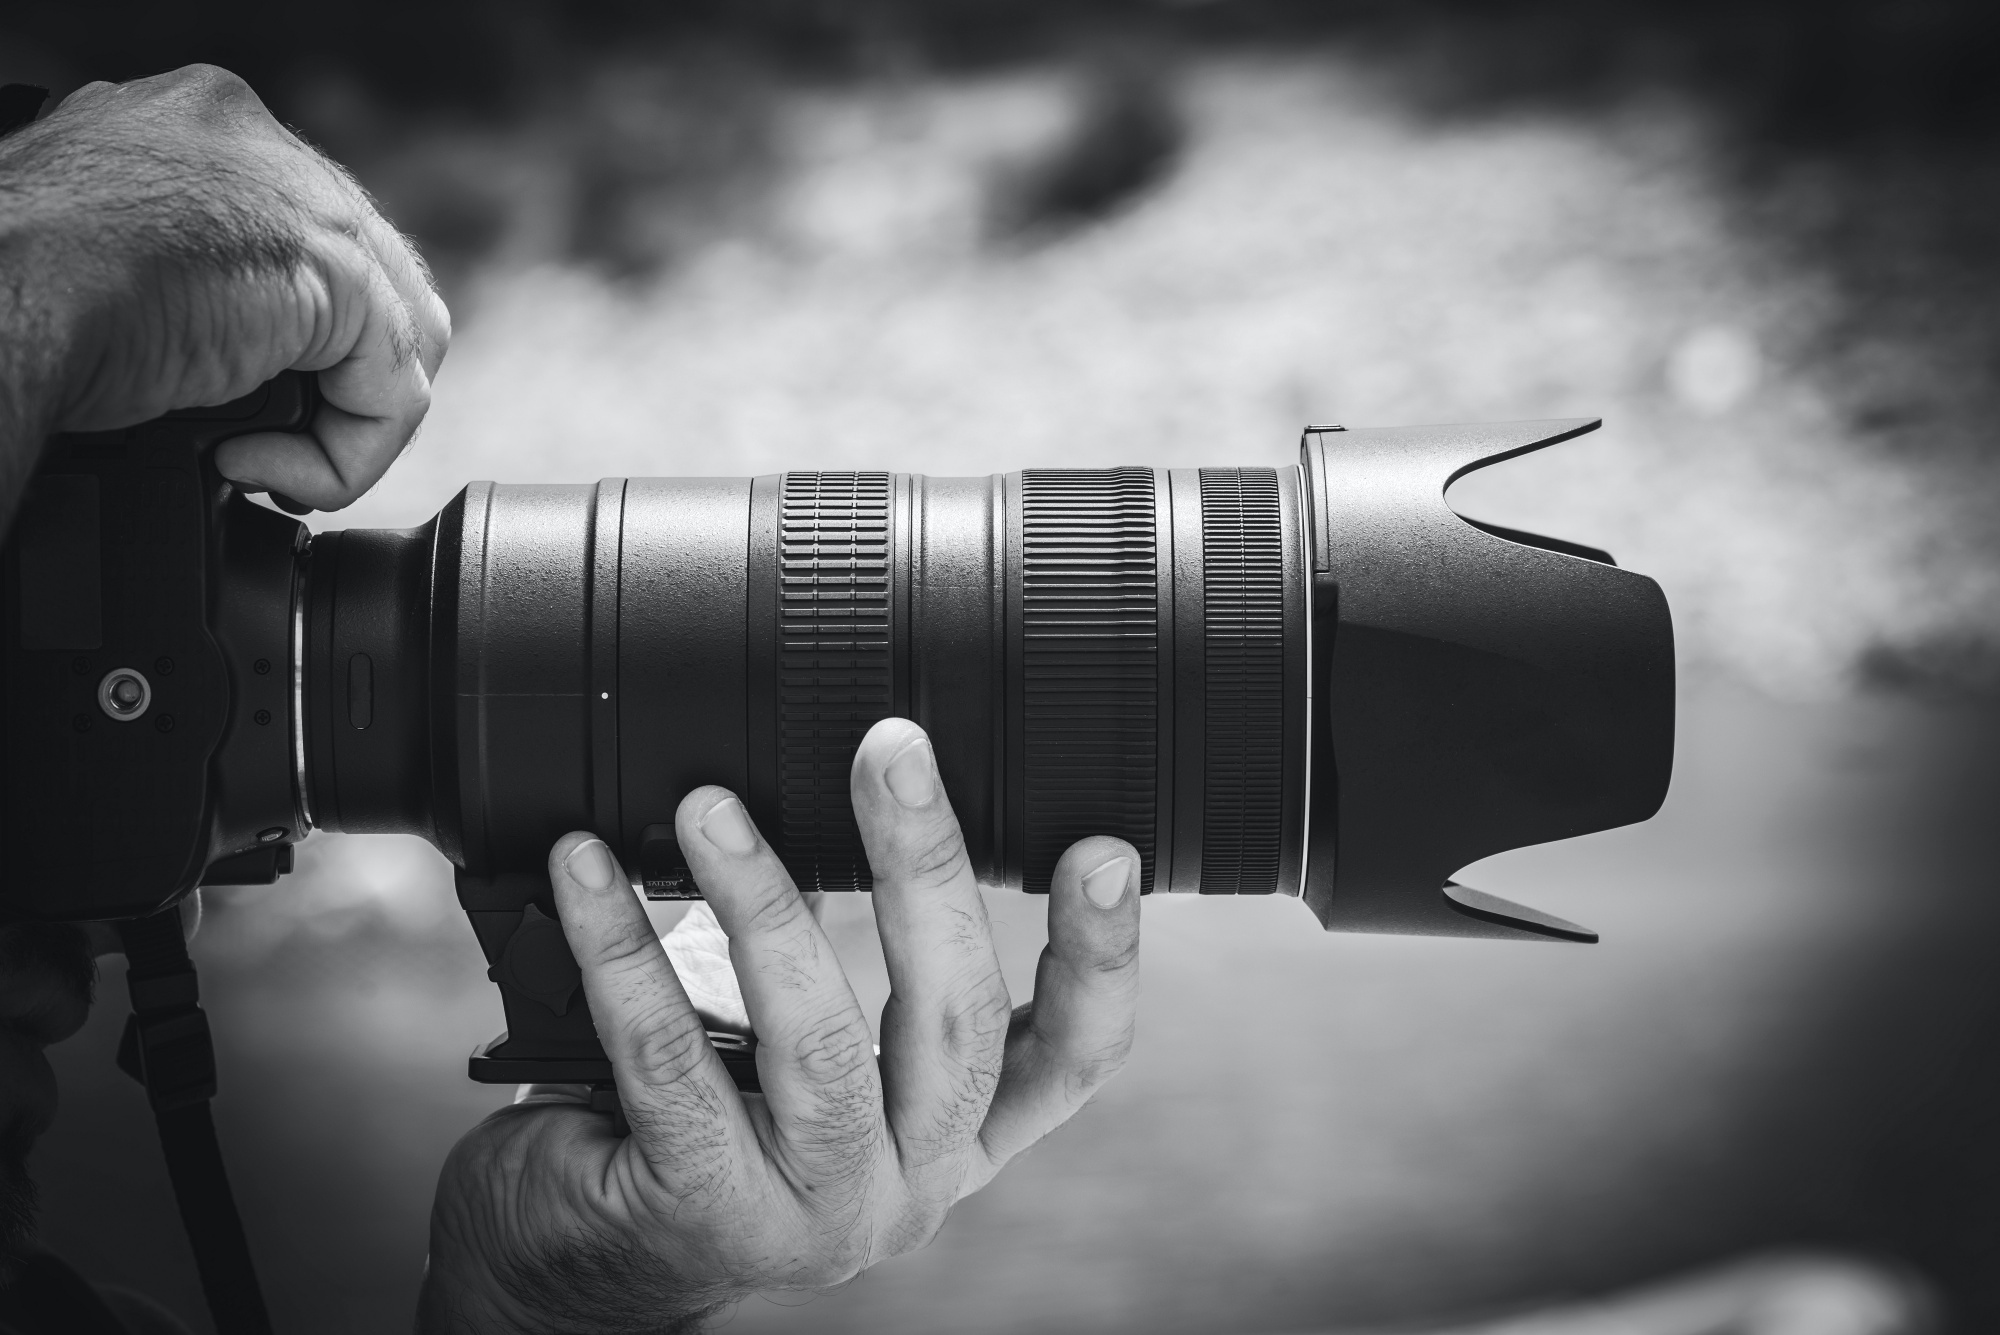
First and foremost, if you want to create high-quality images, you need to use the appropriate cameras and lenses to help achieve that. Most newer cameras and lighting devices may be too expensive, so you need to optimize each piece of equipment with its corresponding accessory and settings. You can even use your smartphone as long as it has the proper prerequisites.
Lighting is one of the essential elements that enhance the overall photograph, and there are many ways to improvise. Take pictures during days with natural sunlight or repurpose used umbrellas as light diffusers. You don’t have to spend a lot on equipment as long as you understand real estate property design and composition principles.
If you want to use your phone camera for photos, make sure that it supports ultra-high-definition (UHD). Most UHD cameras have a Pro mode that can take pictures like most digital single-lens reflex (DSLR) cameras, especially when you attach macro lenses. Ensure that the photos are easy to manage and clean so that the real estate editor won’t have issues in post-production.
2. Tether camera to a computer or laptop
You can connect your camera to a laptop to see your image previews in real-time. This process allows you to distinguish which images you want to keep quickly and those you want to trash. This technique also enables you to assess if the shot is sufficient or if it should have retakes. This style would help the real estate editor quickly determine which images to keep and which ones to trash.
3. Capture images from realistic angles
The rule of thumb in real estate photography is making sure that the horizon is a flat straight line. This simple rule ensures that you’re maintaining the correct angle. Determine the appropriate property spot by checking the necessary curves and lines before sending the images to a real estate photo editing service.
The horizon or the flat of the land in the background should not be slanted or tilted to ensure that the property looks realistic. You can use a wide-angle lens with a 24mm to 35mm focal length to ensure that you capture the entire landscape.
4. Post-production hacks
It’s tempting to shoot and post the result immediately, but high-definition real estate photo editing can increase real estate sales potential. The images will look better, and you can catch objects, shadows, and colors out of place.
Here are some editing tips:
- Make sure your cameras and monitors are sufficiently calibrated.
- Create separate layers for each element.
- Check the lines and angles to ensure their all straight and realistic.
- High Dynamic Range (HDR) adjustment to neutralize the image’s tone by adjusting the excessively bright and dark parts.
- Crop and remove unimportant details of the photo as long as it looks natural overall.
Conclusion
The high-quality real estate photo editing techniques can directly influence your real estate listing performance. If you want to sell your properties fast and compete with the current digital market, you need to establish attractiveness through beautiful real estate photos.

Leave a Reply
You must be logged in to post a comment.